FMB Tutorial - HomeThis first mission will be for a US Navy pilot - because I want to fly my freshly installed copy of Gerd's Bearcat.

Before we start working on our mission, we need to create a folder to save it in, so here's where the folder goes:
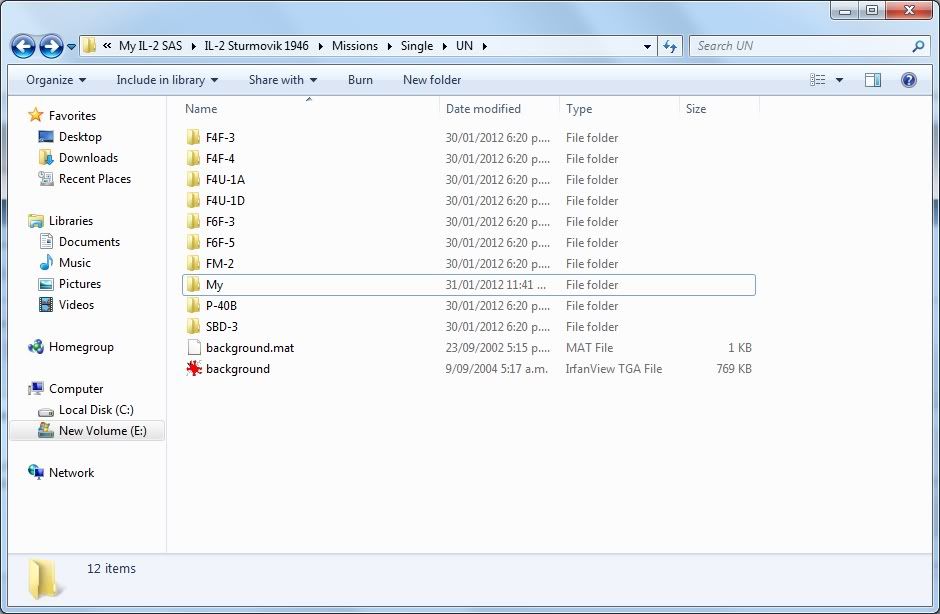
Outside the game (in Windows Explorer) navigate to IL-2 Sturmovik 1946/Missions/Single/UN... and create a new folder (right-mouseclick --> 'New' --> 'Folder'). I've called mine 'My' (right-mouseclick --> 'Rename') which is a bit of a tradition started by Flying Nutcase. You can call it anything you want, and as you build more missions you'll come up with your own folder system.
This is what the folder structure looks like:
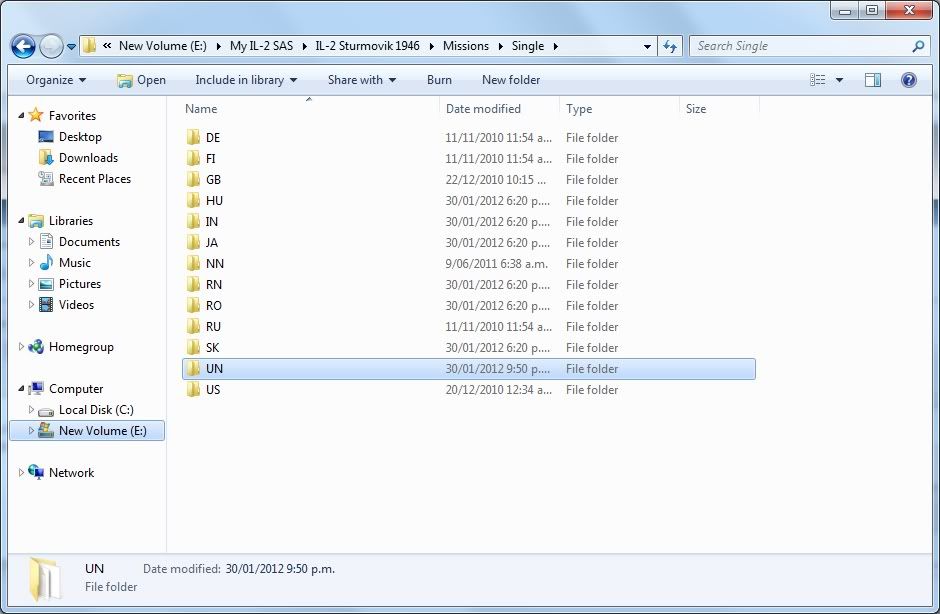
So, inside the Missions/Single folder is a folder for each 'country':
DE: Germany
FI: Finland
GB: Great Britain (UK)
HU: Hungary
IN: Imperial Navy (Japan)
JA: Japanese Army
NN: None
RN: Royal Navy (UK)
RO: Romania
RU: Russia (USSR)
SK: Slovakia
UN: US Navy
US: US Army Air Force
Depending on your install, you might have more. It doesn't mean you are
only restricted to these countries either. RAAF and RNZAF missions will be perfectly at home in GB for example.
And inside the country folders are
more folders to arrange the mission files, as you can see for yourself in the screenie... and inside those are the
actual mission files themselves.
Thats all for the folder structure - simple! We'll see how it looks inside the game later. Let's get started on building our first mission:
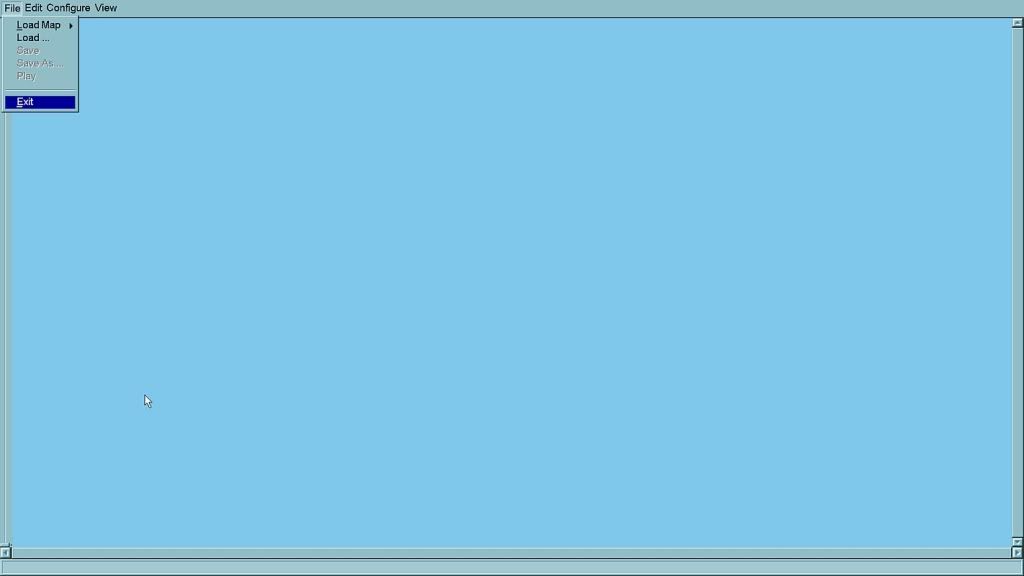
Click 'File'
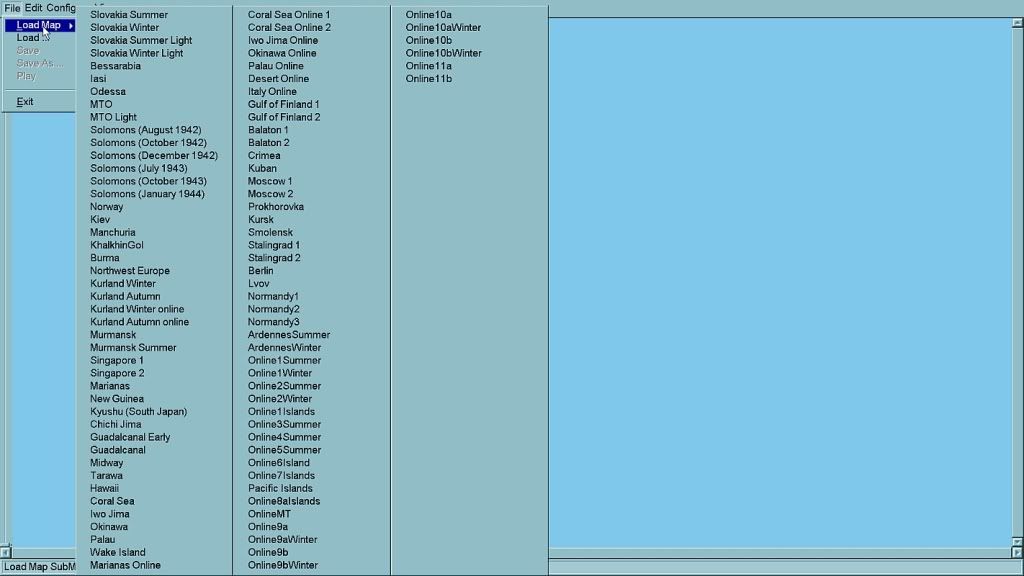
Mouse over 'Load Map' to open your map selection
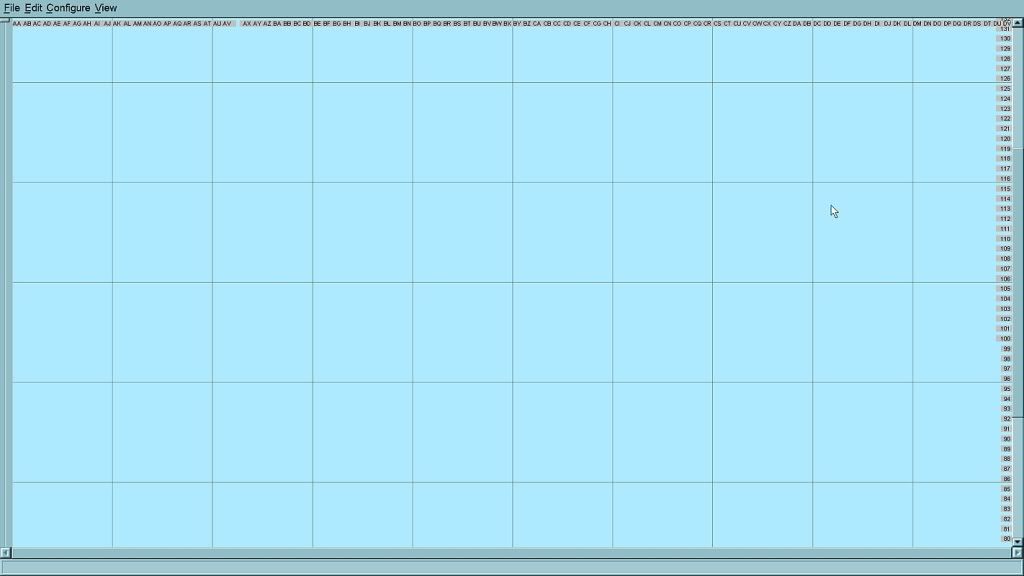
Select the map 'Hawaii'... and wait for it to load.
You'll see three scroll bars. The scroll bar on the left border is 'Zoom'. Grab the handle and drag it down to zoom in - drag it back up to zoom out. You call also mouse over the scroll bar and left click on it, or mouse over the scroll bar and zoom in and out with your mouse wheel.
The scroll bar on the bottom border scrolls east-west. You can also mouse over the scroll bar and left click on it.
The scroll bar on the right border scrolls north-south. You can also mouse over the scroll bar and left click on it.
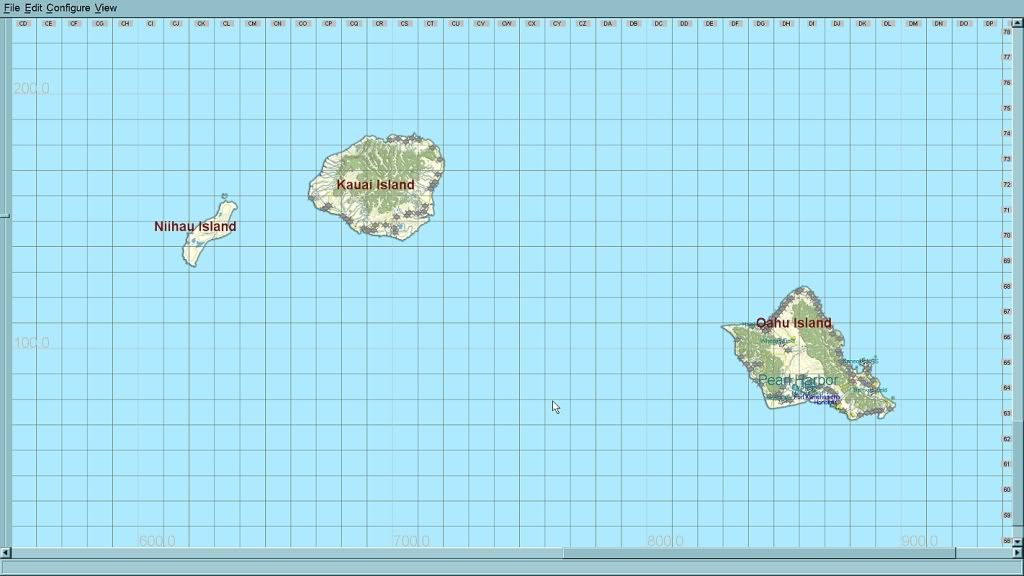
Using the scroll bars, find the Hawaiian Islands. Tip: they're in the south-east corner of the map.

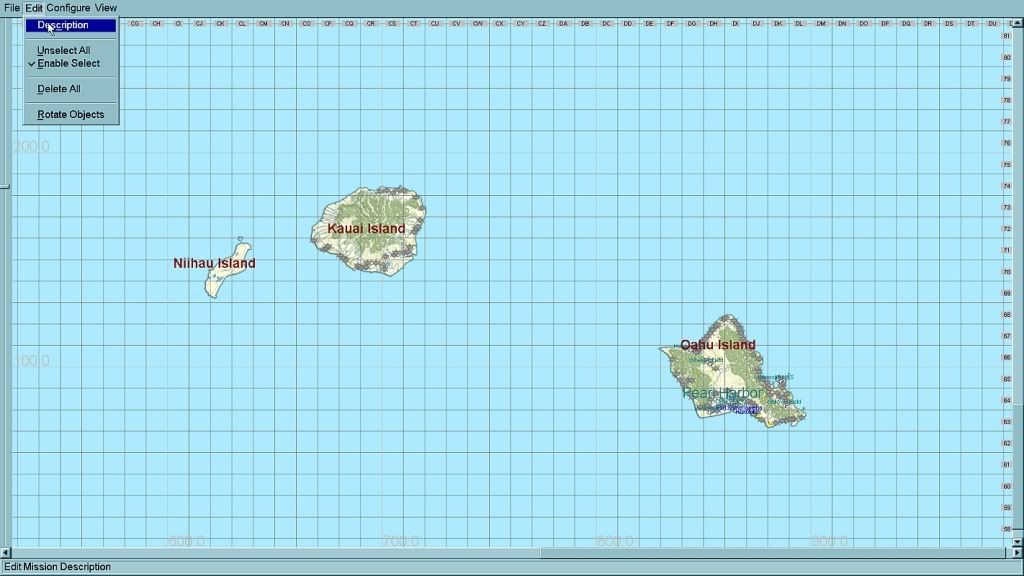
Click 'Edit' then 'Description'
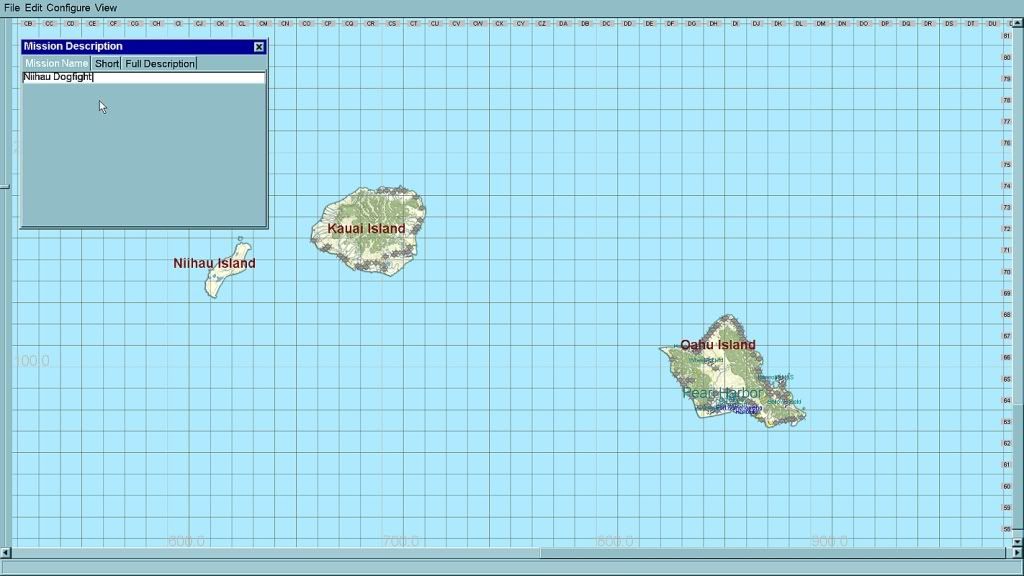
Type in a mission name. Let's call our mission
'Niihau Dogfight'.
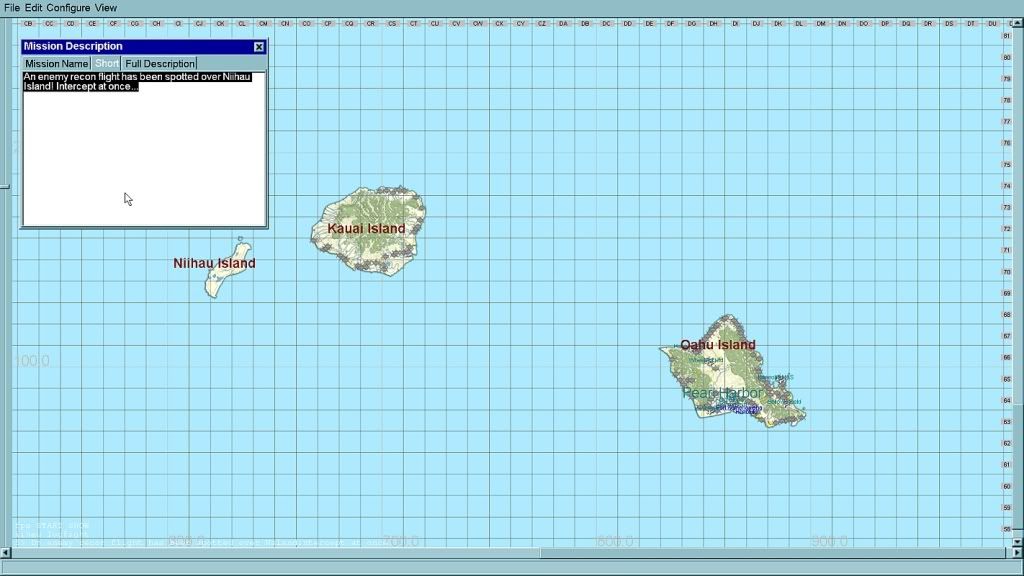
Let's give our mission a 'Short' description. Nutcase would probably say something like: "An enemy recon flight has been spotted over Niihau Island! Intercept at once..." so let's go with that.

Sometimes you'll see white text on your map... don't worry, it does that sometimes. Why? Who knows!?
 Edit: Actually, the white text is caused by clicking ALT-TAB while you're in the FMB. You can get rid of the text by clicking SHIFT-TAB but your FMB session might be locked up regardless - best idea is DON'T ALT-TAB in the FMB.
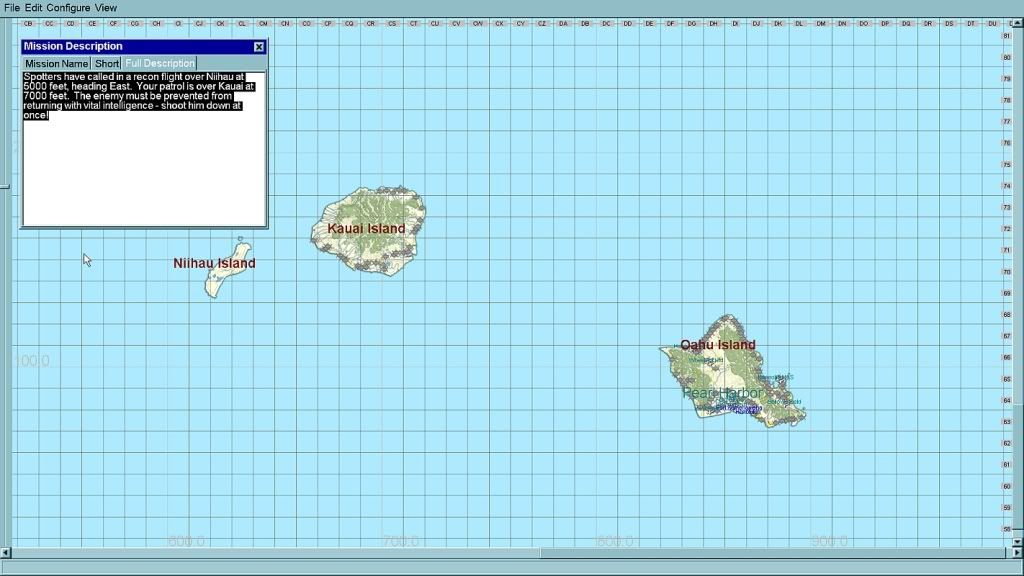
Let's give our mission a bit of a story in 'Full Description': "Spotters have called in a recon flight over Niihau at 5000 feet, heading East. Your patrol is over Kauai at 7000 feet. The enemy must be prevented from returning with vital intelligence - shoot him down at once!" Nutcase would be proud.
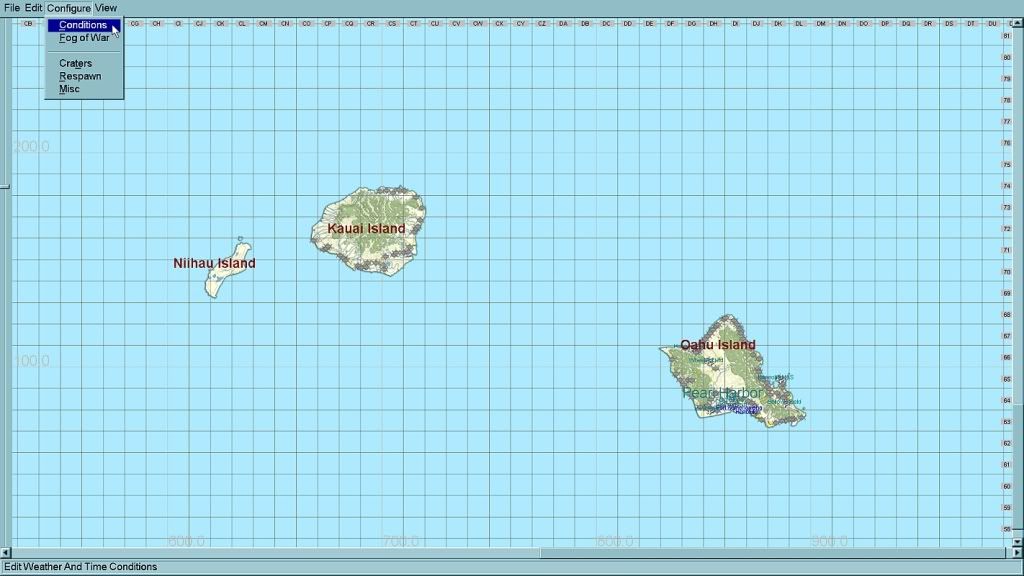
Click 'Configure' then 'Conditions'.
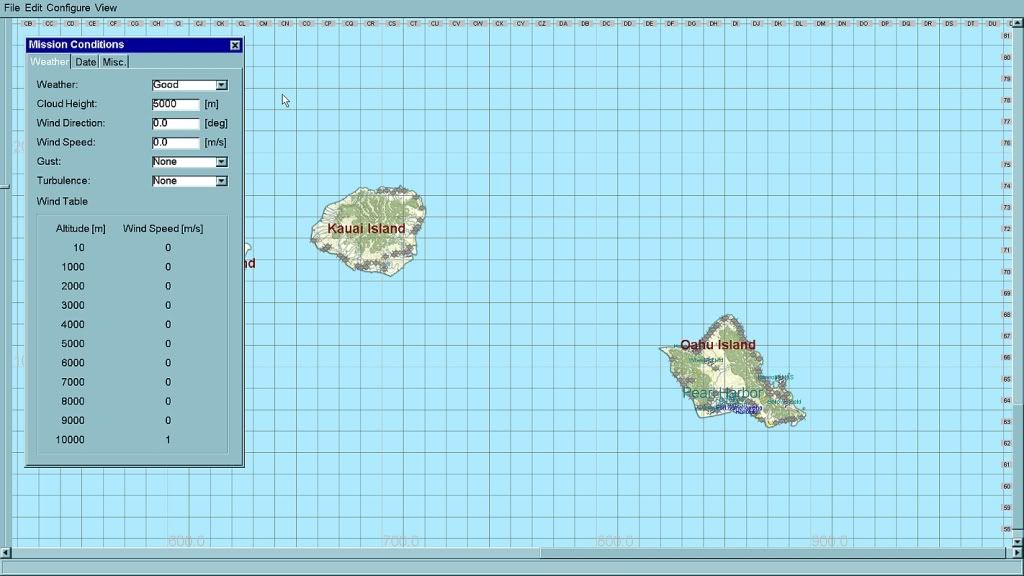
Let's choose 'Good' for our 'Weather'. It's Hawaii after all, and real fighter pilots only fly with their shades on...
Some of this stuff is new since Nutcase's day, so we'll just stick to the basics for now and come back to the new advanced features later. Leave everything else at the default value for now.
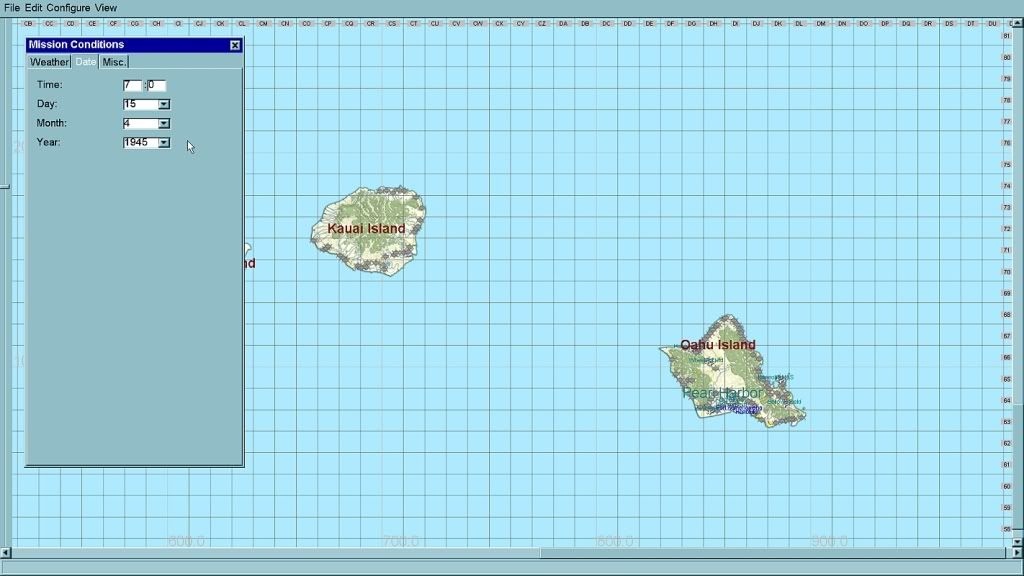
Let's make the time 0700 - it's a dawn patrol. And we'll give our mission a date in 1945.
Next, we'll need some planes.

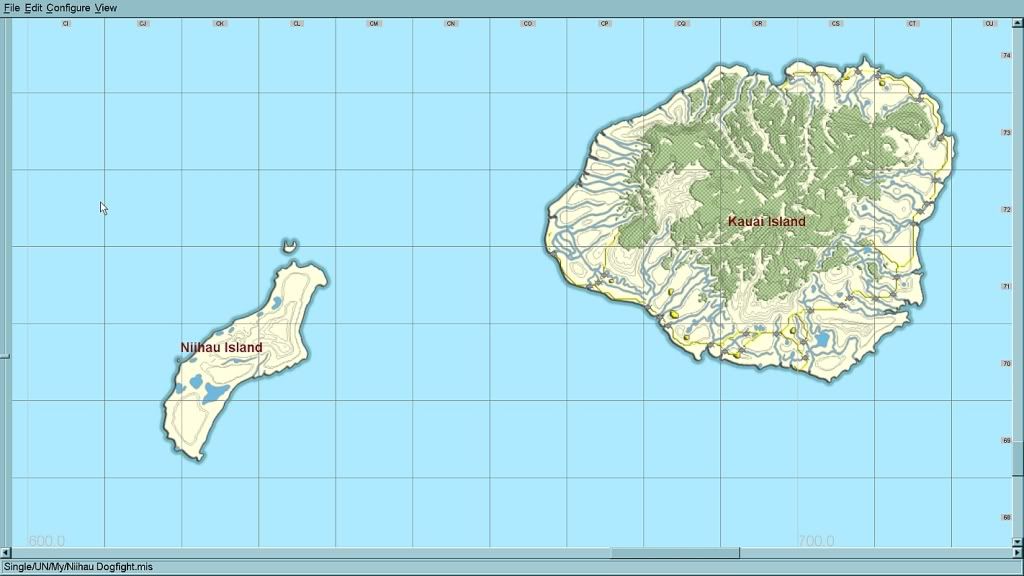
Here's a trick. If you press 'Shift' on your keyboard, and drag a box around Niihau and Kauai Islands (the scene for our action) with your left mouse button - you have a handy zoom-in short-cut.

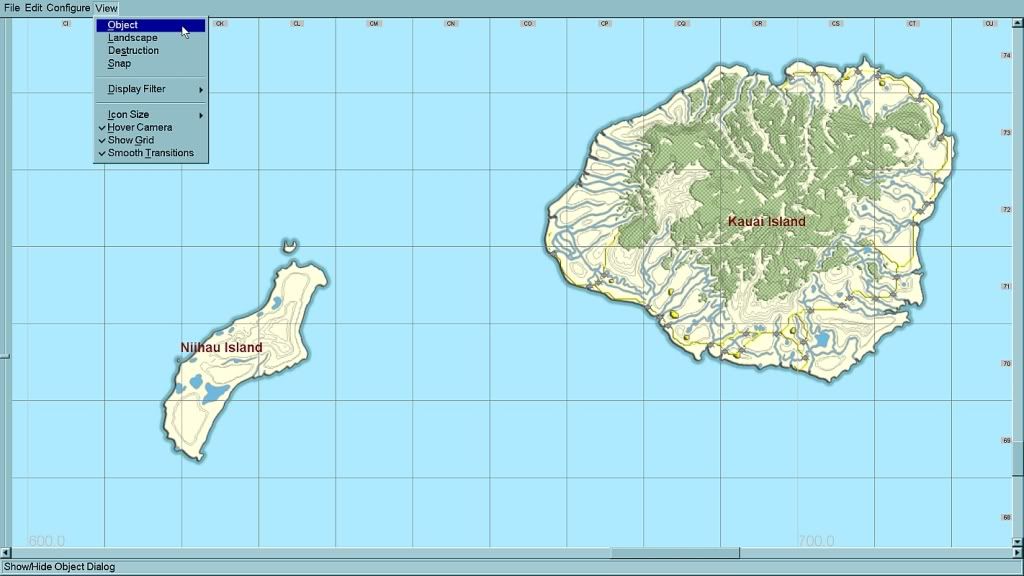
Click 'View' and 'Object'
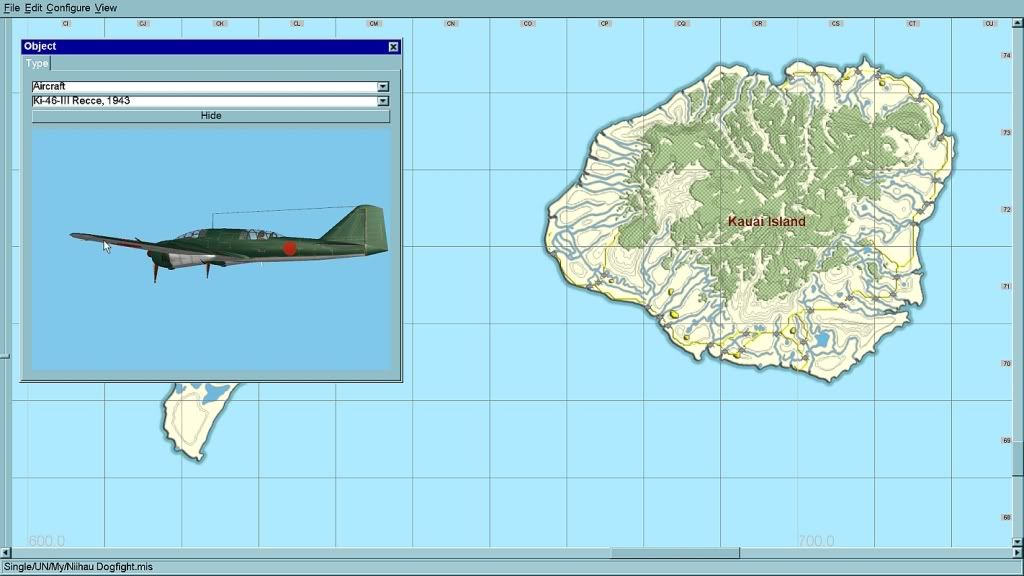
'Aircraft' is the default object type and I've selected a Japanese Ki-46-III Recce from the drop down menu. We'll explore the other object types another time.
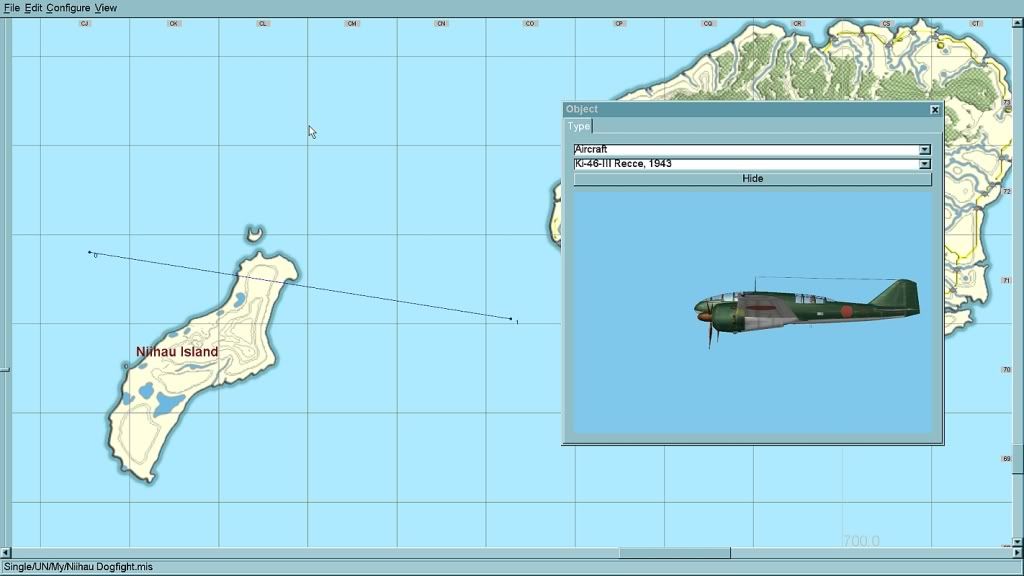
OK. Drag the object box out of the way (hold down the left mouse button over the object box title bar and drag). Hold down the 'Ctrl' key on your keyboard and left-click your mouse west of Niihau Island (that's your first waypoint - waypoint '0') and then Ctrl-click east of Niihau to give your bandit an Eastwards heading (the second waypoint is waypoint '1' - follow?).
Okie Dokie.

Let's finish setting up our bandit.

With the 'Object' window open, click waypoint '0' to open the Object tabs; there are three of them: 'Properties', 'Waypoint' and 'Plane1'.

Click on 'Properties' to open it. From the drop-down menus I've selected:
'Army': 'Blue'
and...
'Squadron' (name): 'Japan Army - <none>' (this is a multi-purpose generic squadron, choose a historical one if you want!)
The other settings are all the default values. Feel free to explore... you'll see for each 'named' Squadron (or geschwader or regiment etc) you have the option of four 'numbered' squadrons with up to four numbered flights each. You can choose the weapons loadout (default is usually guns only) and fuel level, how many planes are in this flight today (we're going to have one for now to keep things simple), the skill level of the pilots and whether or not they have been equipped with 'chutes.

Here's our first waypoint '0(2)' which means waypoint number '0' of 2
total waypoints.
Our altitude is 1700m (5000ft as per our mission briefing). The speed is 300km/h (the default). The time is 0700 (the default, which is the mission time we set earlier). The 'Type' is 'Normfly' which means the plane will fly normally to the next waypoint - until he sees our bad ass that is!

That's all we need to worry about here, for now. Click 'Next' to edit the next waypoint (you could also click the next waypoint on the map):

Play it again Sam! Waypoint 1(2) is the same as 0(2) 'cos we're keeping this mission very simple for now, right?

'Plane1' is where we can select a discrete pilot 'Skill' just for this plane, a special plane 'Skin' or paintscheme, 'Noseart' if applicable, a special 'Pilot' skin, and whether the 'Markings' are displayed in game or not. Everything is default in this example.
Our pilot's plane for the mission is next!

So
this is what we're here for... to strap on a killing machine and take to the wild blue yonder!
I've selected Gerd's cool F8F-2 Bearcat. I've already added the first waypoint ('Ctrl-click') just west of Kauai Island. Let's take a closer look:

Mouse-click on the waypoint to open the Object tabs.

Click 'Properties'.
I've selected the Red 'Army' and the 'USN <none>' generic 'Squadron'. All the other settings are default for this straight-forward little mission.

Click 'Waypoint'.
The 'Height' is 2300m (7000ft) as per our briefing, and we have a 'Speed' advantage over the bandit (400km/h). Everything else is default.

Click 'Plane1'.
This plane is player-flyable, so we have the 'Player' option available this time. I've selected it, and if you look closely at the waypoint you'll see it has a flag indicating this is the player's bird.
I've chosen a special 'Skin' to jazz the mission up, and some 'Noseart' (only available for US planes). The 'Pilot' is default, but I've
un-selected 'Markings On' because the skin artist (UF_Zargos!

) has included them for us.
 Here's a tip:
 If you start your flight plan with just
one waypoint, and make your settings (height, speed etc), your
next waypoint will retain the
same properties... saving you a bunch of time.


Let's save all our hard work.
Click 'File' --> 'Save As' to open the file directory:

... like so.
Scroll to Single/UN/My (remember we set this folder up at the start) and give your file a name. Just type in 'Niihau Dogfight' (for example) and click 'Save'. The file will be saved as 'Niihau Dogfight.mis'. (We'll examine some advanced text editing tricks with this file at a later date!)

THE MOMENT OF TRUTH!!! ???
Time for a test flight! Click 'File' --> 'Play'...
And did it work...

OF COURSE!!!

Congratulations... Have a Bourbon on me!


Because we've employed the proper folder structure you can play your new mission in the Single Missions interface.

Or you can open the FMB and click 'Load'...

... to open the file directory again. Select 'Niihau Dogfight' and click 'Open'. Bob's yer Mother's Brother!
Like Flying Nutcase says... it's a piece of cake to make a mission like this, but with even these basic skills, and
your imagination and creativity, you can make hundreds of interesting missions! You can make them as fantastic or deadly historical as you want... whatever blows your hair back!

Drop by again soon. We've got LOTS more to cover. Next up is take-offs and landings, carriers too, so you can plot full flightplans.
Cheers for now.

Kiwi
FMB Tutorial - Home
 Author
Topic: FMB Tutorial 01 - Your First Mission! (Read 17792 times)

