FMB Tutorial - Home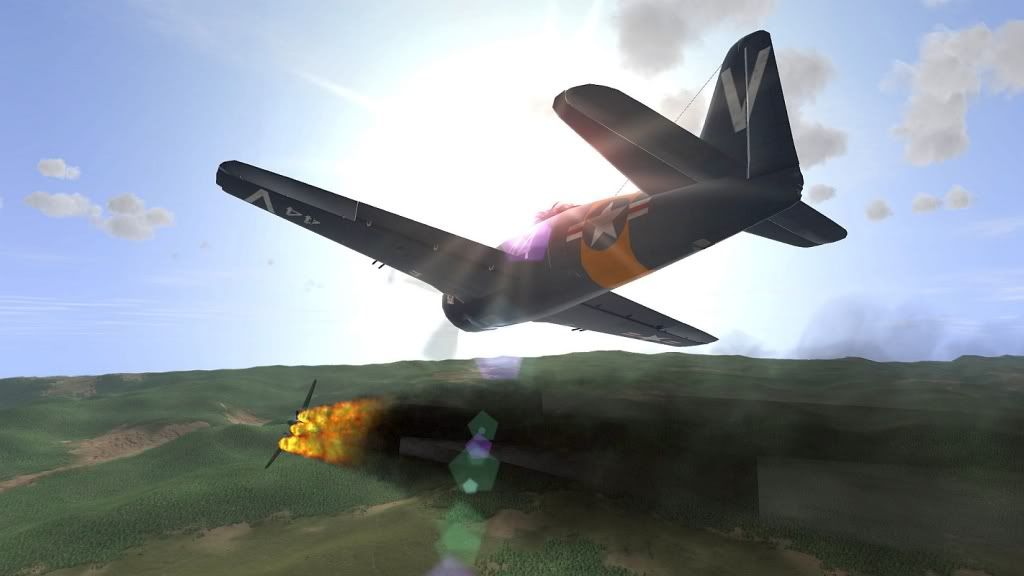
OK. The next part of the tutorial is to put together a simple scramble mission with a
full flightplan, including takeoff and landing waypoints.
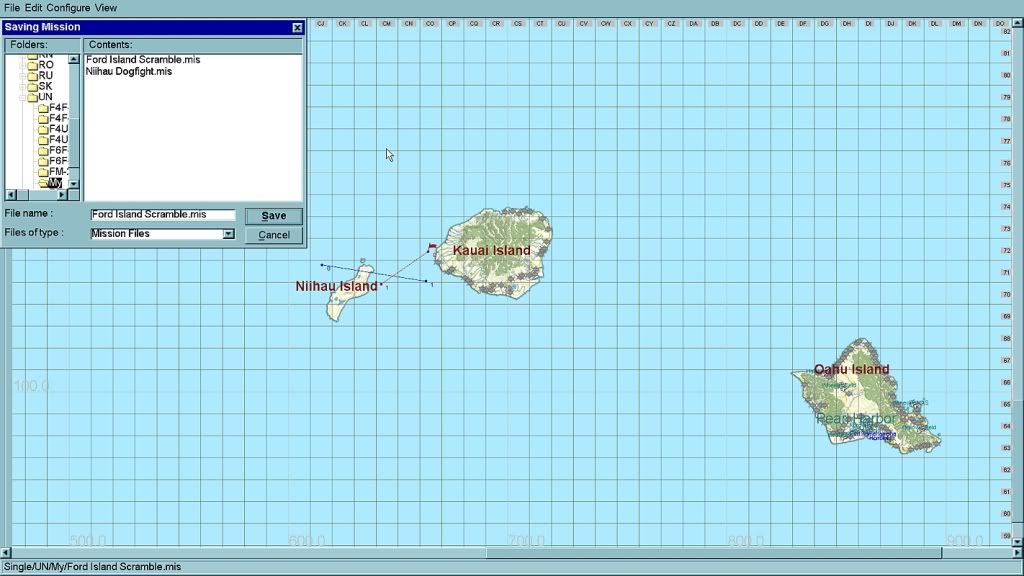
Open FMB and load 'Niihau Dogfight' (we covered how in the previous section

).
Click the 'Save As' button to open the 'Saving Mission' tab and rename the mission as
'Ford Island Scramble' - click 'Save'. We're going to use the concept of mission 'templates' - instead of creating a complete new mission from scratch, we'll create an interesting new
version of the
last mission, changing only as little or as much as we need. Eventually the 'templates' concept will save us LOTS of time, allowing us to create a variety of interesting missions quickly, and in an organic, self-consistent fashion that will lend itself to easily collecting the missions together into campaigns later on.

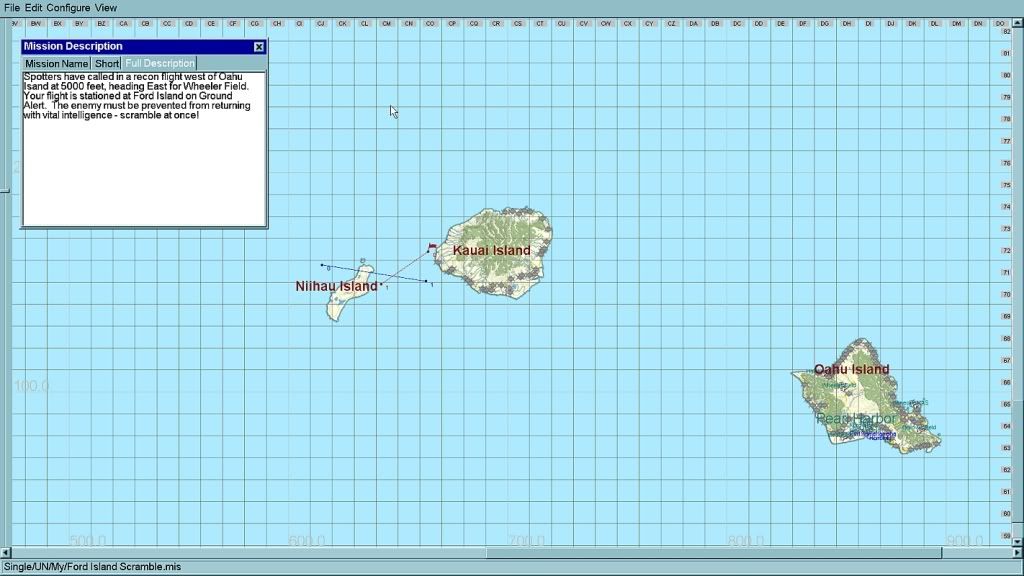
Edit the mission description. Here's mine:
Mission Name: Ford Island Scramble
Short: An enemy recon flight has been spotted west of Oahu Island, headed East for Wheeler Field! Scramble at once...
Full Description: Spotters have called in a recon flight west of Oahu Island at 5000 feet, heading East for Wheeler Field. Your flight is stationed at Ford Island on Ground Alert. The enemy must be prevented from returning with vital intelligence - scramble at once!
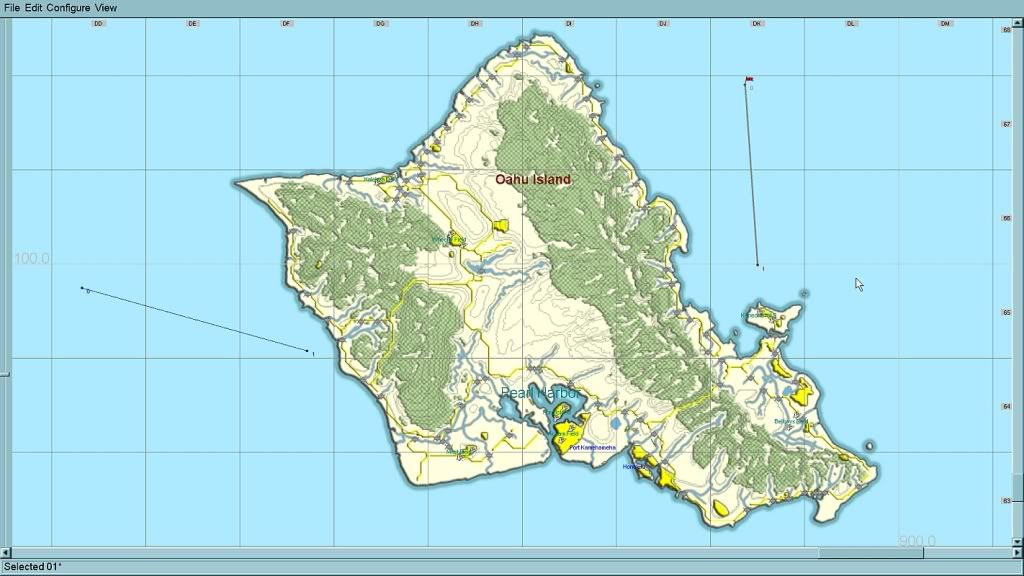
Drag the red waypoints for the F8F-2 (left mouse-click the waypoint, hold and drag)
just to the east of Oahu Island, and the blue waypoints for the Ki-46
just to the west.
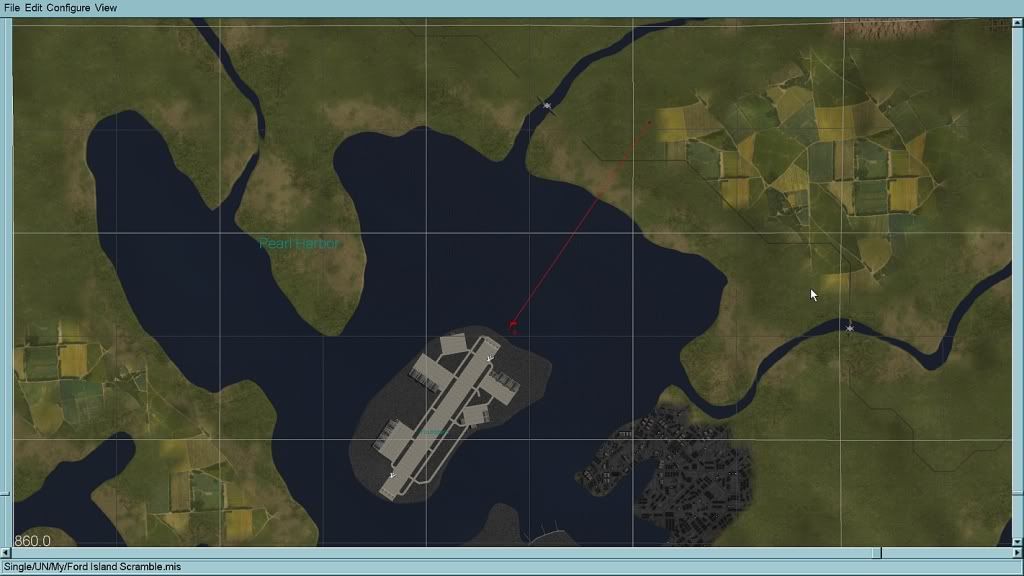
Drag the red waypoints to Ford Island and then drag a 'box' around Ford Island and the waypoints to 'zoom-in' on the map (left mouse-click an empty spot on the map, hold and drag). Orient the waypoints roughly in line with the two 'runway' icons at Ford Island. The icons indicate both ends of one runway - some runways may have an icon at only one end.
Notice that we're off the 'map' and have actually entered the 2D 'world' now.
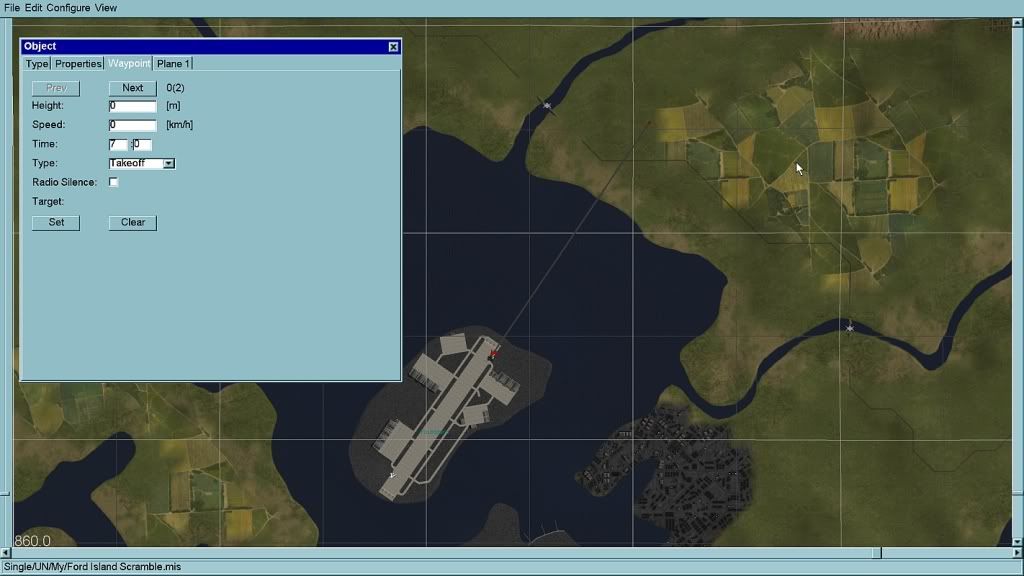
Select waypoint '0' (left mouse-click over the icon) to open the 'Object' window and tabs. Select the 'Waypoint' tab and change the 'Type' selection to 'Takeoff' - the waypoint will jump to the nearest runway icon.
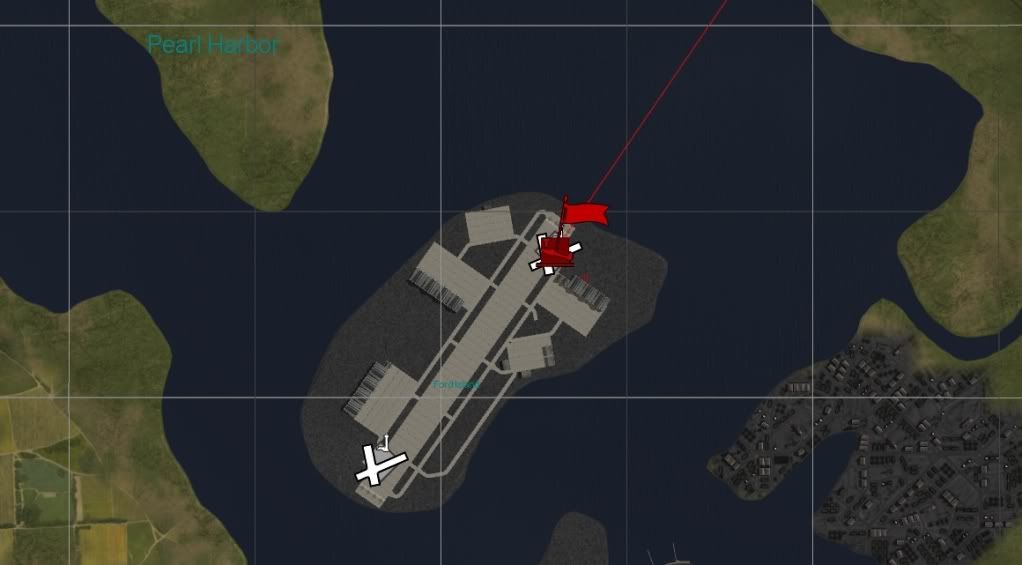 Tip:
Tip: The aircraft will takeoff from the opposite end of the runway
towards this icon.
That's all there is to setting a takeoff waypoint. Easy!

Let's carry on and plot a full flightplan for our mission (to scramble and intercept the bandit over Wheeler Field). This is just one method - I like it because it's somewhat authentic, and it's easy to reproduce, lending that consistency to our missions with an eye to a future campaign. Take a look:

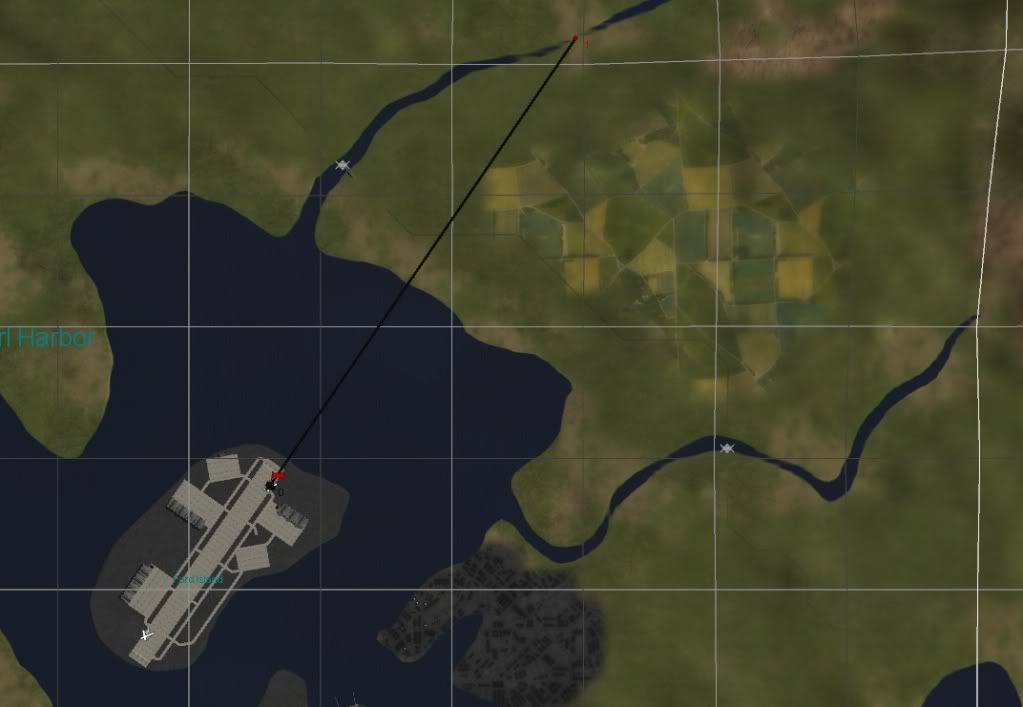
Waypoint '1' is going to be a 'navigation' waypoint - we're going to climb out from the runway at Ford Island. I think it's important to have a landmark for each waypoint - it has that authenticity we're after - when you read memoirs of real fighter pilots it's how they planned their flights back in the day, and they still do.
There's a ford in the river at 12 o'clock from the runway - that'll do nicely. Drag waypoint '1' over the ford and set the altitude to 300m (roughly 1000ft) and 300km/h (about 200mph). The Bearcat is a high performance fighter with a light loadout and will cope with this climbout profile just fine.

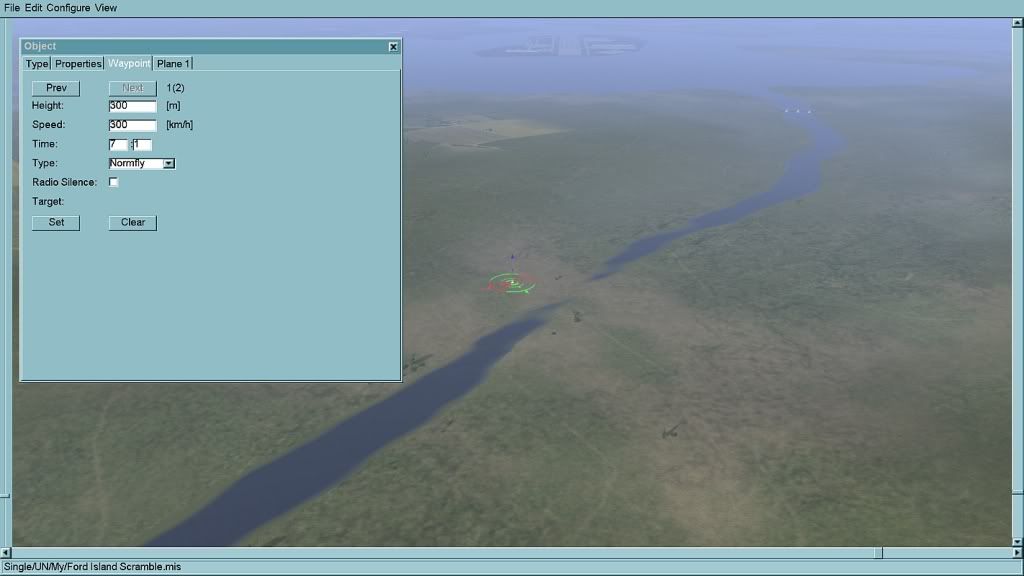
Drag a small box around the waypoint to zoom in for even more detail. Left mouse-click on an empty spot in the 2D world and click 'Enter' on your keyboard to enter the 3D world. Your position is represented by the 'gizmo'. Use your mouse to pan around and zoom in the 3D world to get a good look at the surroundings. Move the mouse left and right to pan the view clockwise/anti-clockwise. Move the mouse forwards and backwards to tilt the view up and down. Hold down the
left mouse button and move the mouse forwards and backwards to zoom in and out. Hold down the
right mouse button and and move the mouse forwards/backwards or left/fight to move the gizmo around the 3D world.
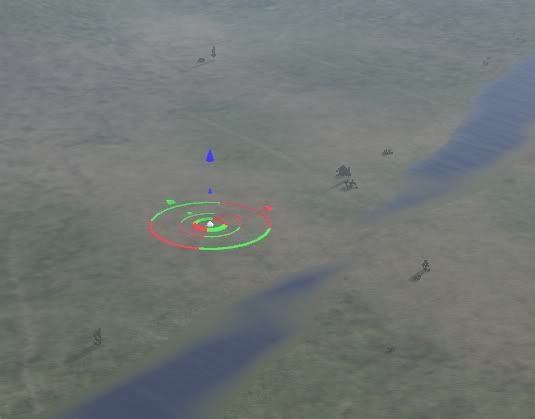 The Gizmo!
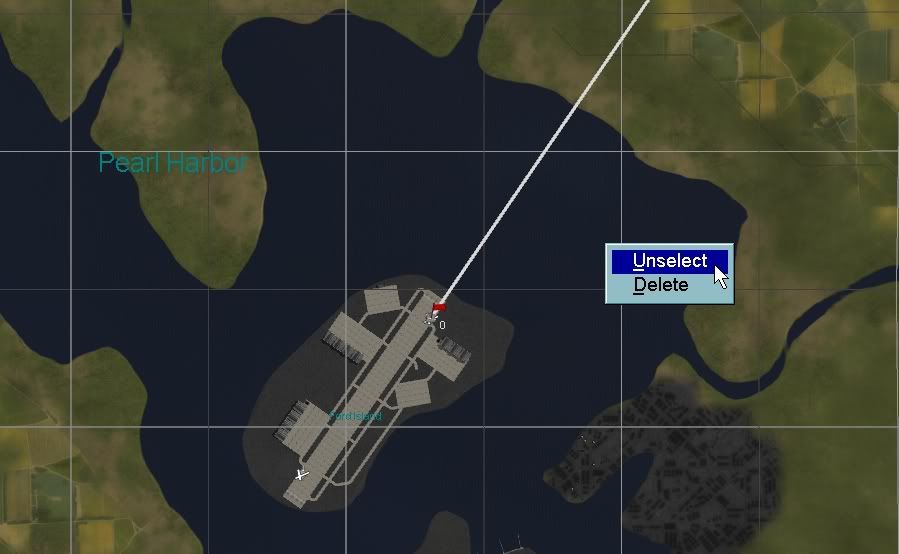 Here's a tip:
 It's good practice to get into the habit of 'unselecting' waypoints (or objects) when you've finished with them. Right-mouseclick an empty part of the map, click 'Unselect'.
Looks good, so exit the 3D world (click 'Enter' on your keyboard) and zoom out a bit so we can plot waypoint '2'.
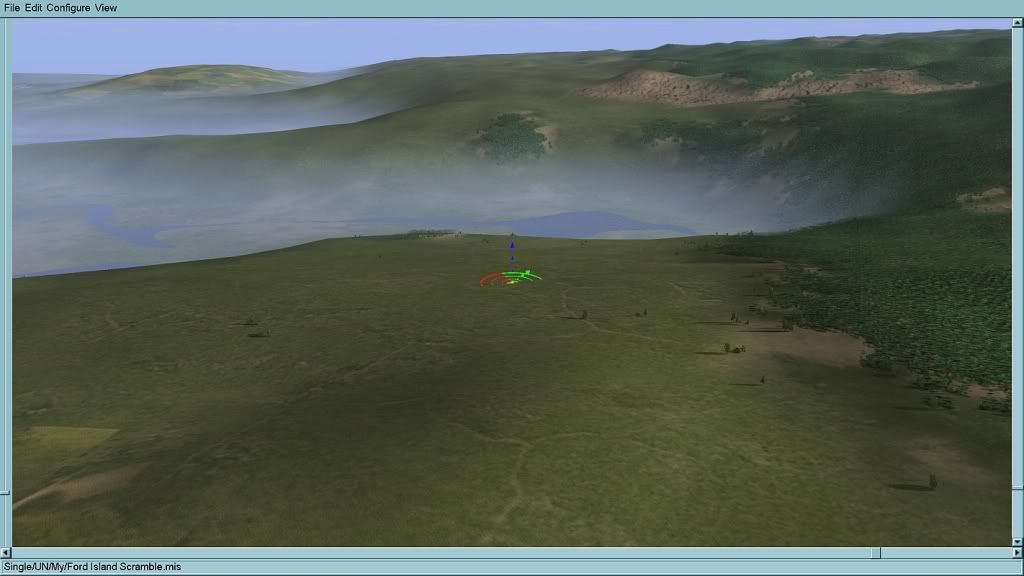
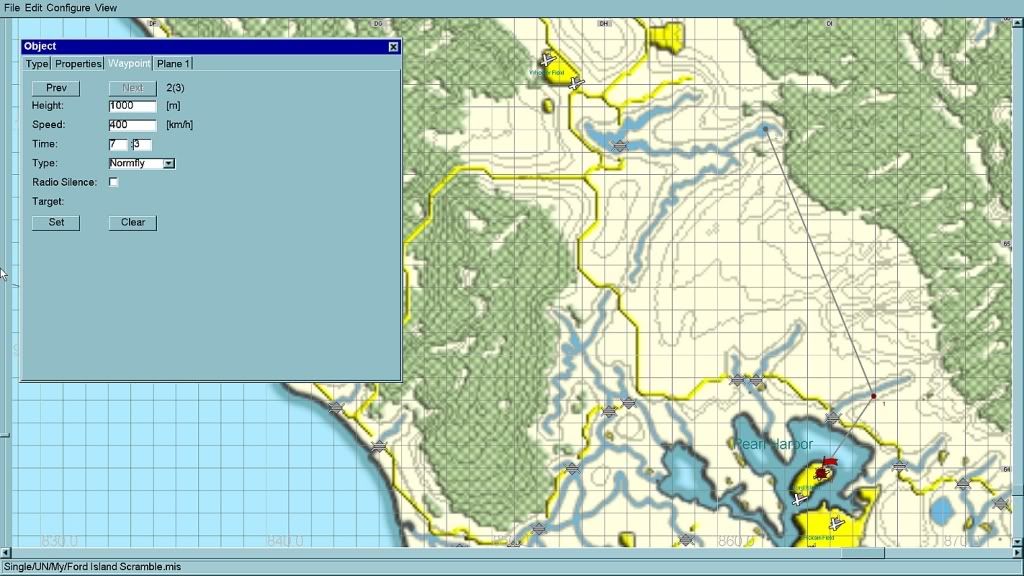
Waypoint '2' is a navigation checkpoint on our way to the target area. This re-entrant (valley) with the distinctively shaped water feature, will do nicely. Set the height to 1000m (3000ft) and speed 400k/hr (250mph). This height and speed will do nicely for the remainder of our mission's waypoints, and when we create the
next waypoint it will keep these same properties - saving us work!

Let's plot the next waypoint now:
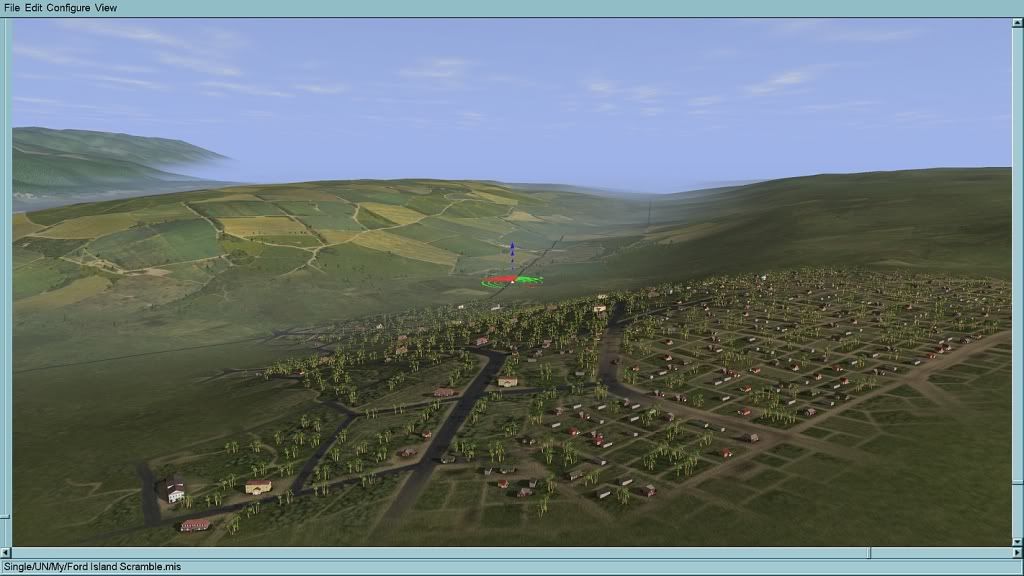
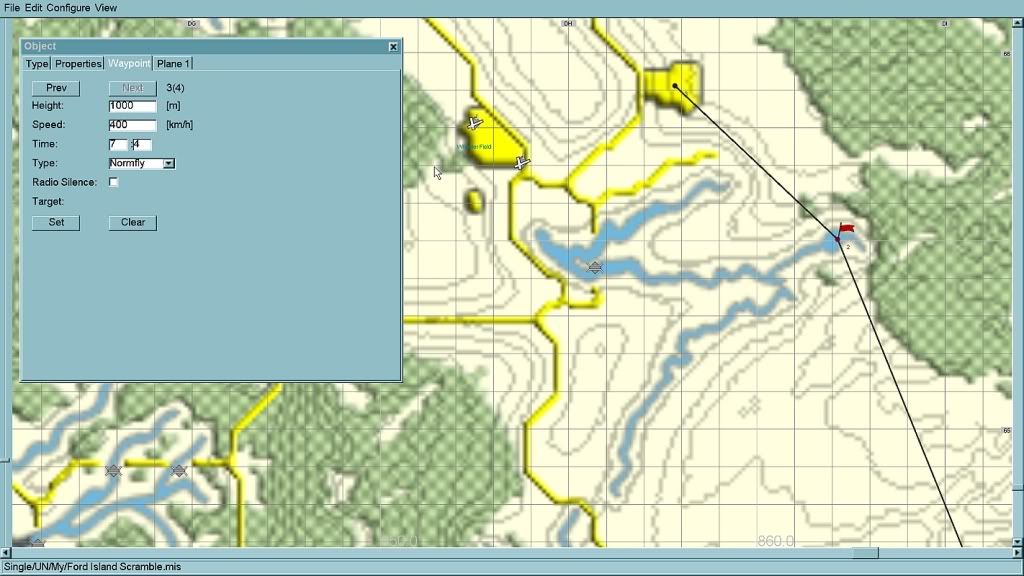
Waypoint '3' is the IP or 'initial point' to the target area for our mission. I like an 'oblique' approach to the target area - it makes it easier to keep the target area in the the canopy frame of a big front engined fighter and it's a little bit 'tactical' (in
real life the enemy couldn't be
sure of where you're headed). This approach works pretty well for both air and ground missions, and it's more fun to 'peel off' to the target rather than just drill straight in.

This village looks like a pretty good landmark for the IP - so zoom in and take a look around.
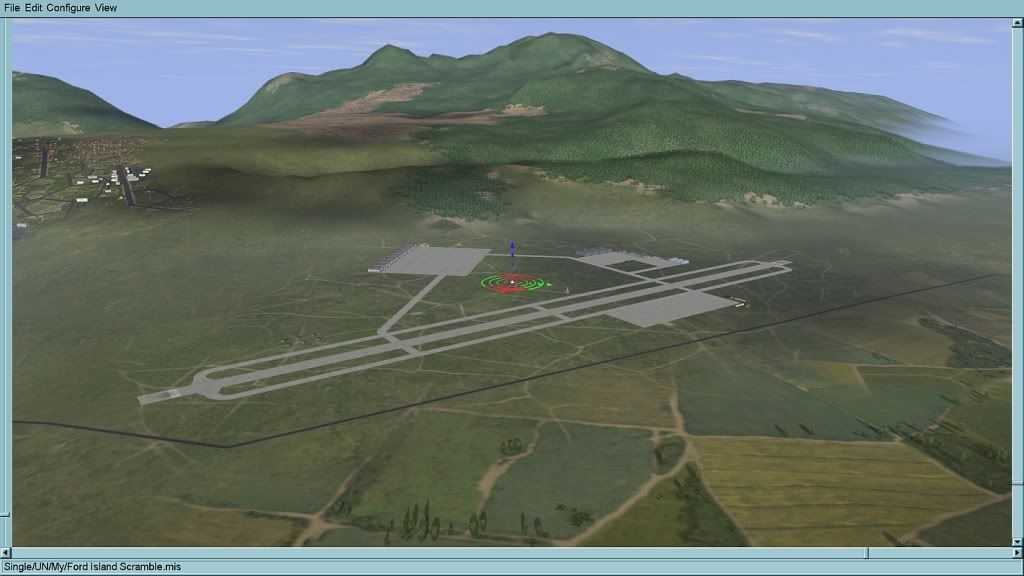
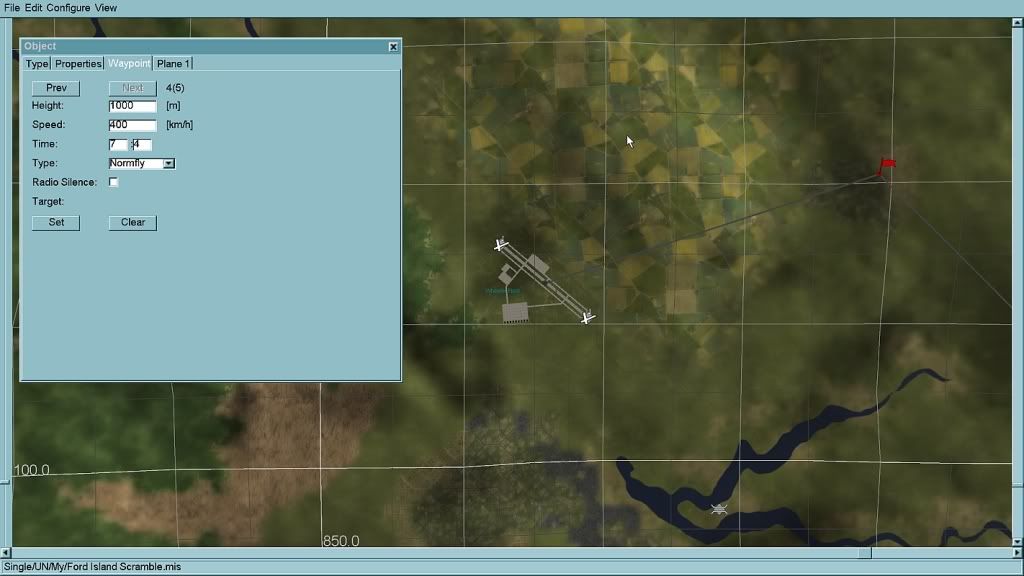
Waypoint '4' is our 'target area' - Wheeler Field. The centre of the runway will make a perfect landmark for the waypoint.
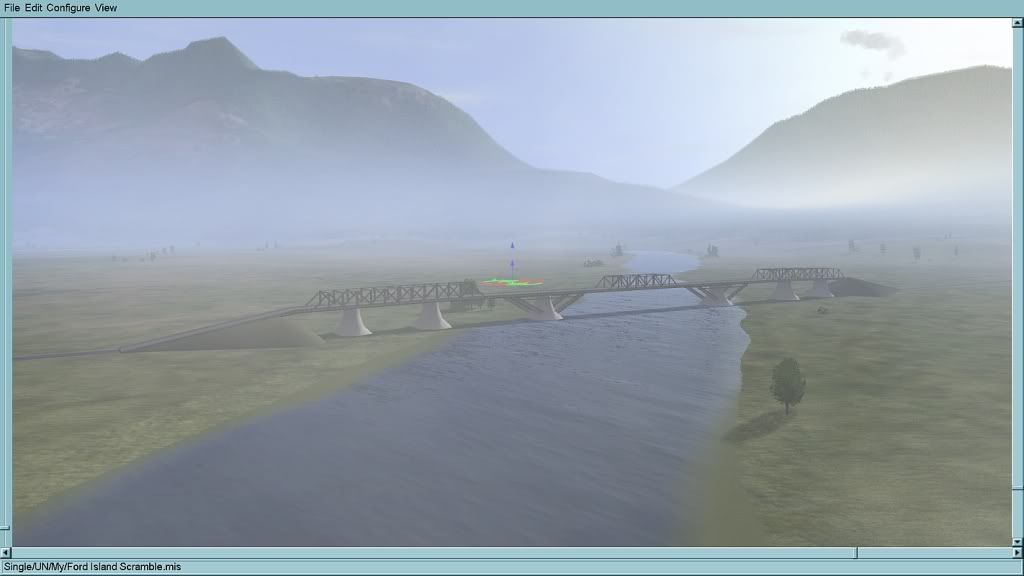
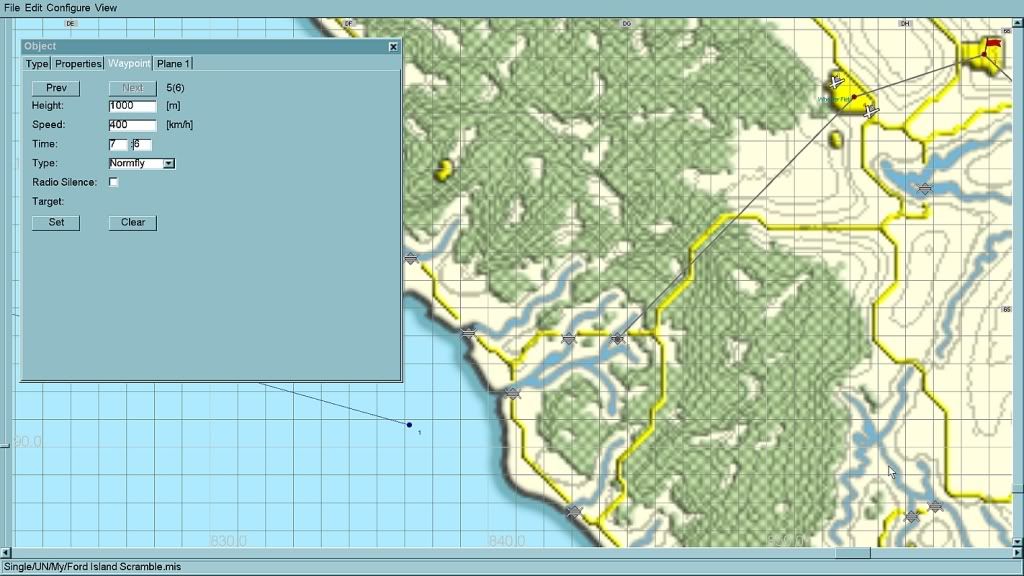
Waypoint '5' is our 'rally point' - the waypoint
after the area where we're going to engage the target. What's interesting about the rally point is that (depending on the wingman commands you select and the AI setup in your install) your AI wingmen will fly to this waypoint after attacking targets and loiter until you order them to 'Rejoin'. The rally point can be a really nice tactical feature to exploit in your missions, as both planner and player.
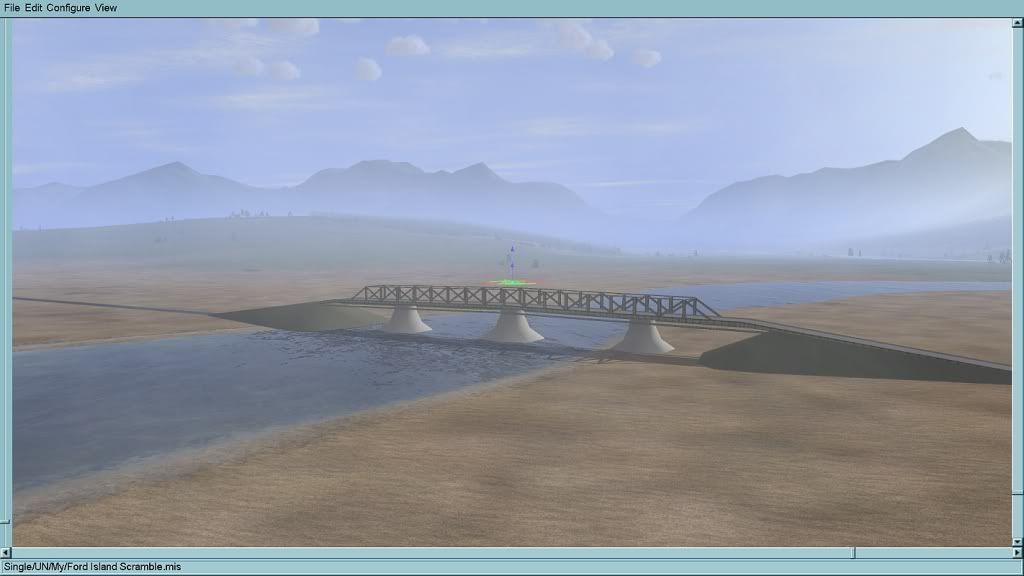
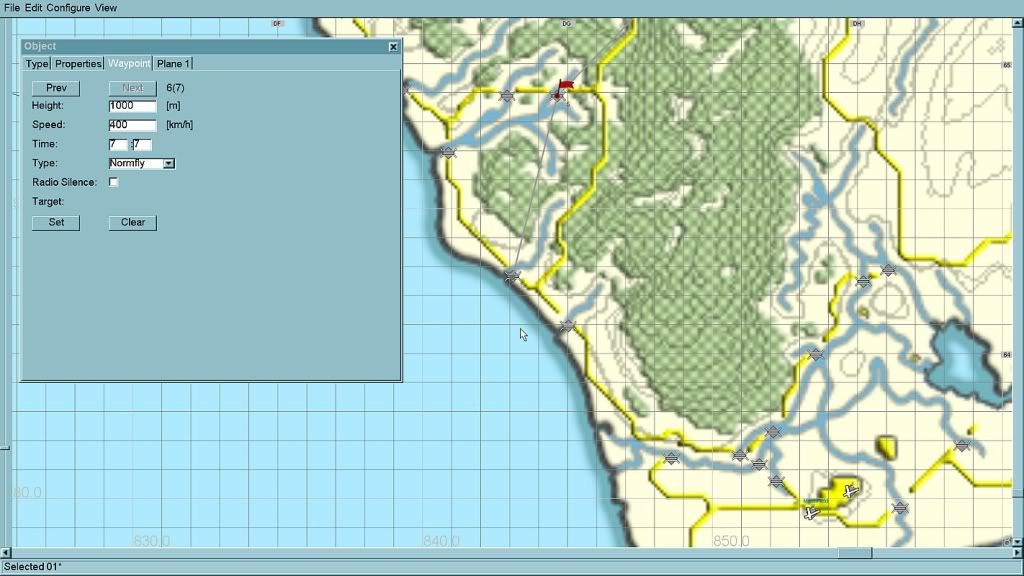
Waypoint '6' is a navigation checkpoint for the trip home. This bridge looks like a good landmark.
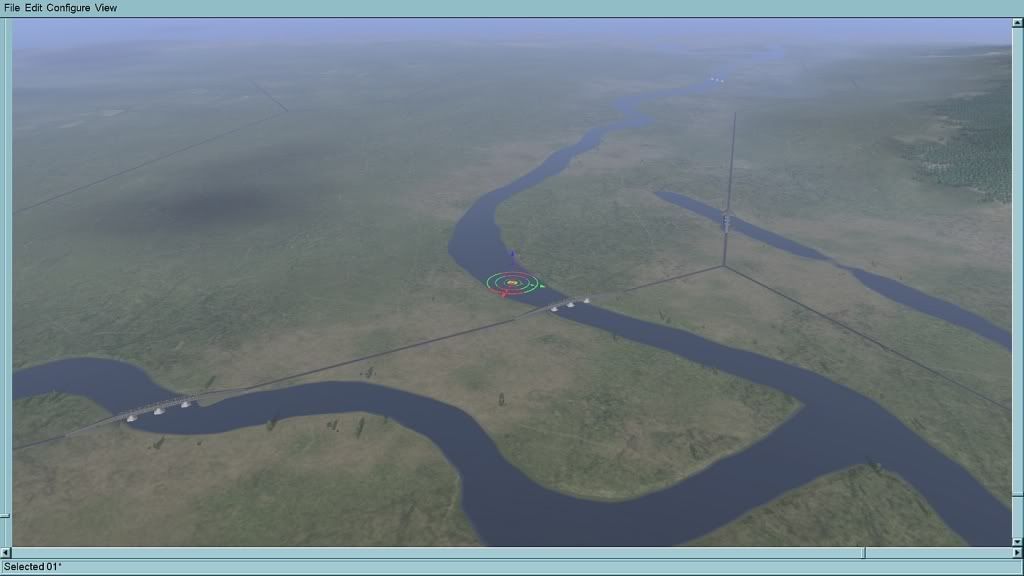
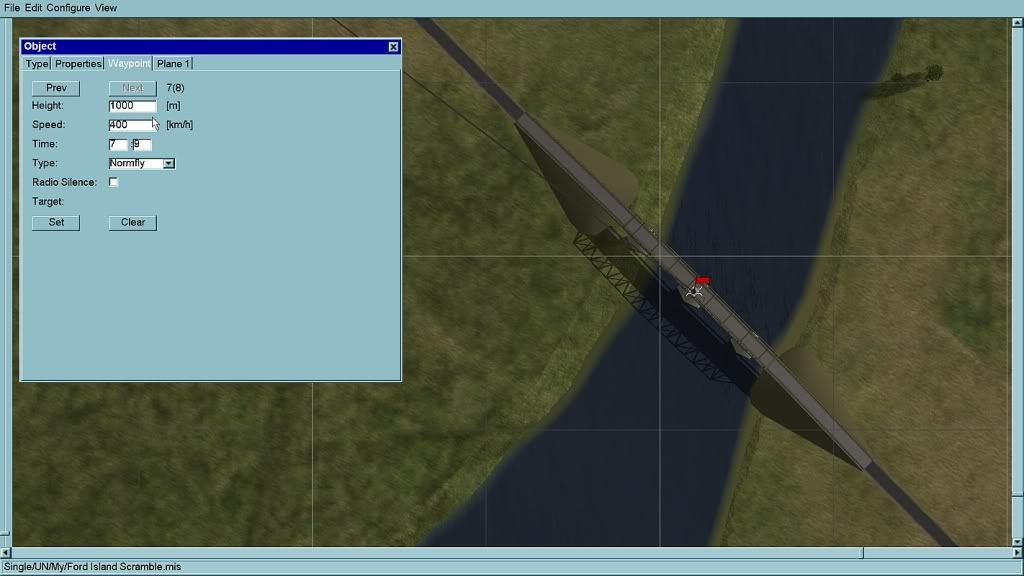
Waypoint '7' is our 'approach point', where we start to get ready to land. We want the approach point to set up an oblique approach to the 'line up' point. When we're flying the misson, this is where we'll start to set up our approach speed and altitude for landing. The middle one of these three bridges make's a nice visual reference for our pilot.
We'll talk about the approach point again when we add some wingmen to our missions.


Waypoint '8' is our 'line-up point'. The line-up point is where we turn to put the runway on our nose at 12 o'clock, and drop our flaps and gears ready to land. We'll take our line-up point as the centre of this bush salient, at the midway point of the line between the bend in the road and the 'exclamation mark' shaped water feature. As we line up in the mission the centreline of the salient will point to the runway so it'll make a nice reference.
This waypoint (
the last one before the landing waypoint) is handled in a particular way by the AI, that we will need to consider when we fly our missions. We'll talk about it more when we add wingmen to our missions.
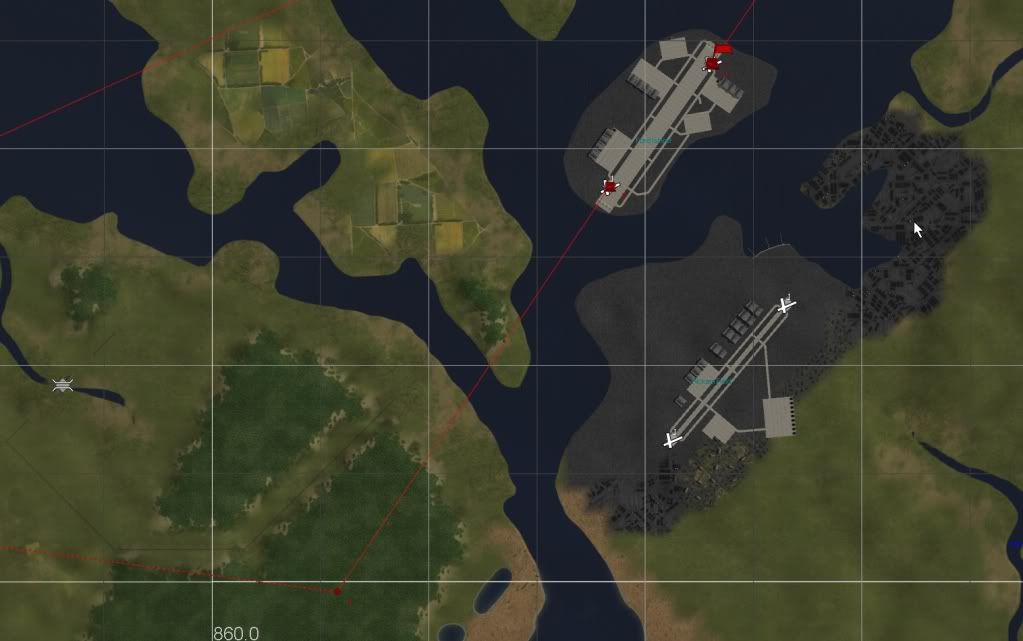

And finally our landing waypoint: waypoint '9'.

Just plop it down next to the runway icon and change the waypoint 'Type' to 'Landing'. The waypoint will jump to the runway icon.
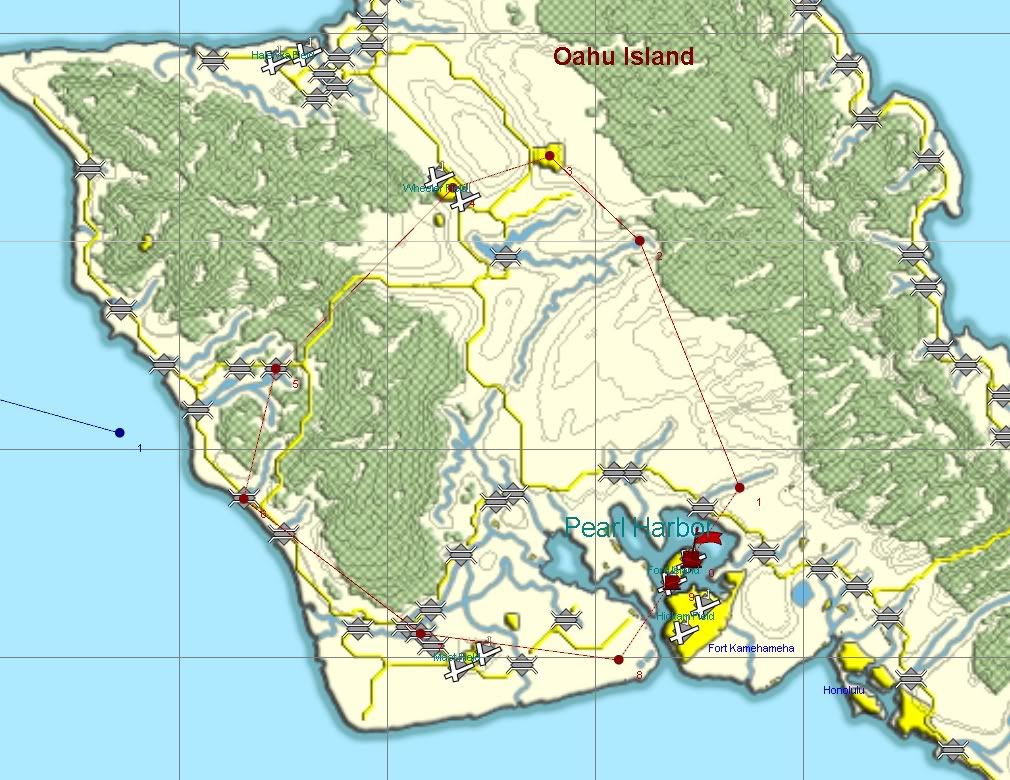
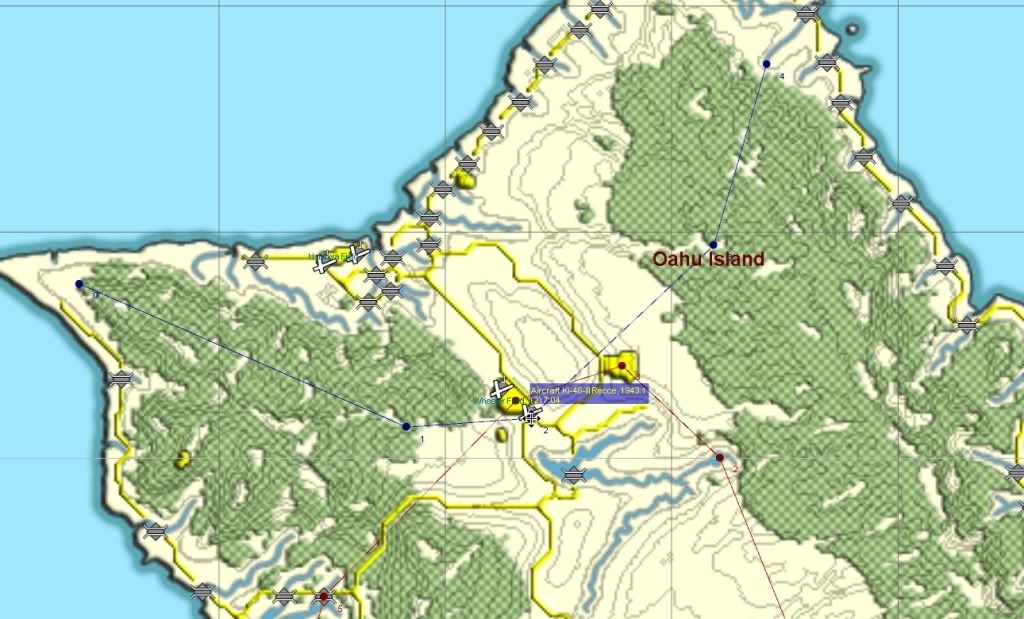
All that remains is to plot the waypoints for our victim.

Drag the Ki-46 icons so they overfly Wheeler Field, close to our 'target' waypoint '4' for the Bearcat (red side). Let's give the Ki-46 a navigation checkpoint '0', IP waypoint '1', target waypoint '2', rally waypoint '3' and an egress navigation checkpoint '4' - this way our AI target for the interception will behave a bit more naturally and less like a mindless target drone. The height and speed will carry over from the Niihau Dogfight mission (1700m and 300km/h) and these will be fine for all the blue waypoints in this mission - we won't have to spend a lot of time manually editing each one.
Mouse over the red 'target' waypoint '4' and note the time: 07:04. Check the time for the blue 'target' waypoint '2'. We want the times for both the red and blue 'target' waypoints over Wheeler Field to roughly coincide because we'd like a high probability of a successful intercept for our mission. Adjust blue waypoints '0' and '1' until the time for blue waypoint '2' is also 07:04.
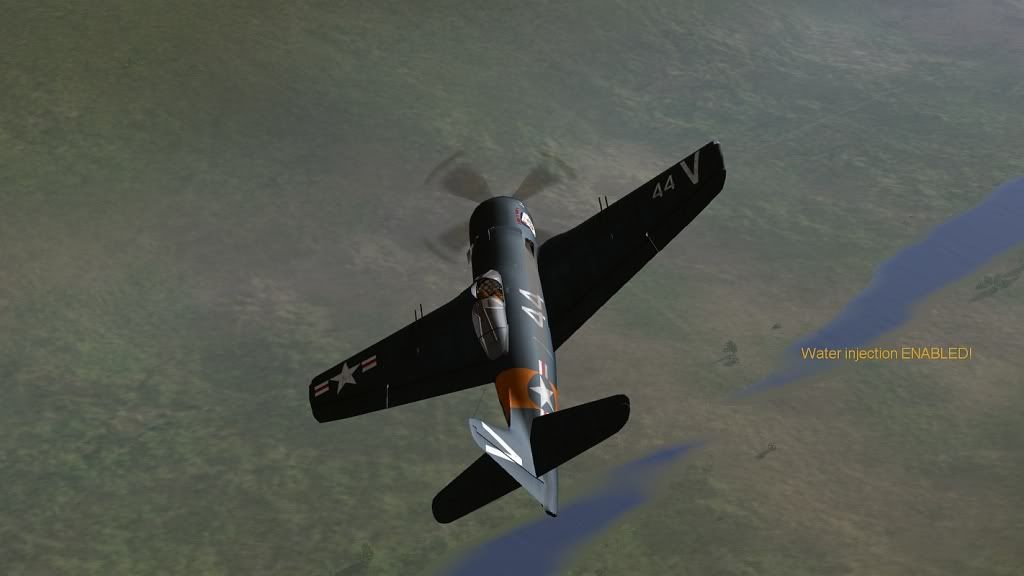
Time for a check flight. For a simple mission like this one I'd just jump in and fly.

Climbing out past waypoint '1', the river ford.
Here's a tip: for longer and more complex missions you might want to think about test flying them on auto-pilot and 8x speed, or pop in a temporary observer plane for yourself and let the AI fly the whole mission at 8X speed. It's very easy to observe the 'pattern' of the mission and check timings in the in-game map display and external views, and could save you a lot of time test flying a long mission only to make small corrections. Observing how the auto-pilot/AI performs on the mission will also give you a handy idea of 'par' (as in golf - a standard level of performance for the mission) that might help you set your objectives for the mission - something we'll talk about later.
On my check flight the Ki-46 arrived at Wheeler Field a little before I did, so I've adjusted blue waypoint '2' (the target waypoint) to 7:05. The timings in the mission builder are a
guide to how things will pan out when you
actually fly the mission, so don't be afraid to make corrections accordingly.

Did it work...
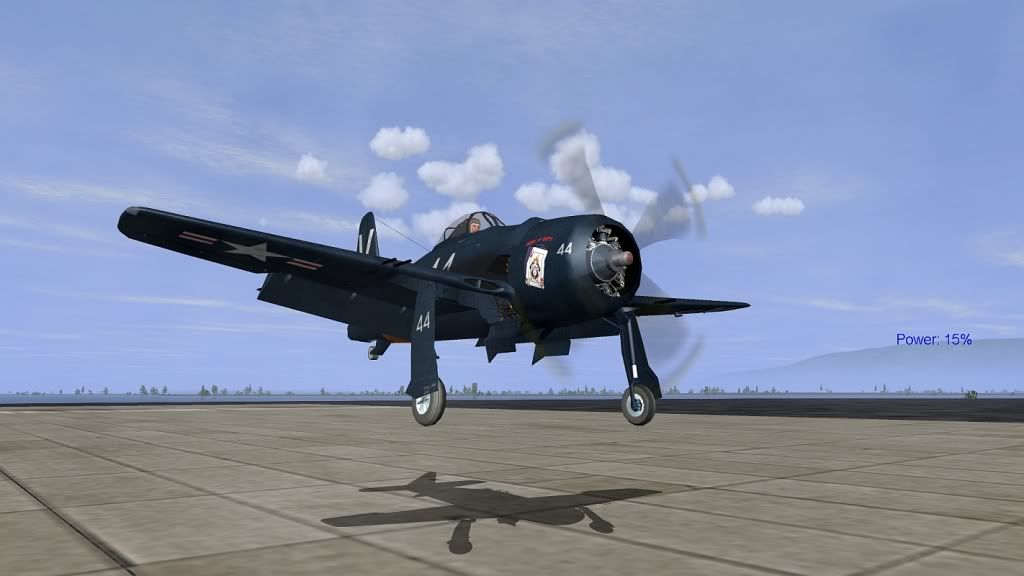
Sure did!

See you again soon, the next mission will be a carrier scramble!
FMB Tutorial - Home
 Author
Topic: FMB Tutorial 02 - Takeoffs, Landings, Flightplan (Read 8042 times)

