FMB Tutorial - HomeOkie Dokie. Carrier ops are a snap to set up, once you know the tricks of the trade.
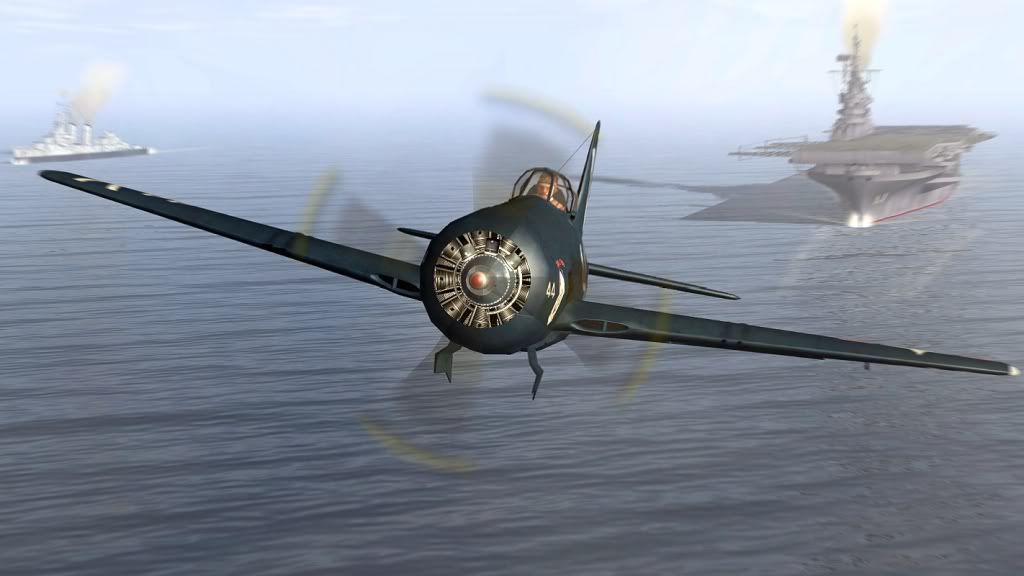
Open 'Ford Island Scramble' and save it as
'Carrier Scramble'. Edit your mission description to reflect that we are stationed on the USS Essex, we're pulling deck alert duty, and we're gonna intercept that hapless Ki-46 that is
still determined to recon Wheeler Field. (You don't need
my help to edit the mission name, short and description files by now I hope!

).
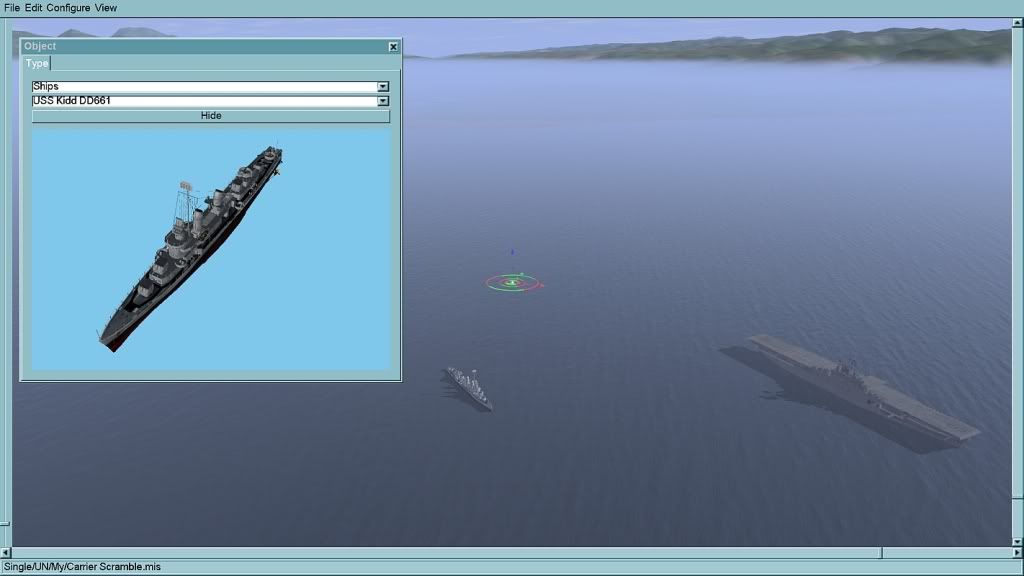
Let's add the USS Essex to our mission, and we'll have the USS Kidd fill in as guard ship:
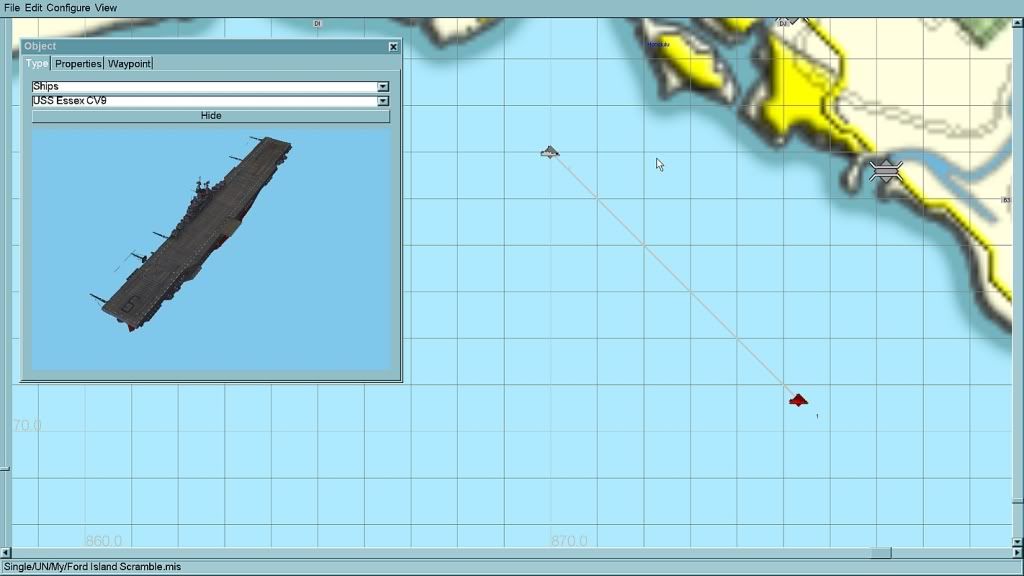
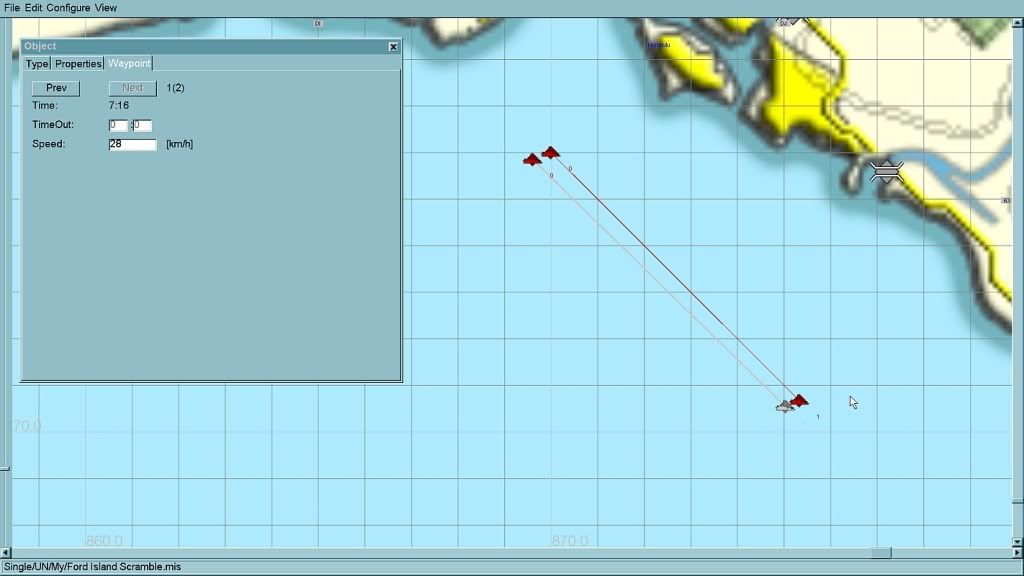
Open the 'Object' window and select 'Ships' from the top drop down menu. Select the 'USS Essex CV 9' from the bottom drop down menu, and plot two waypoints like so. To help keep things organised to start with, you might like to use the map grid. Note that the default speed for the Essex is 28 km/h. At this scale, the grid is 1 km. Add the USS Kidd too, and plot waypoints for her in echelon to the Essex.
 Here's a tip:
 Ships can be tricky to keep in formation. You can really help yourself out here, by making sure
all your ship waypoints are the same speed. When you plotted waypoint '0' for the Kidd, I
hope you noticed the default speed was 35 km/h - hopefully you changed it to 28 km/h so she would keep station with Essex, and if you
did, the waypoint properties would have carried over to waypoint '1' - just as we observed with the planes in the previous missions. If you
didn't adjust the waypoint speed - give yourself an uppercut and go back and change them now.

Of course, the mission might look a bit more interesting and natural if say the Kidd was very slowly
overtaking the Essex, rather than just sailing along in perfect formation like a mindless drone... so you
could set the speed for each of Kidd's waypoints at 29km/h for example - just be aware of what you're doing.
'Ship Tip' no.2: There have been more internet posts on ship station keeping in IL-2 than you would ever credit. For now, keep it simple stupid and have just two waypoints for each ship. You can set zig-zag anti-submarine courses for hundred-ship convoys and their escort battle-groups when you're an expert (just have plenty of aspirin on hand!). But for now -
two waypoints each! It'll work fine - trust me!
 'Grid Tip'
: As you zoom in, the map grid will change from 10km, to 1km, and finally to 100m. Use it to estimate distances, and remember, thanks to our old pal Pythagoras the hypotenuse (diagonal) of a grid square is ratio 1.4: i.e 14km, 1.4km and 140m. (You have no idea how long that took me to work out!

)
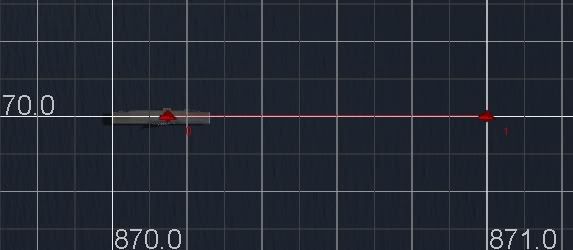
The USS Essex is an 870 foot/270 metre fleet carrier. '870.0' and '871.0' denote the 1 km grid.

Here the grid is 100m. The developers have done a nice job with the scale of the USS Essex - which is dead on. Note that most
maps in IL-2 are
not to scale, being less than 1:1 so don't let that fool you... like rear view mirrors, geographical features are closer than they appear.

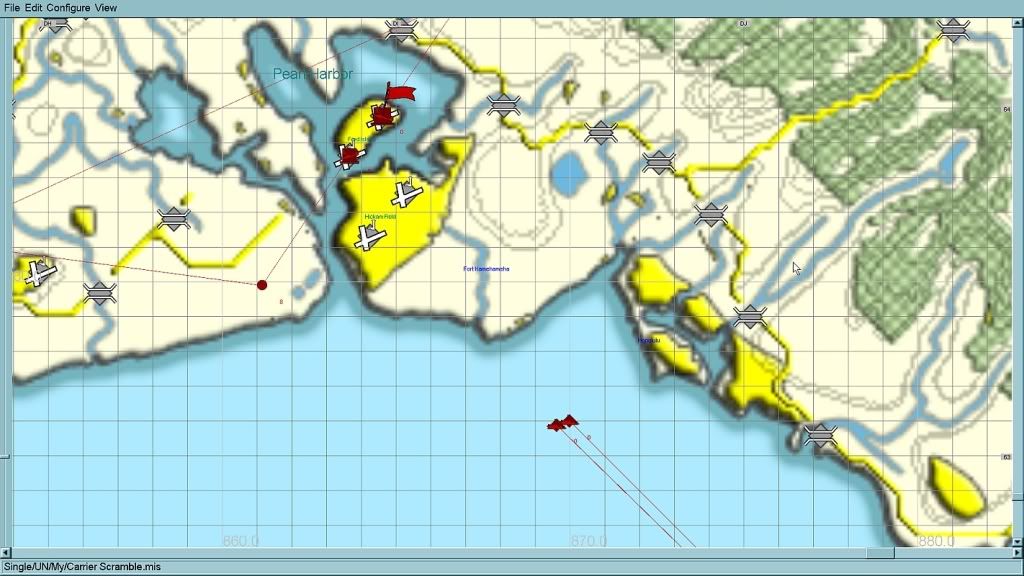
To have our Bearcat take-off from the Essex, all we have to do is drag the takeoff waypoint '0' near the Essex, then click 'Target - Set' which will turn our cursor in to a white 'target'. Move the target cursor over the Essex and left-mouseclick, the green target icon will attach itself
from the takeoff icon
to the ship icon:
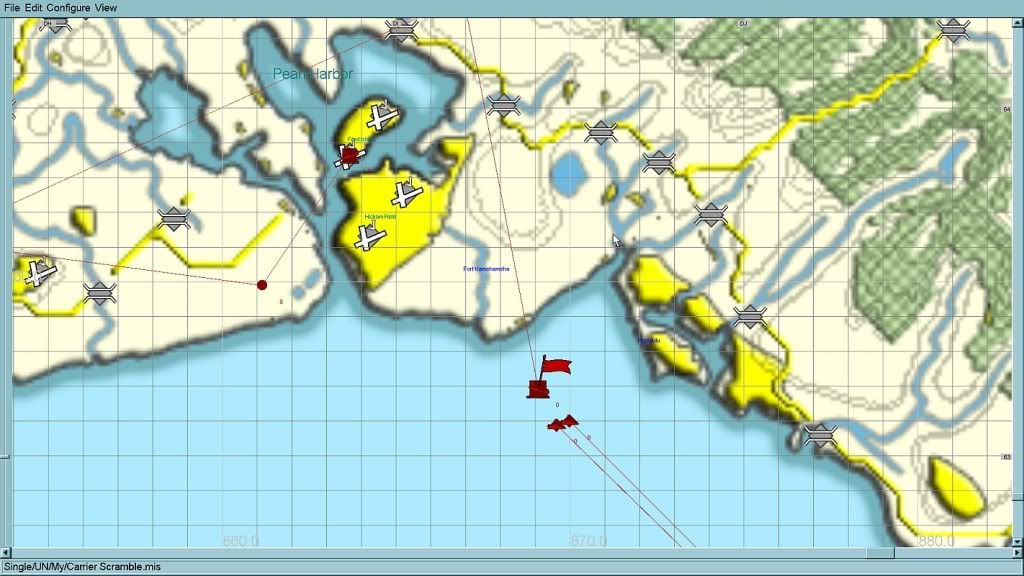
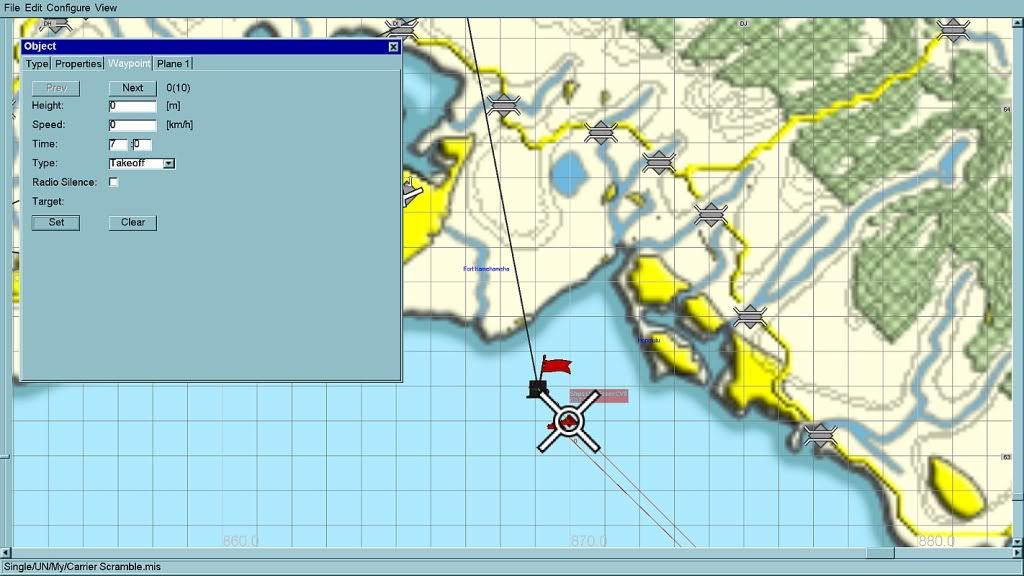
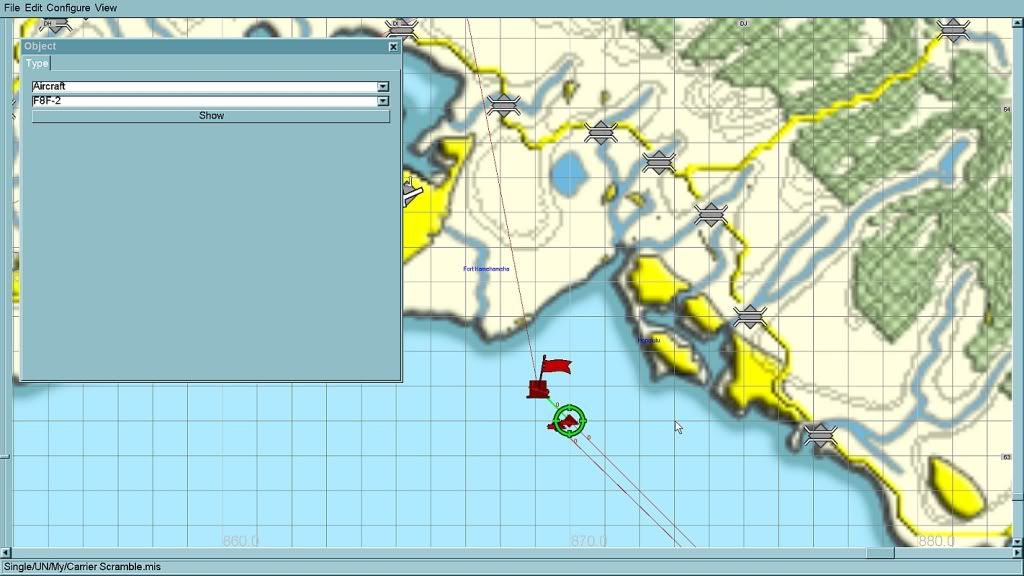
If we were creating this mission from scratch we would plot waypoint '0' and set the waypoint to 'Takeoff' at which point the waypoint would jump to the nearest runway, just like when we built the 'Ford Island Scramble' mission. Often, the waypoint will jump to the nearest airfield, ignoring the nearby carrier - at which point you would drag and set the waypoint as above - make sense?
We can use the same process as 'Ford Island Scramble' to complete our flightplan, just bearing in mind that approach and lineup points aren't quite the same when the runway is moving and there aren't any landmarks! Here's how I finished the flightplan for 'Carrier Scramble':
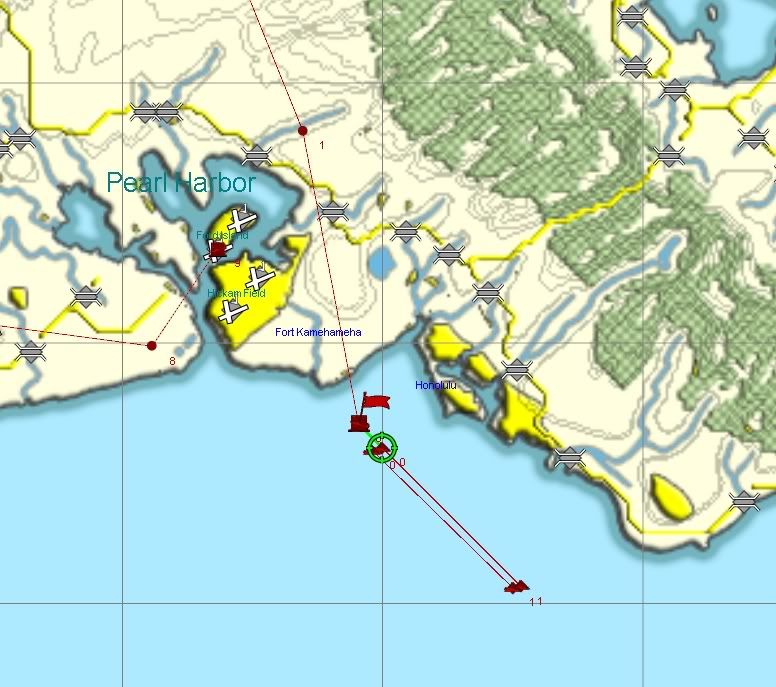
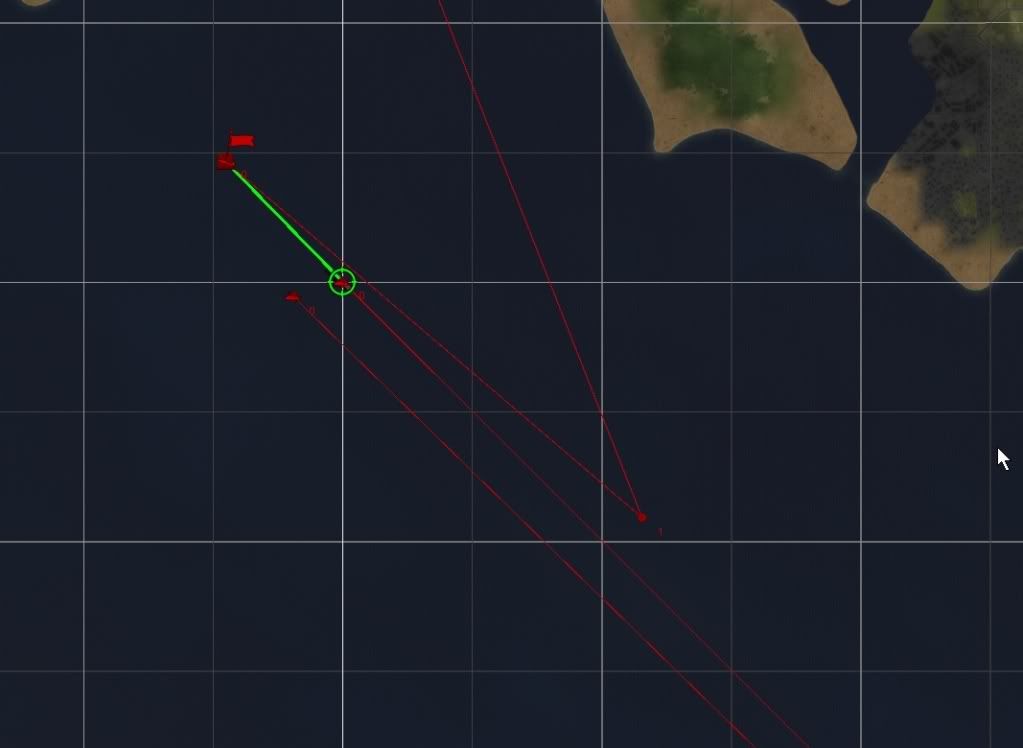
Drag red waypoint '1' (the Bearcat) to twelve o'clock of the carrier deck. 2-3000m should be enough room to climb out, the only obstacle out here is the ocean itself! Normally, I would set the climb-out waypoint at more or less 12 o'clock from the carrier deck. Here I've offset it here a little to port, just to make the waypoints easier to see in the screenie.
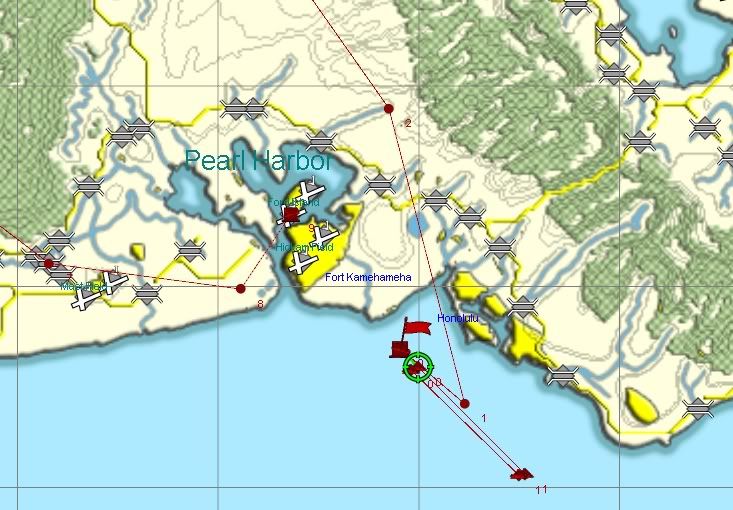
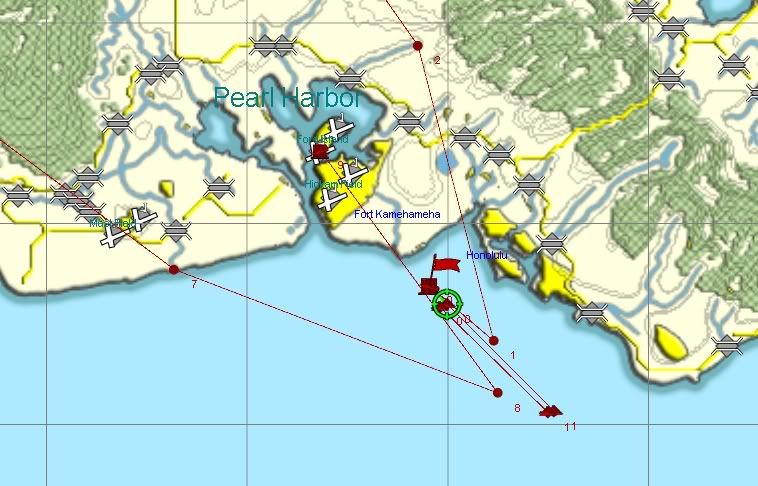
Then it was just a case of dragging the navigation checkpoints to suit our slightly longer flight. I used the headwaters in the re-entrant northeast of Ford Island for waypoint '2' and a river mouth southwest of Ford Island for waypoint '7'. I recycled waypoints '3' thru '6' (initial point - target area - rally point - nav checkpoint) from 'Ford Island Scramble' employing the 'template' concept.
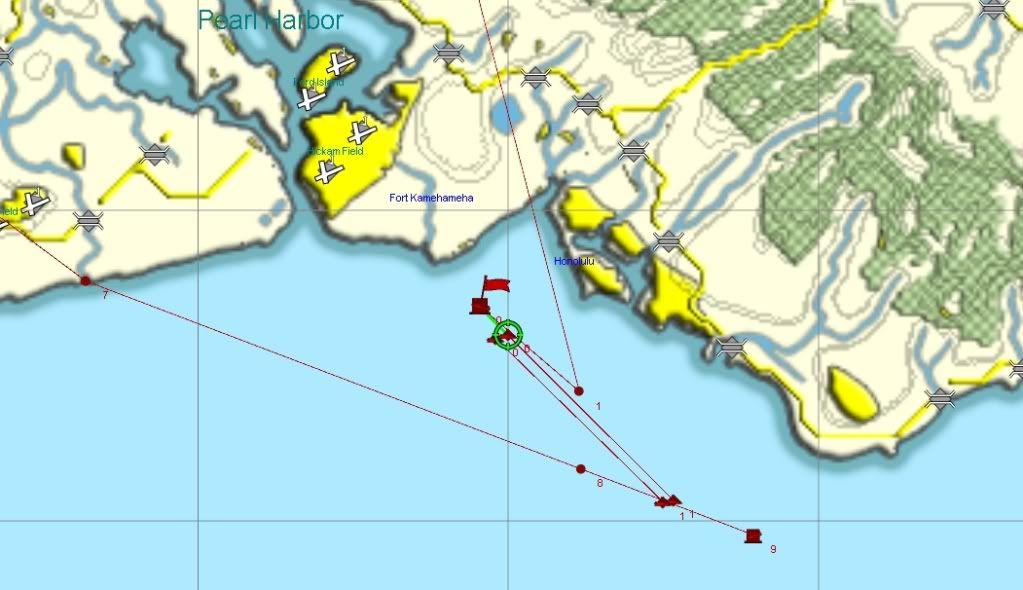
Waypoint '8' isn't so much a 'lineup' point (as it was in the last mission) rather, waypoints 7 and 8 form a 'carrier approach' which will bring you into the vicinity of the carrier for a visual line-up. Particularly with carrier landings, if you aren't happy with the lineup 'go around' and try again.
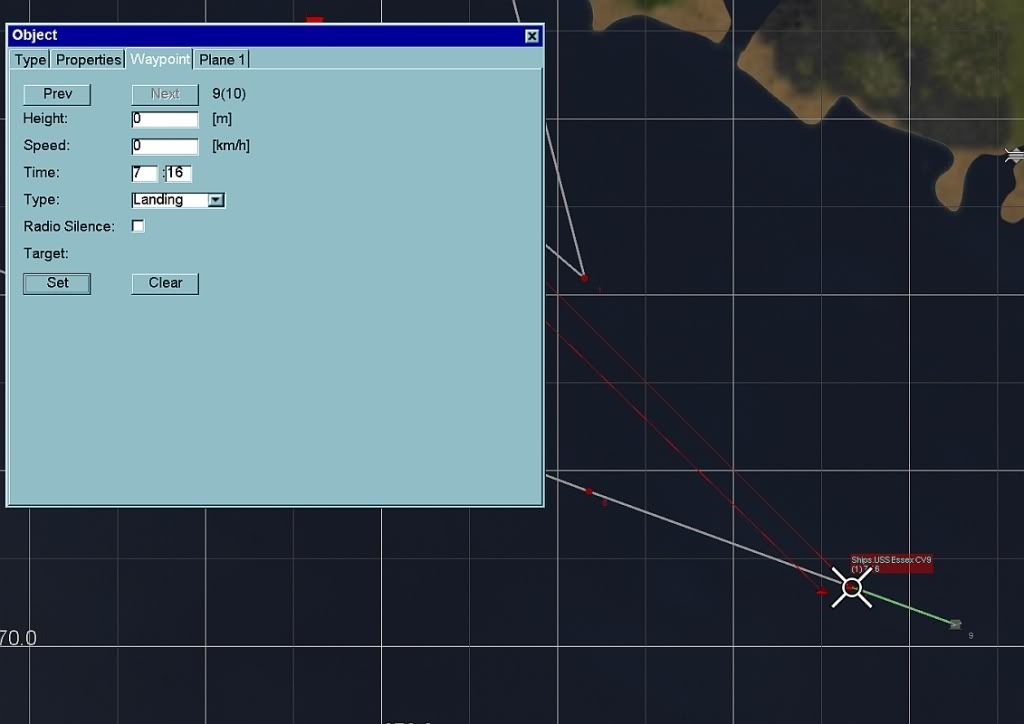
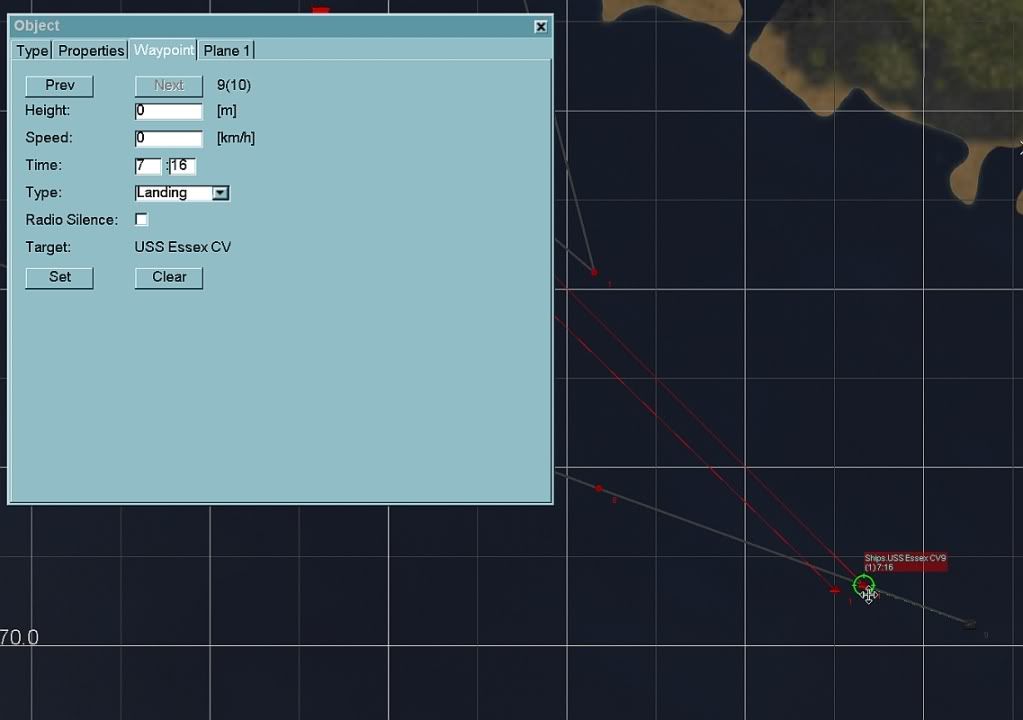
Waypoint '9' is our 'Landing' waypoint again, and I have dragged it across from Ford Island and set it on the Essex in the same fashion we set the takeoff point. I've adjusted all the waypoints so the timings for the Bearcat and the Essex coincide (at 07:16 in this example) - which should make for a nice efficient mission.

Don't forget to adjust blue waypoints '0' and '1' too, so the timings take into account our slightly longer red flight plan and the blue and red target waypoints still coincide over Wheeler Field (at 07:07-07:08).
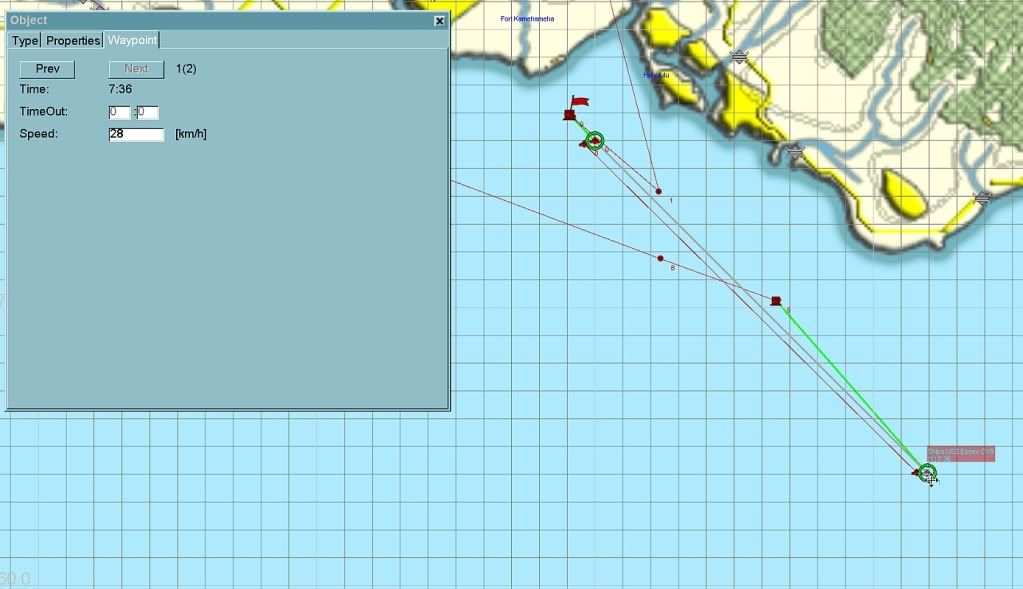
Once everything is setup to your satisfaction, the last step is to extend out the ship waypoints. We need to allow for the action over Wheeler Field and any missed approaches - we don't want the ships to stop dead in the water just as we arrive. 20-30 minutes (07:36-07:46) should be plenty!
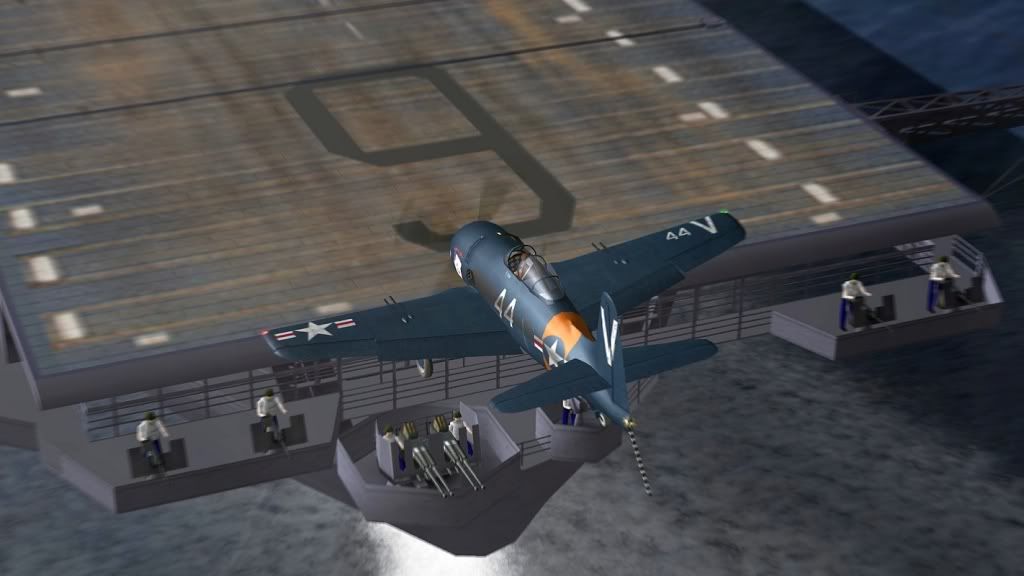
There you have it! A quick and easy carrier op - time to jump in and take a test flight...
Next time, we'll take a look at setting some objectives for our mission. C U soon.

KB
FMB Tutorial - Home
 Author
Topic: FMB Tutorial 03 - Carrier Takeoffs and Landings (Read 9003 times)


