Hello again guys, just another brief update for you.

So, the various bolts and such that were cloned from other parts of the build and already mapped are
moved to new areas of the template, here we have their colours:
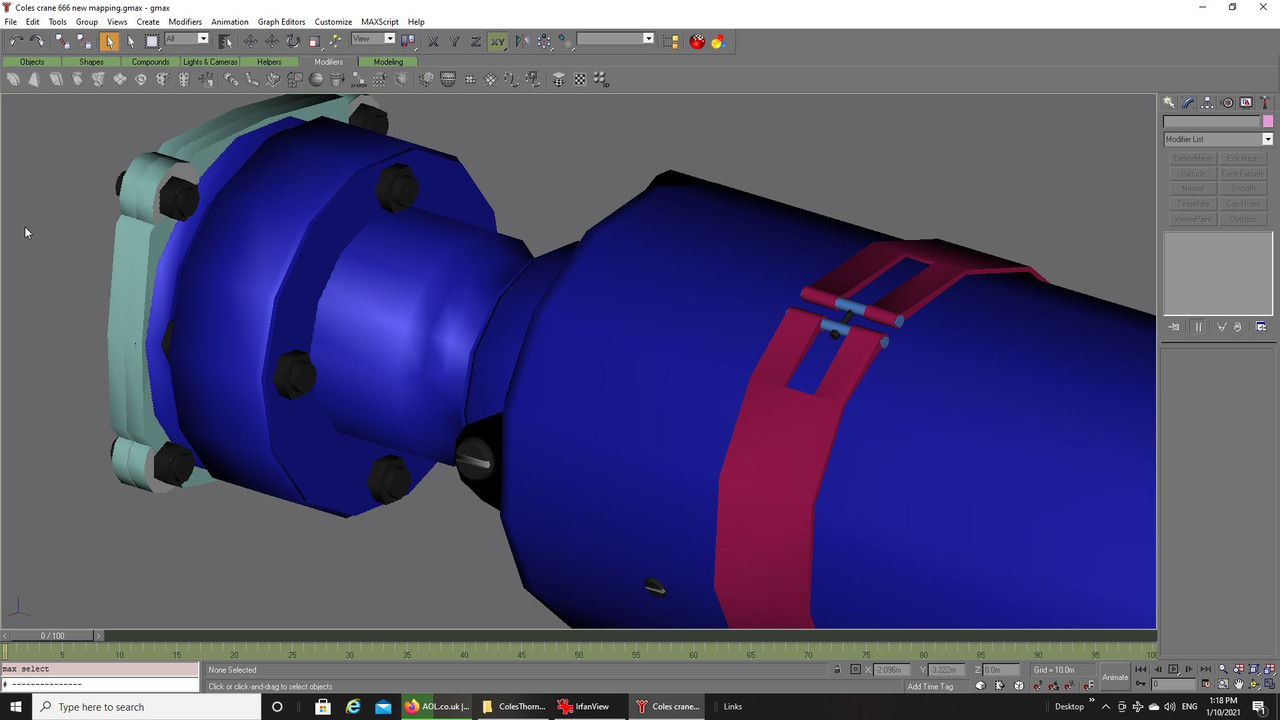
Thought I better do a quick poly check, wow, that soon got up to the individual mesh limit, better
leave things there and paint what I have so far:
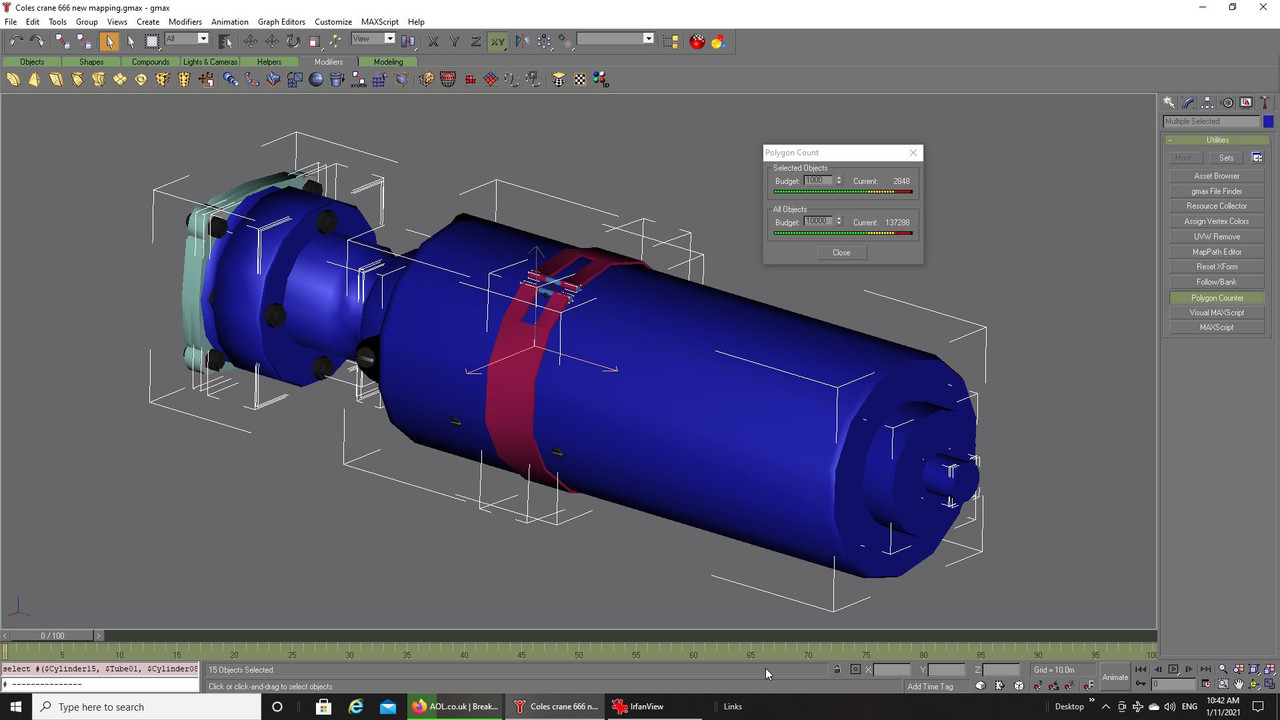
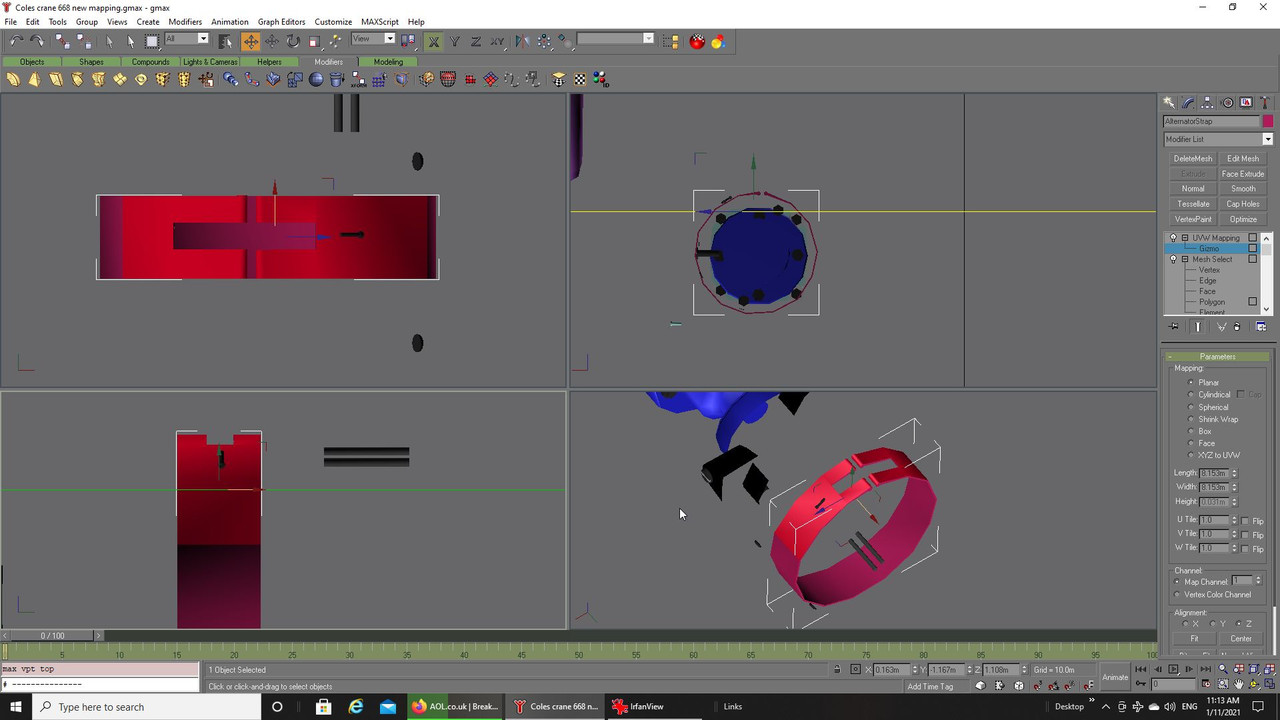
The new mapping for this part of the build begins with the strap to hold the alternator/generator, this will
be difficult due to the circular aspect of it and the need to have all sides done individually besides which
you have to consider the painting and whether there will be stretching so in this case I opted to break
the diameter down into smaller areas:
For what will be such a small object in the build you might ask why go to the trouble? Well there is always
a possibility I will at some stage develop this in it own right and need to separate this particular part of the
build to a template of it own so I would rather do the work now just in case that eventuality comes about.
I think I have been through mapping a part with you before and if you compare my way to that of the guy
who put together the gmax tutorial, there is a link for around the site, you will be aware just how professional
his way is to mine and with good reason. Mapping a part like this is quite involved and requires doing it in
pieces that all become joined in one whole after many combined stages so trying to remember just what you
mapped is difficult using my amateurish ways and can and will cause you problems.
What problems I here you ask? Well, if you ever tried mapping and once done you found this when you went
to apply the texture then welcome to my world.

 AAARRRRGGGHHHHH what the ***k
 I am sure was screamed out loud.
Now I would not advise turning to drink and drugs at this point, it can be fixed, not a complete loss, yet.

Ignore my last statement, a drink will most likely help for what comes next.

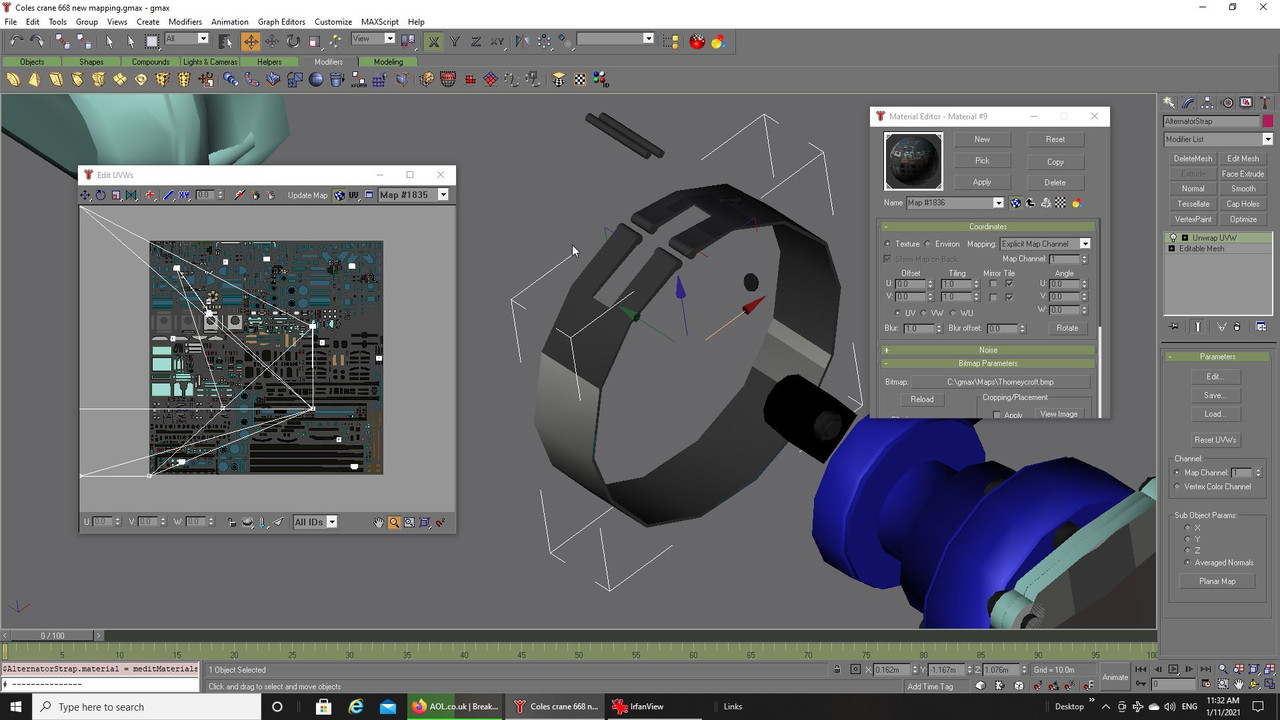
The lines are a indication that a face/faces were missed during mapping, this is why our gmax guru numbers everything
very meticulously, with me though you get the idiot school of mapping.

Okay, so how do you save the day? First of all select a texture and and actually apply as you normally would collapsing
to actually bake things in so that the texture colours show on your mesh and save, please save a lot, it saves a lot of
pain during any 3d work:
Next up you need to find where you messed up, to do this I select and group all the good mapping without connecting
lines onto a single colour and once that is done take each area joined by the lines to individual colours of their own:
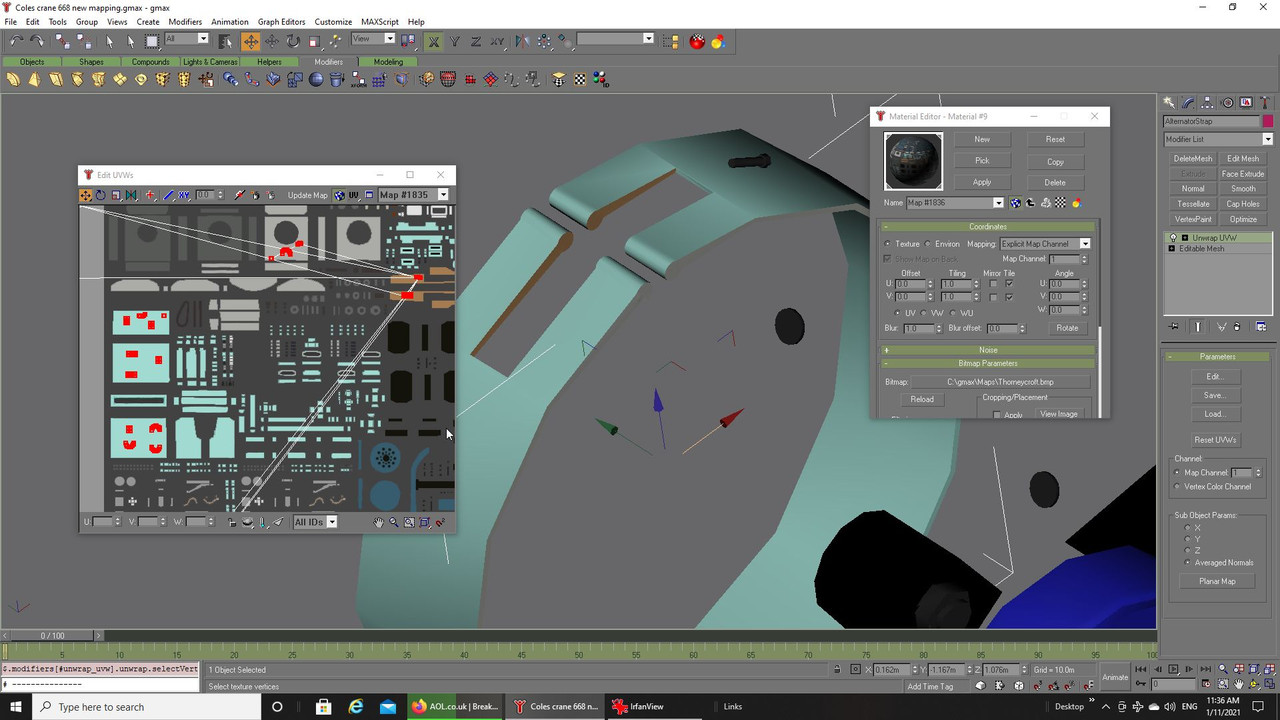
This gives you a idea of what you are looking for, looks like one issue is while mapping the inner and outer of the
shape I forgot where they joined

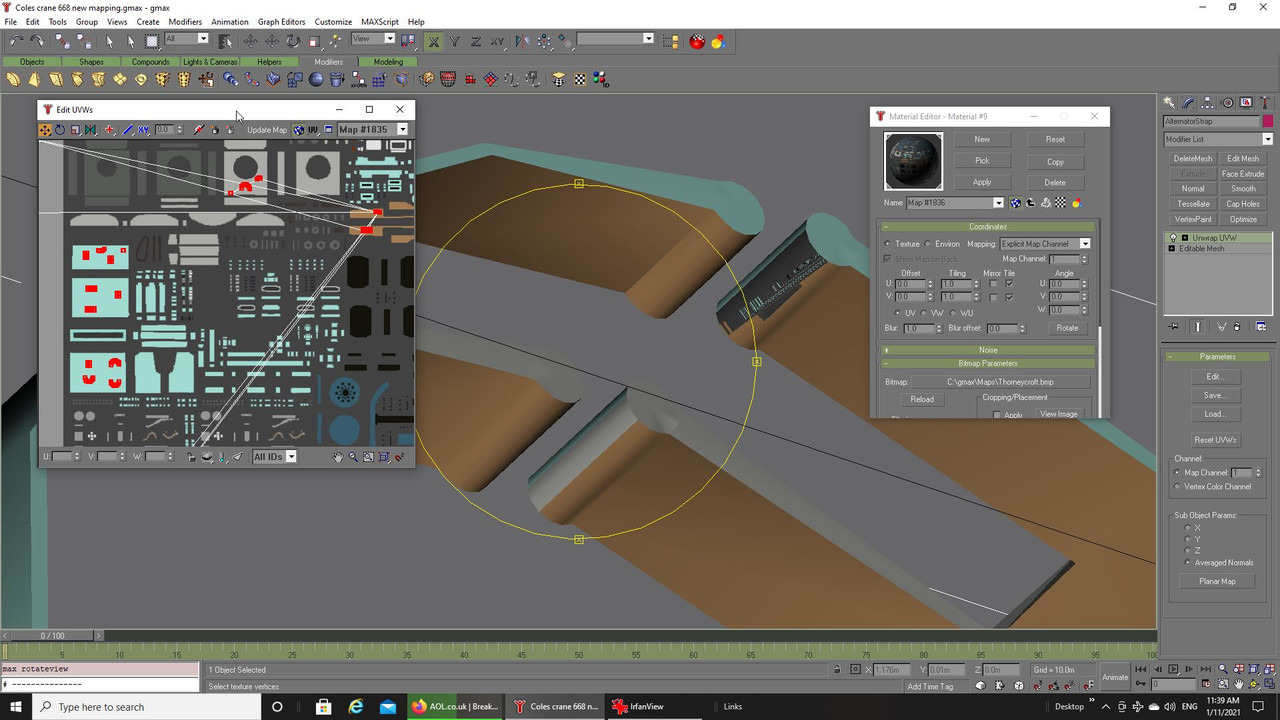
The way now is to take just one problem area and map it again, do not worry about what is already baked in for now
it will remain where you left the grouping, for the above it was the inner section at the top I did, one of four separate
segments that made up that diameter, the other two were okay.
By doing each stage at a time and collapsing as you go and re-applying the texture once you have the area done again
you will slowly but surely eliminate each problem area until all those linking lines are gone:
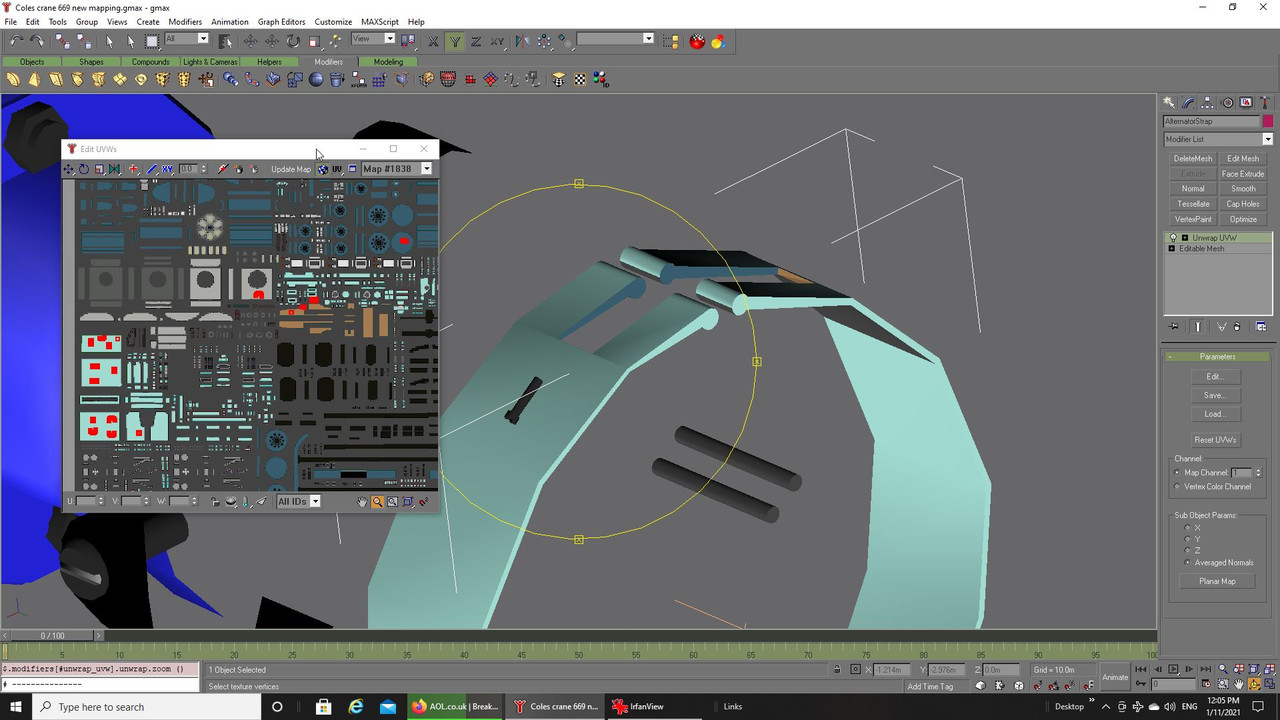
I ended with one face that could not be found for ages, I looked and looked to no avail but did eventually find it hiding behind
other faces, sometimes as you build and move things some vertices can be pushed together hiding part of a face and it really
can be a pain to find but persevere.
This is how all the now complete mapping for this part looks, you can see how it is divided up into segments:
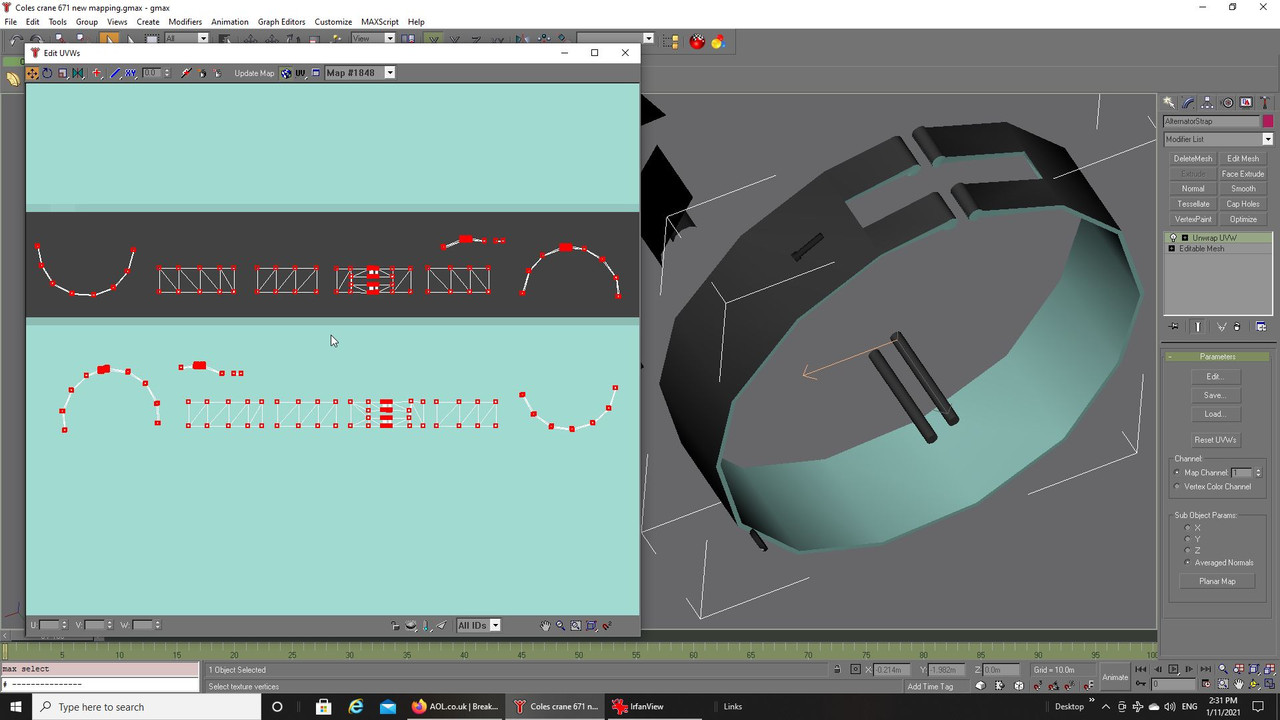
Before I moved it to a permanent position of its own on the texture I aligned everything as best I could:
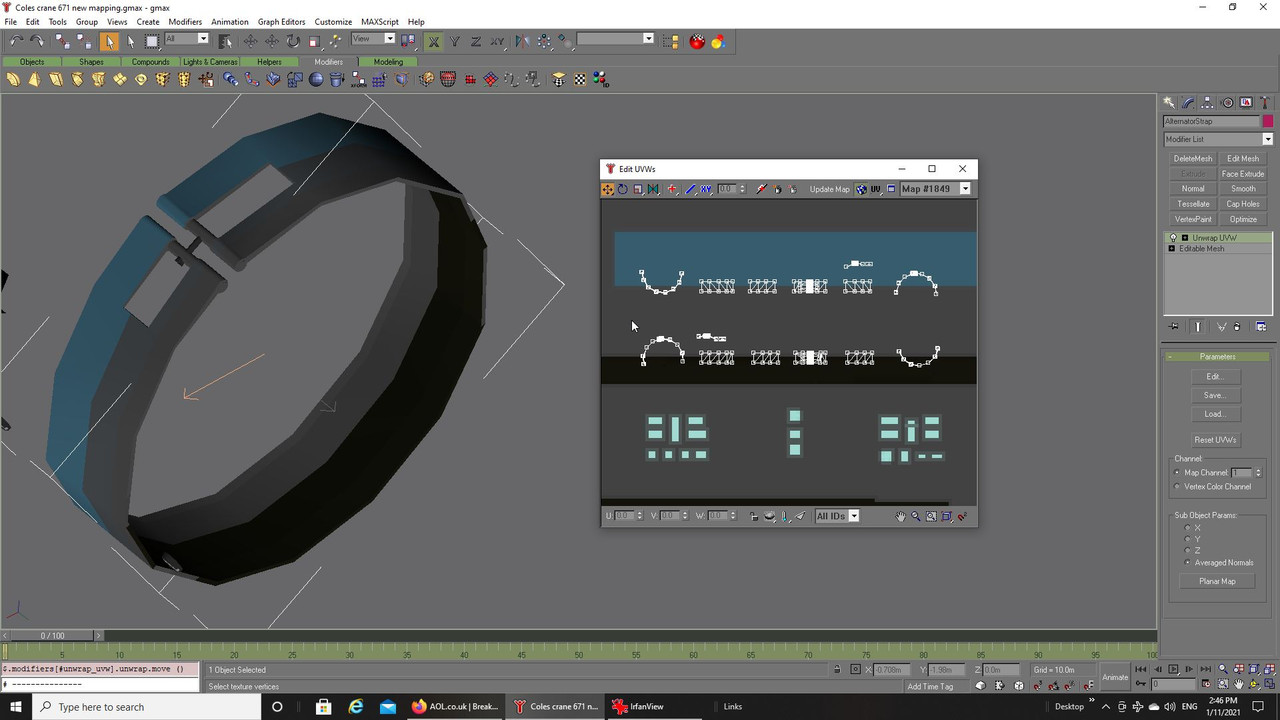
I know, a lot of faffing around but at least it is done.

Hope that helps save some distress for your own projects, just to show it is possible to save work without
deleting and starting over.

Take care and be safe.
Wishing you all the very best, Pete.

 Author
Topic: Thorneycroft Amazon WF/AC6/1/Coles Mk VII, series 2. (Read 57890 times)


