So on we go fleshing out that rather bare chassis.

The rear spring is three parts, the end pieces were made separate then attached and welded, you will
have seen those parts earlier. The brackets consist of a side and base with the opposite made after
mapping by cloning, the sides are two sizes:
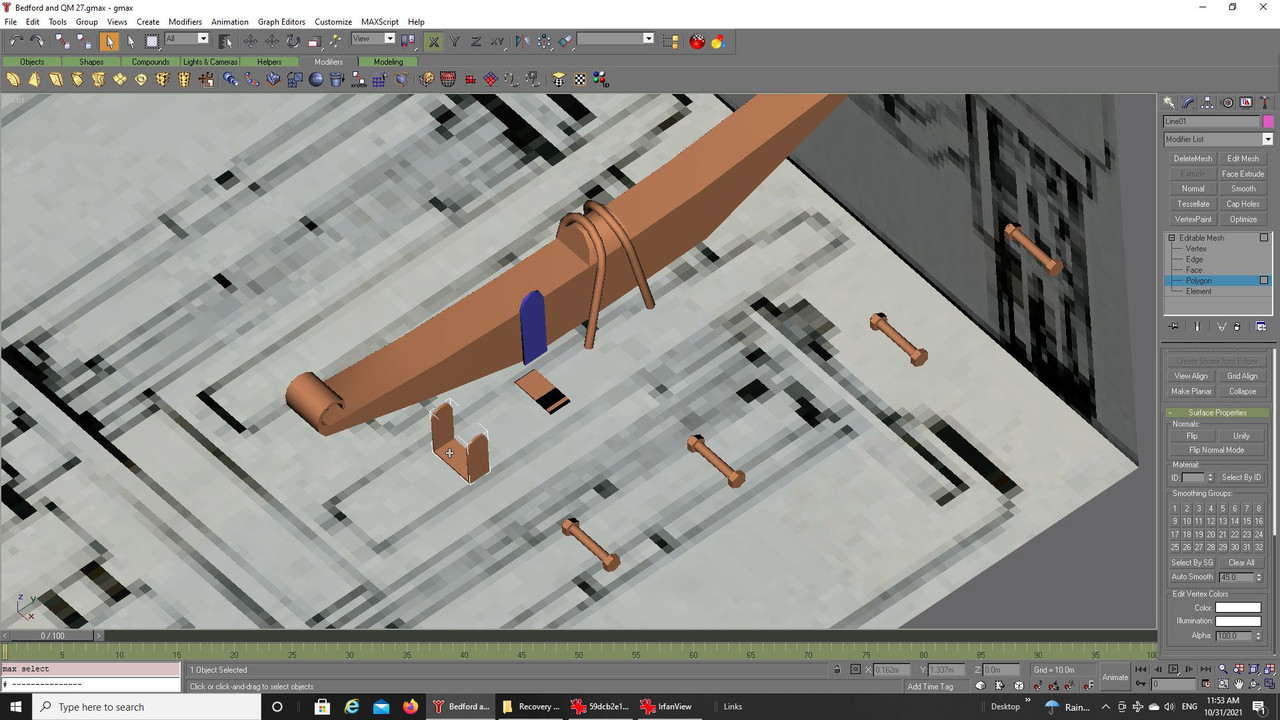
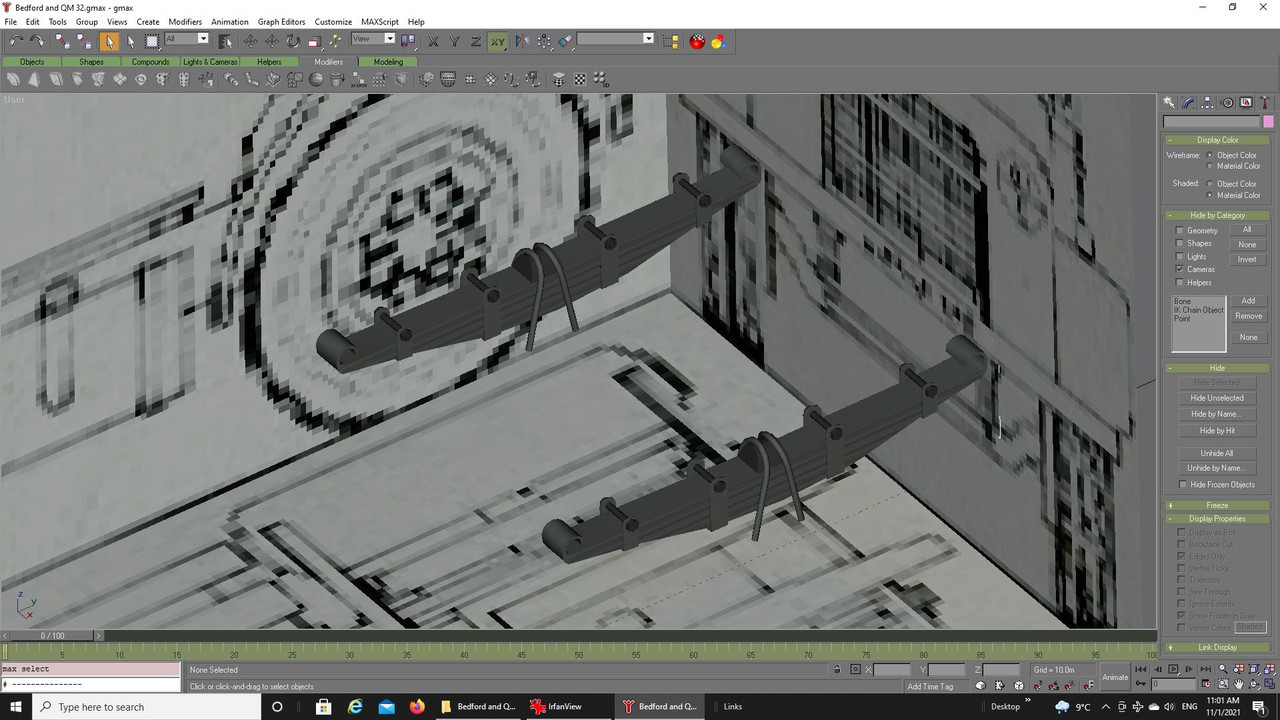
Here all the previous parts have been assembled and mapped and their colour added on the template:
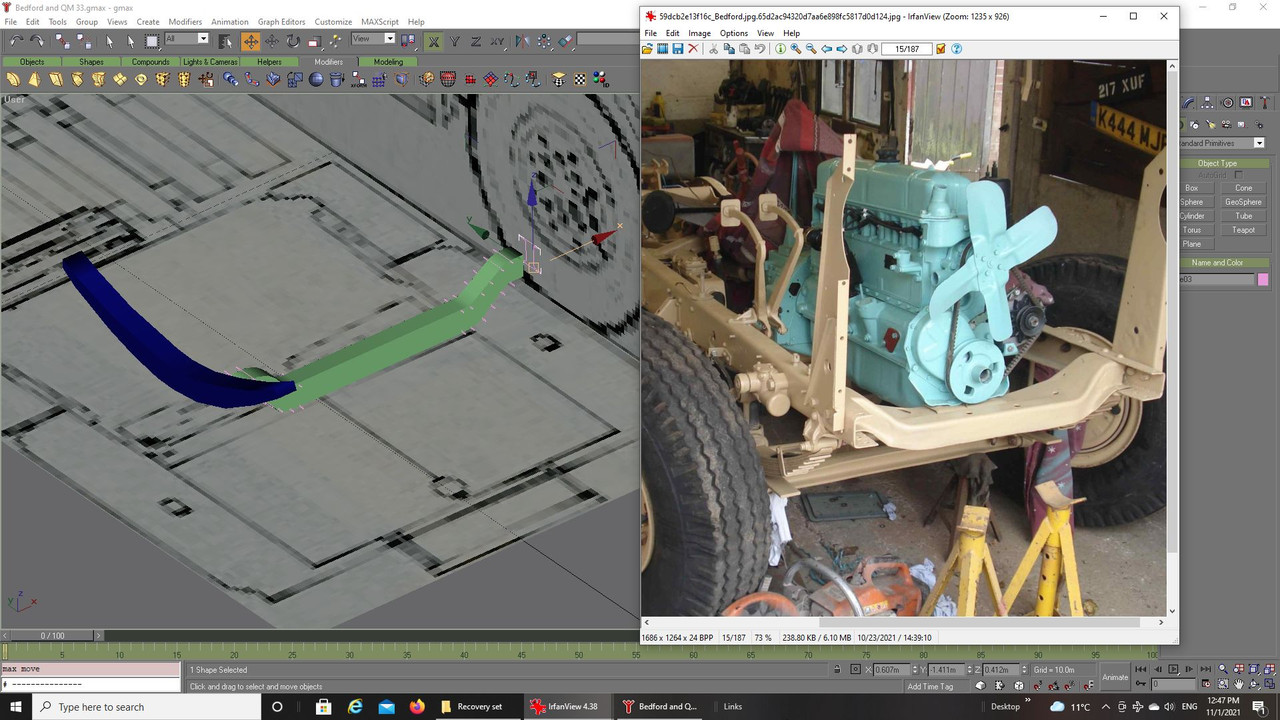
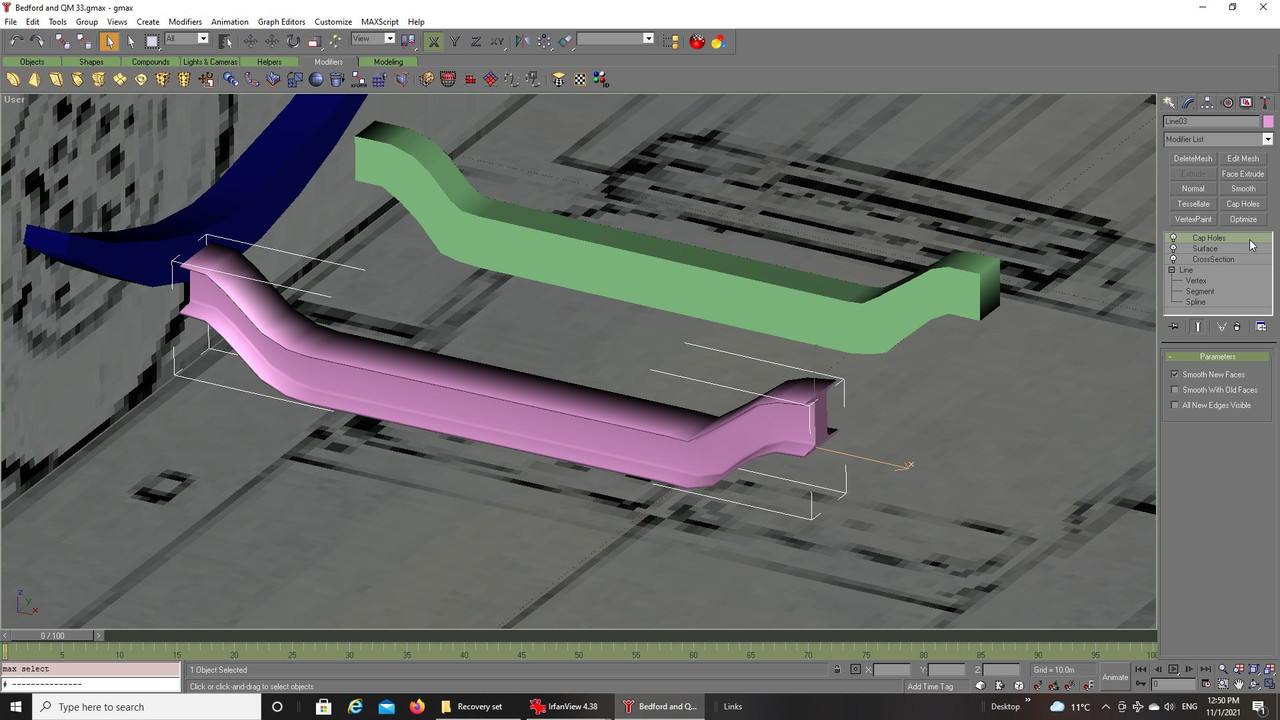
The front spring is a different shape to the rear so a new one was made as well as a template to try and
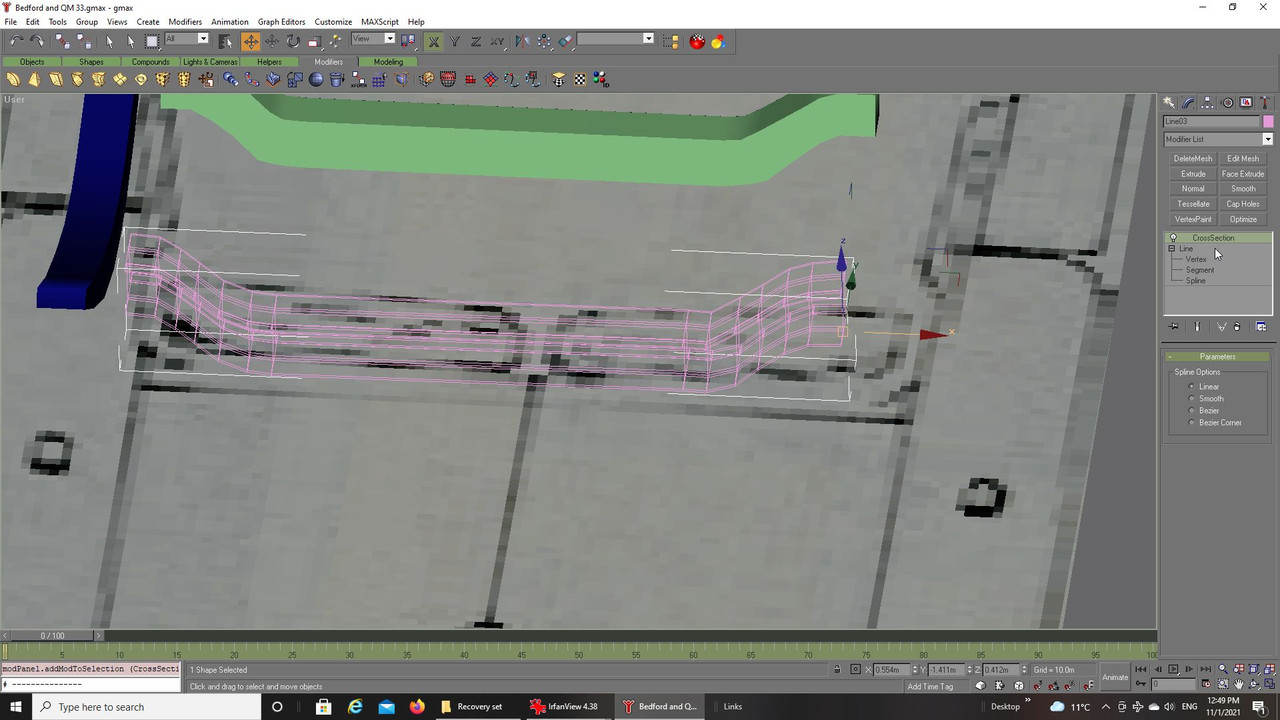
replicate the front cross piece, new shapes were made using the line tool and the template used to try
and form the shape I wanted by combining those new shapes, they are the pink coloured parts placed along
the template:
This is the result of attaching those parts and using various modifiers to create the shape, you have seen
this many times during construction of the Thorneycroft:
Once complete it looks good enough for me, the purists will have to excuse my rough and ready 3D:
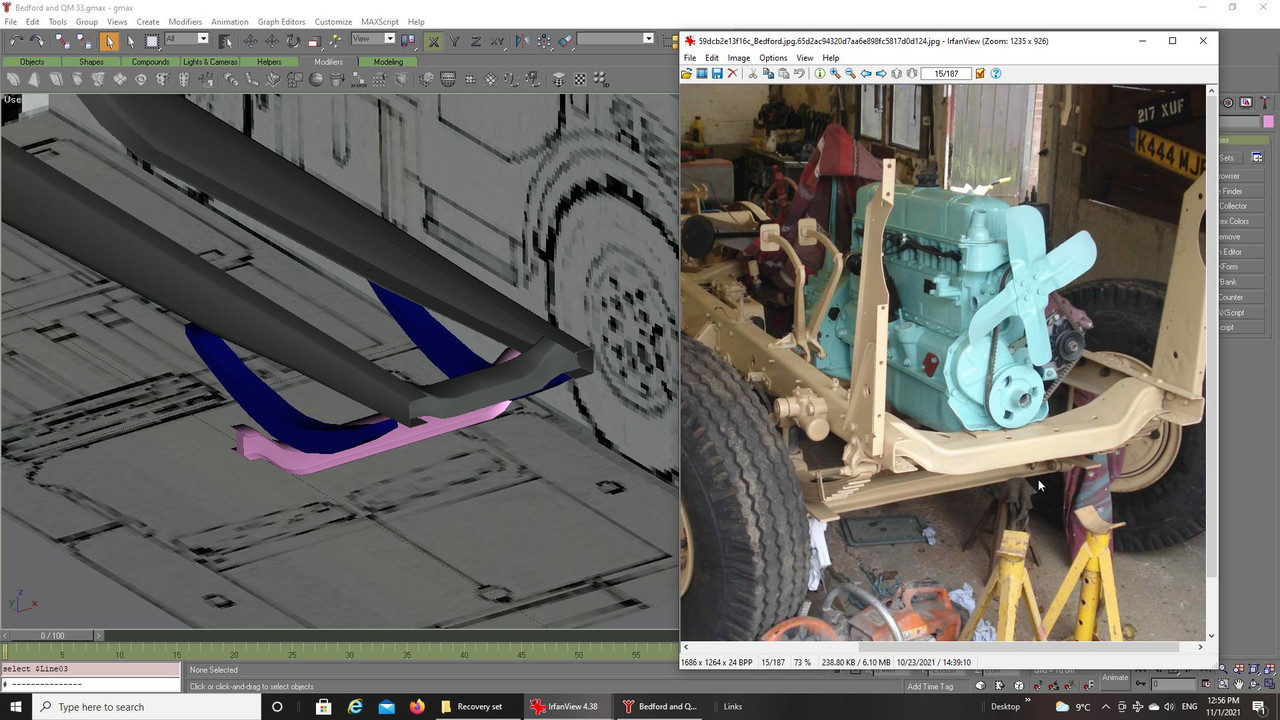
A quick test with other parts just to see if all looks well, you can judge, near enough for me though:
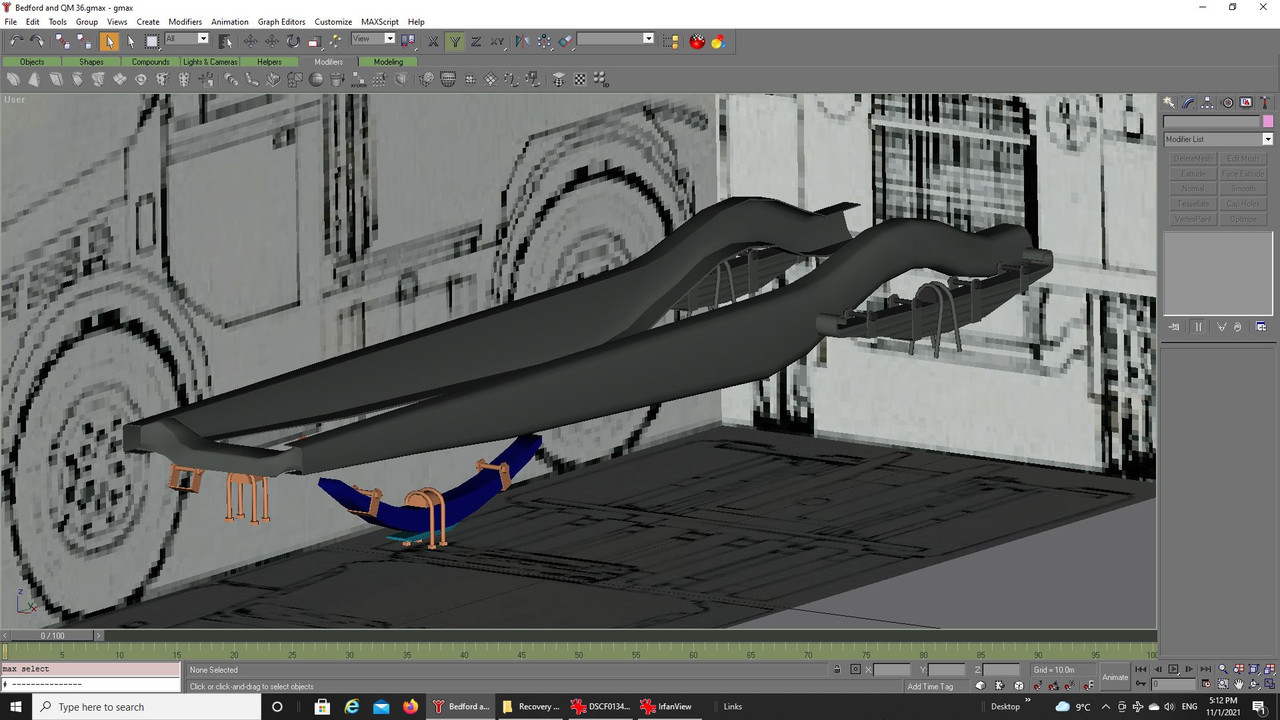
I borrowed some parts from the rear, some re-orientated as indicated looking at the photographs from the
restoration:
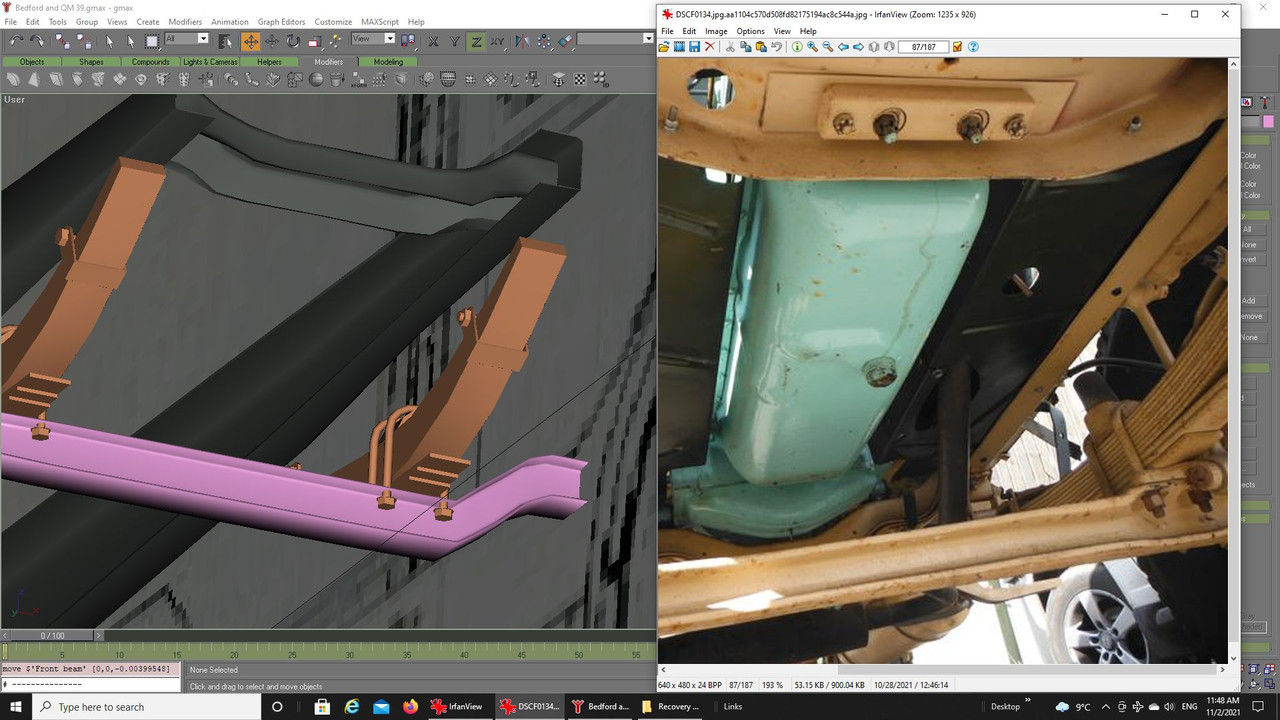
Trying to figure out just where everything goes and what to make next, these images really are a great help:
Usually I build a bit and then map it and colour things, here is the completed work so far, there are still
quite a few assemblies before it is complete but it seems to be coming along nicely so far:
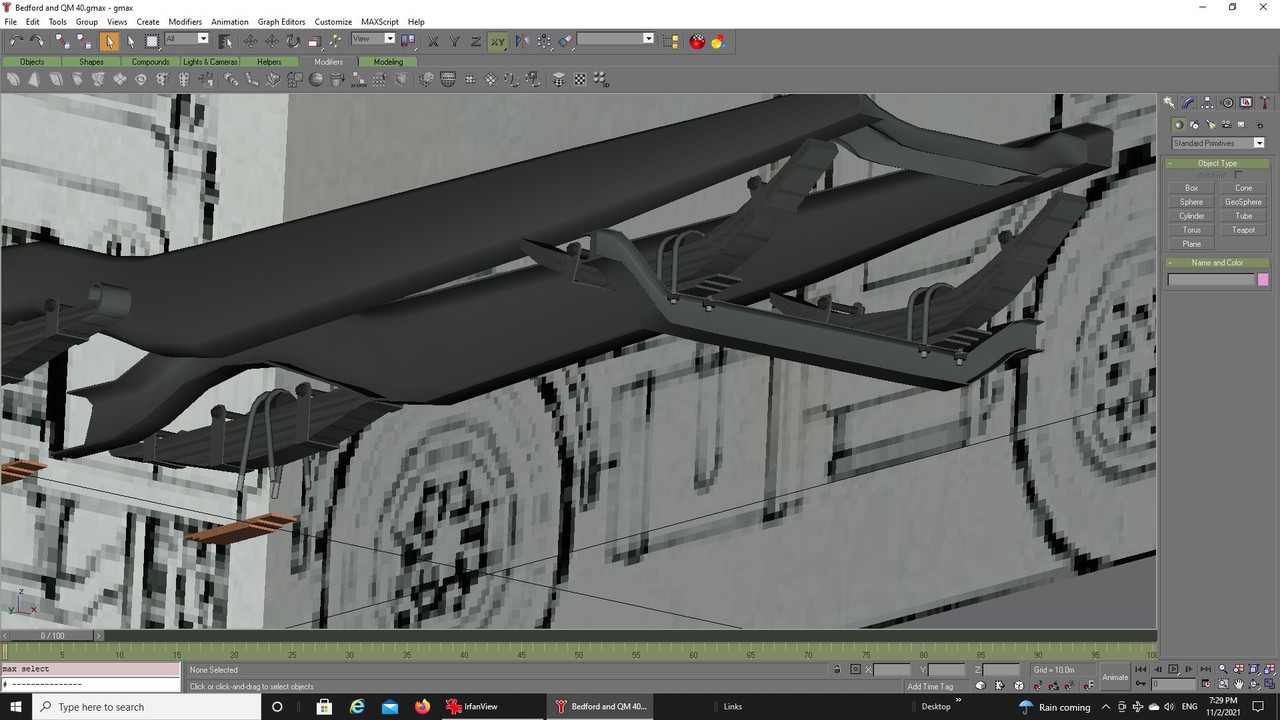
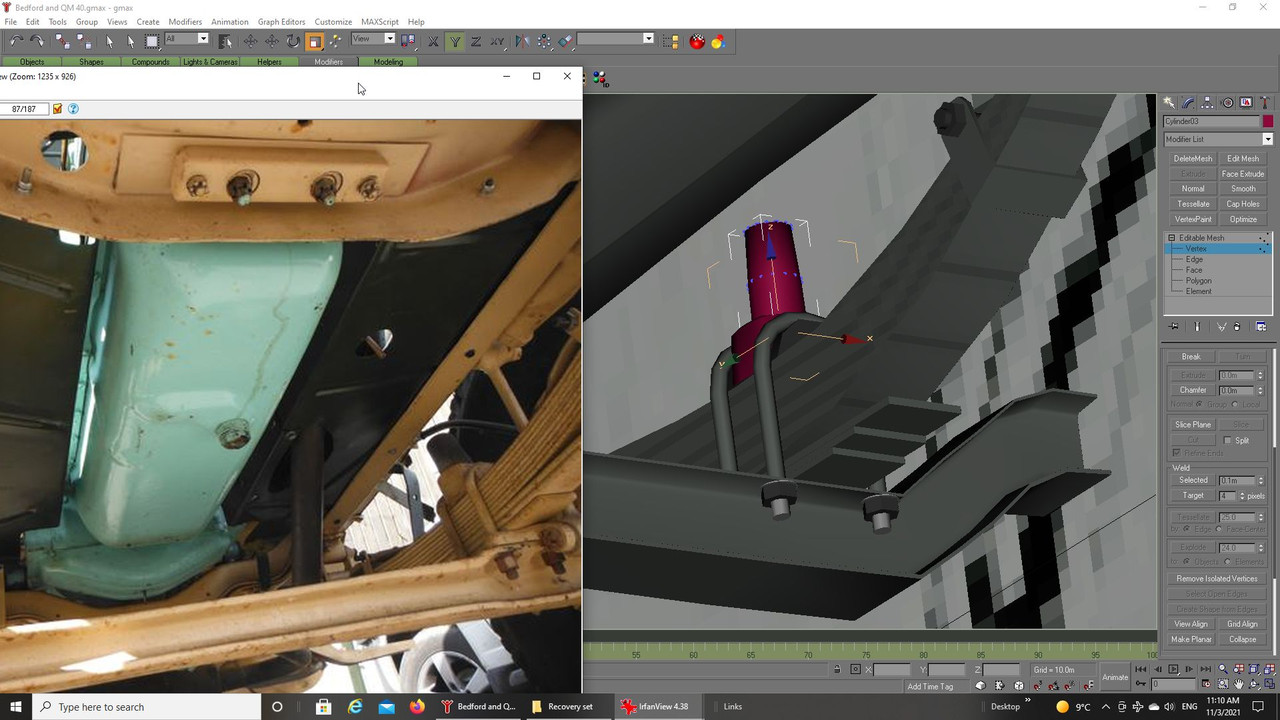
Moving on there is what appears to be a rubber stop, most likely helps prevent damage as the spring moves
up and down, next up is the bracket you can see in the photograph and anything connected to it:
Take care and be safe.
Wishing you all the very best, Pete.

 Author
Topic: Bedford OXC and Queen Mary trailer. Second part of the recovery set build. (Read 15941 times)


