Hello guys, here is a quick tutorial for making shadows for the Dimon figures using the existing model

First of all these figures are somewhere around 8000 polygons so using the existing model will double that figure!
I use gmax so for anyone wanting to try this you will need that program or 3ds max as they are part of the same
family.
To get the model into gmax it will first need to be converted to a 3ds file, to do that double click the mesh
with meshconverter and save as modelLive and then import into gmax using the listener and using the button
3ds import.
Here is the model imported with the CoCommon and the base:
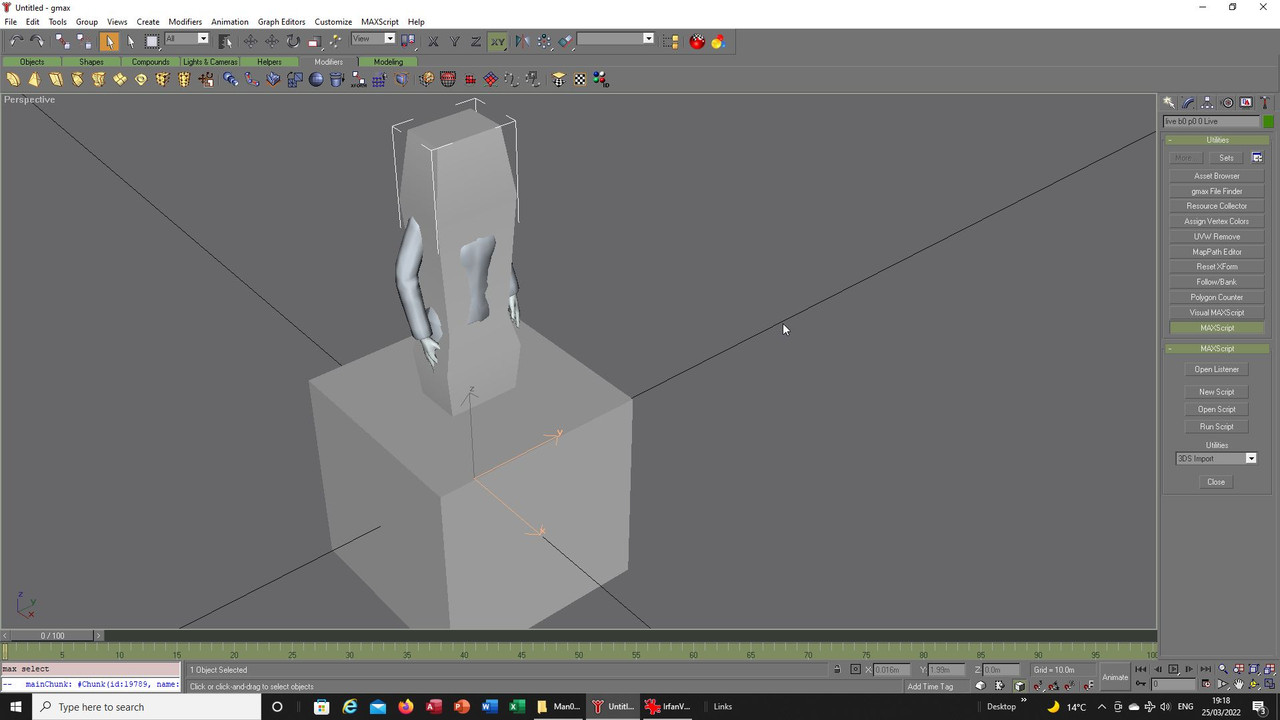
You can delete the base and CoCommon and you will be left with the figure:
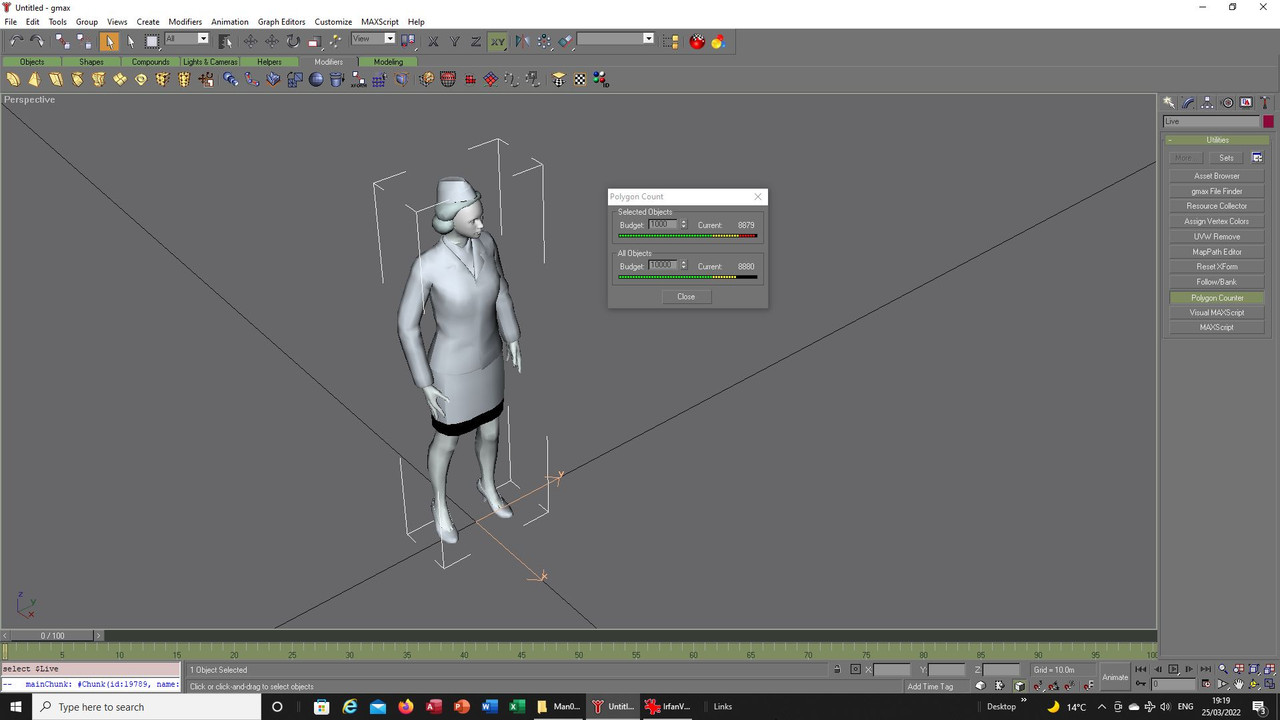
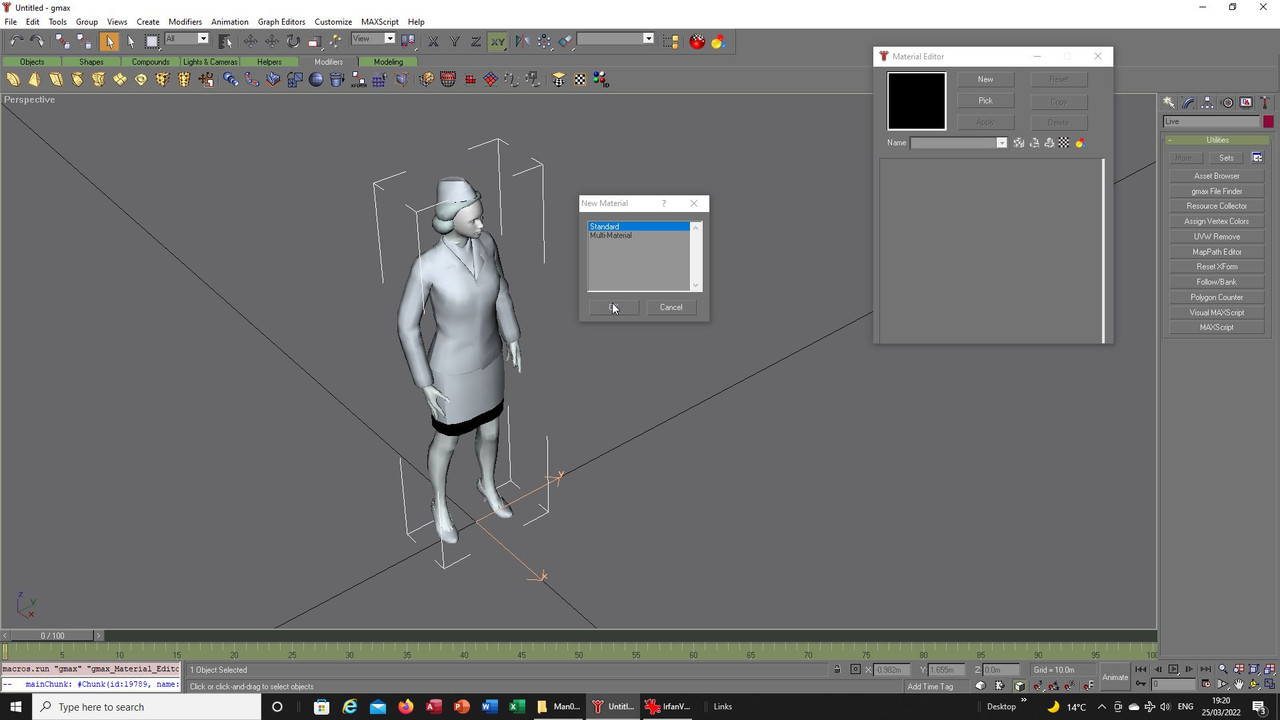
The existing model has a number of textures so to make a shadow this figure will have to be altered
to just use one texture, select new and a box will appear, select standard material:
You then need to select diffuse and after that bitmap:
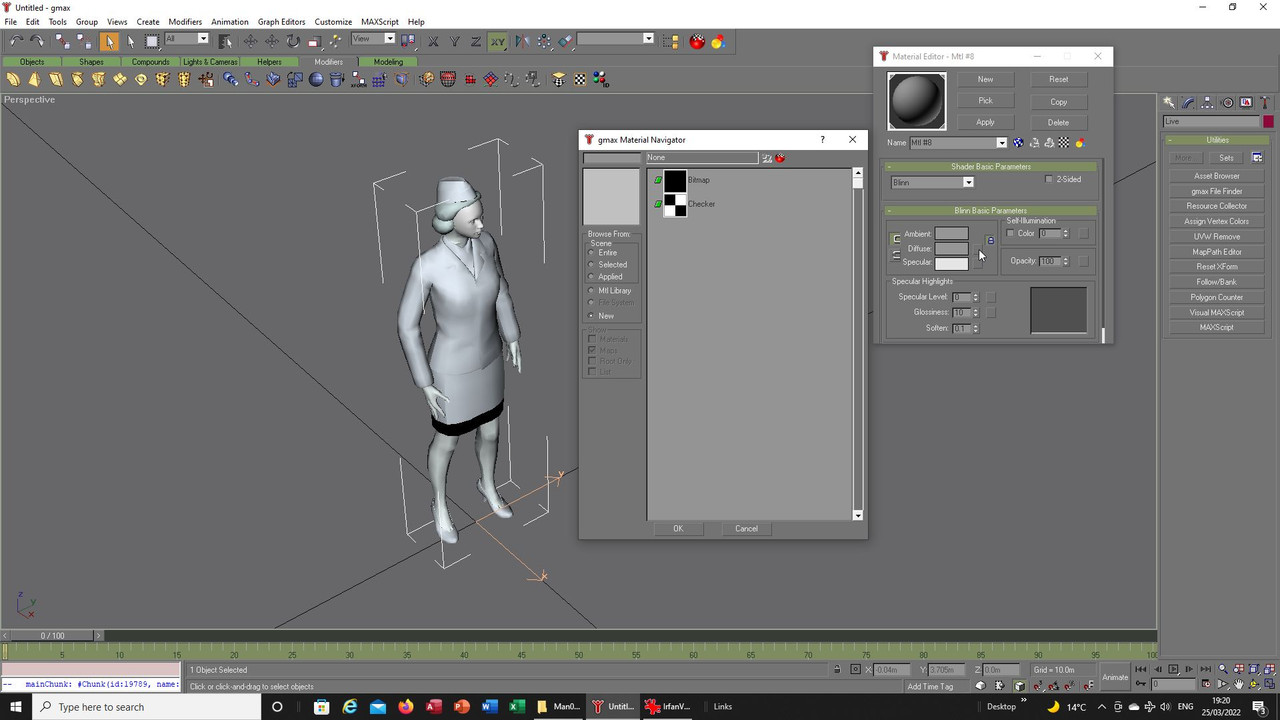
Select any bitmap and open it, does not matter which as you will not see it as such, I used a single colour
here but any of the others would have done, then use the apply button to change the previous mapping:
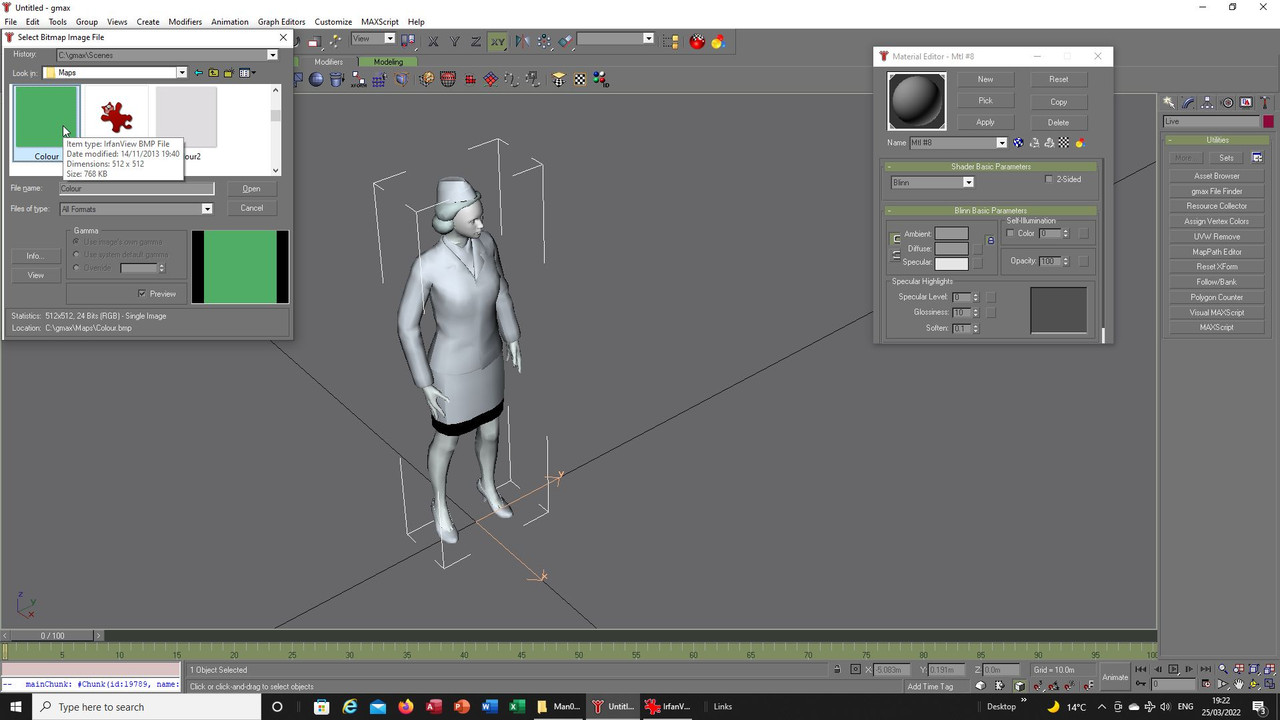
You will see a change of colour as it applies, if you then use the listener and the exporter you can grab
the mesh to use as your shadow, I have highlighted the material and you can see it is only one texture:
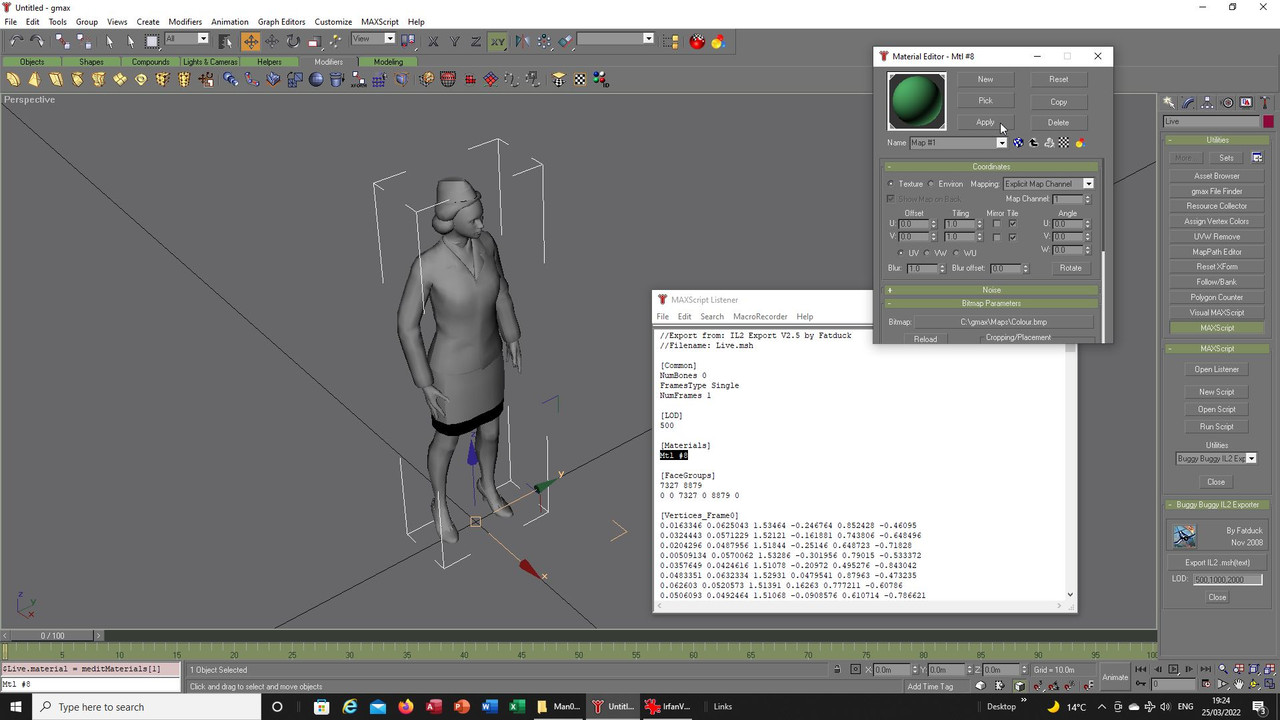
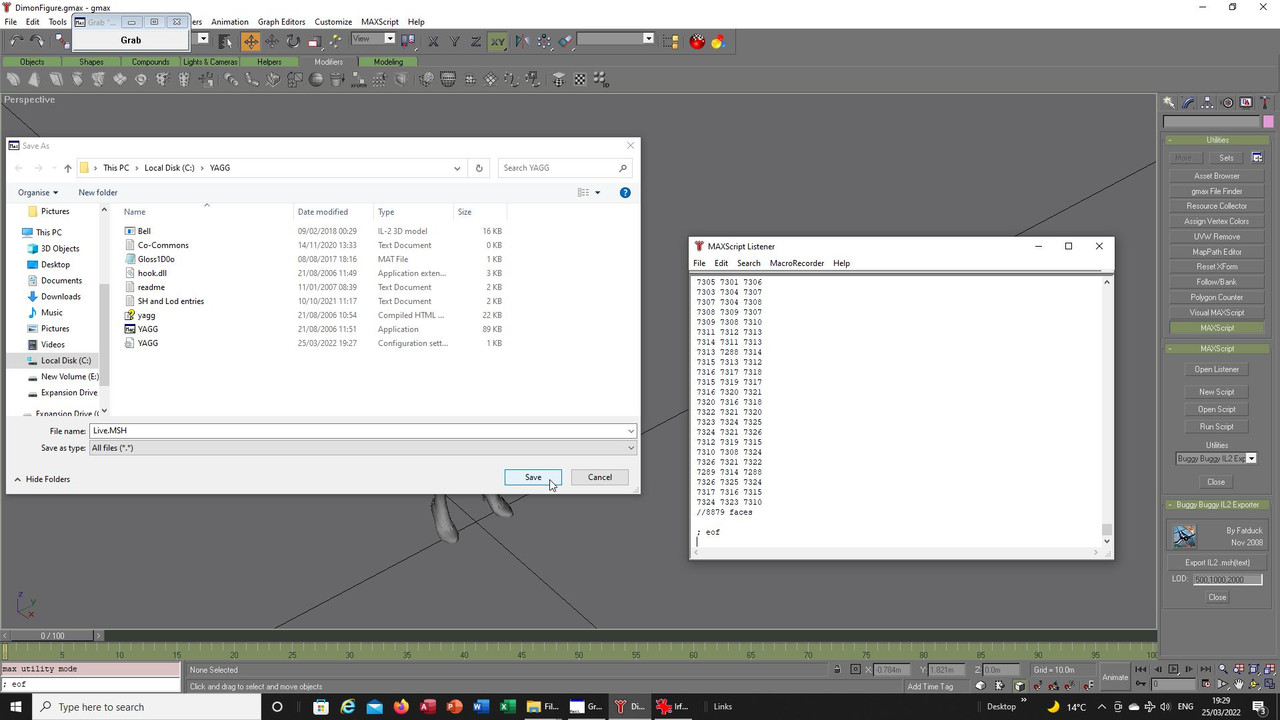
You will find your exported mesh in the YAGG folder so you can then open it up and take the necessary
text you will need, always make sure you have the whole mesh as sometimes the program has a brain fart
and only takes a little of it but if you scroll down you will see it has the 8879 faces that it needs, the same
figure was in the polygon counter in the earlier view:
If you now open the Live mesh in your game and search for Co it will send you to the end of the faces
text, in between the end of that text and the CoCommon text you add you add two entries for the shadow:
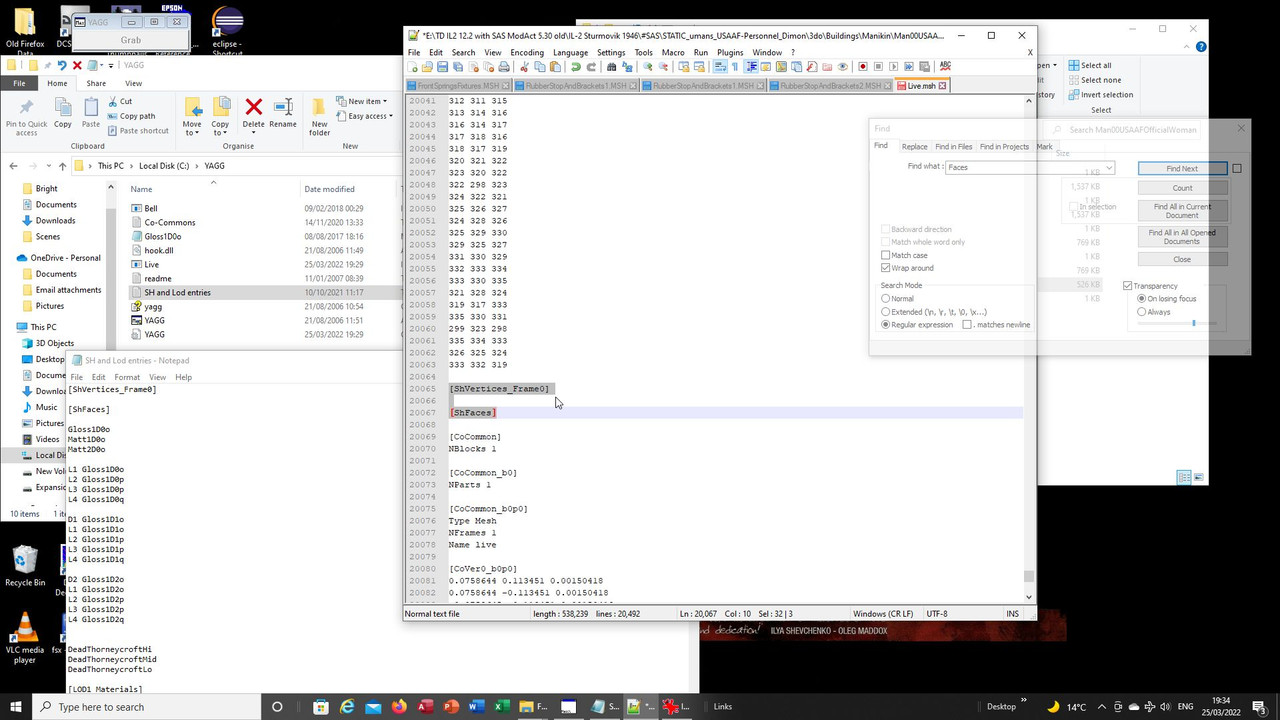
Save that and go back to the mesh you have in the YAGG folder and open it and select all the text from
where I have highlighted down to the end but stop before the material entry. That text is then copied
and pasted into the Live mesh in your game folder where the title '[ShVertices_Frame0]' is:
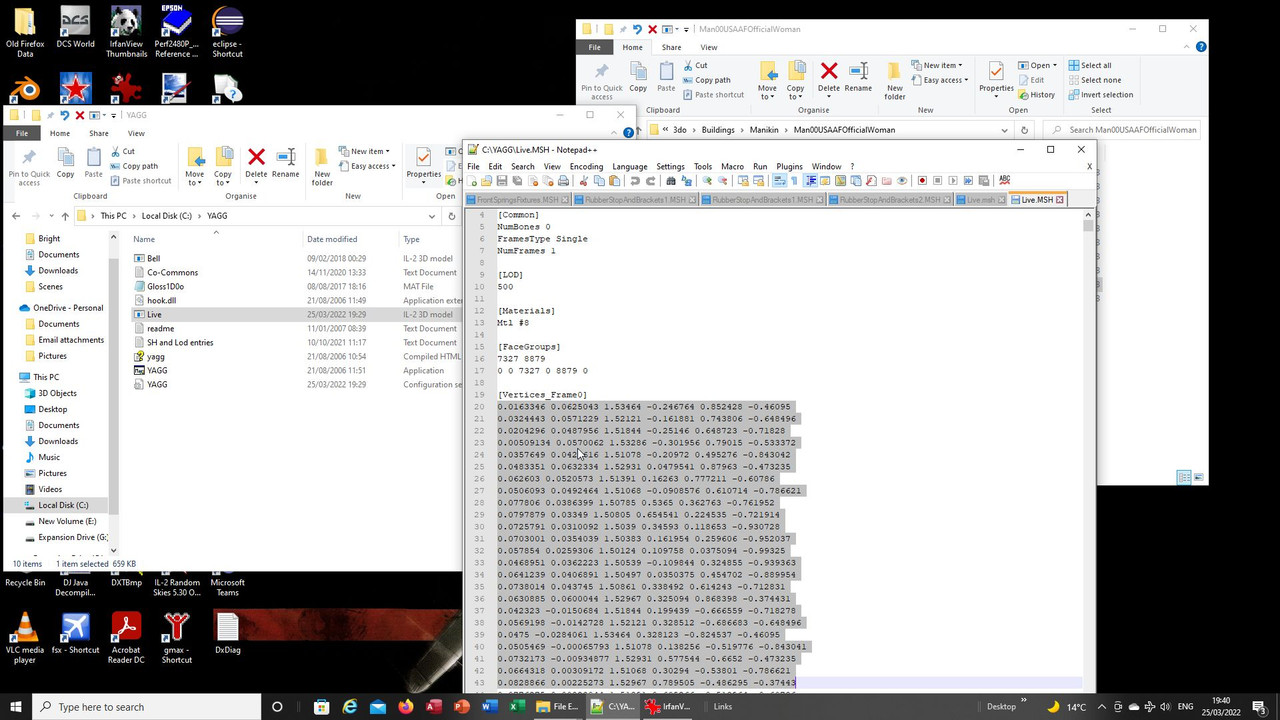
With that done go back to the mesh in the YAGG folder and find the faces entry and again copy and
paste that under the '[ShFaces]' entry:
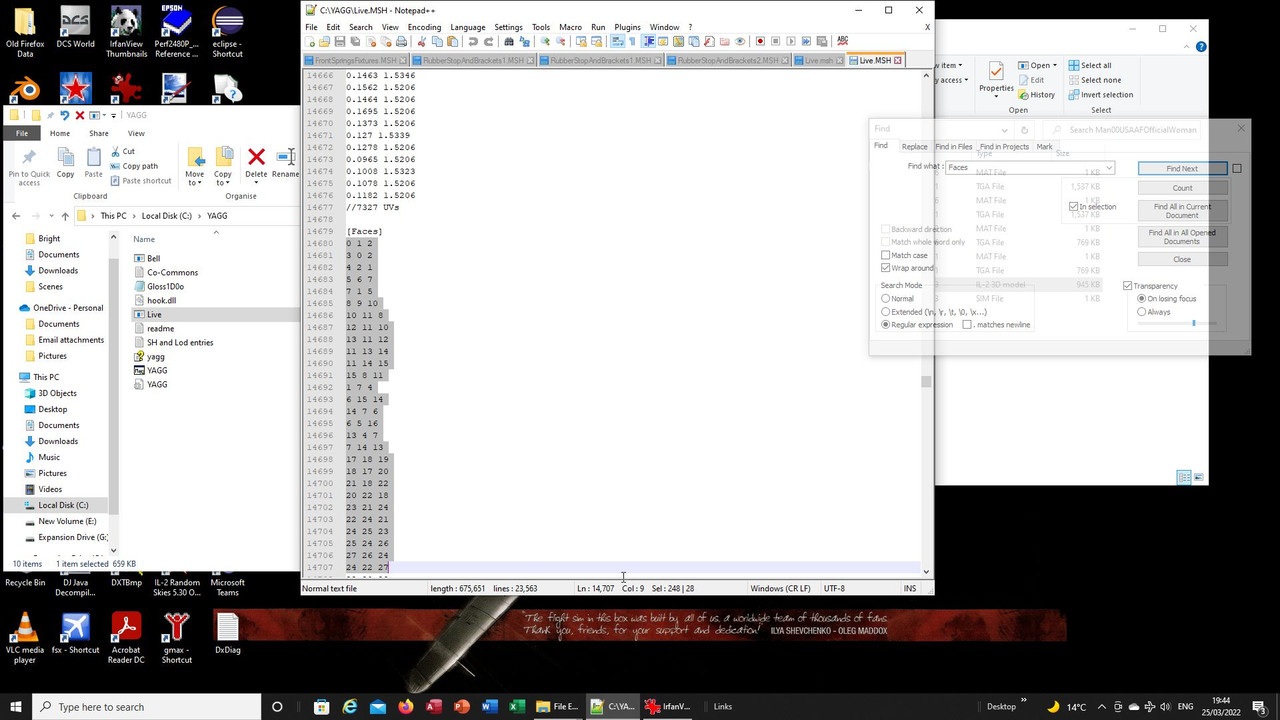
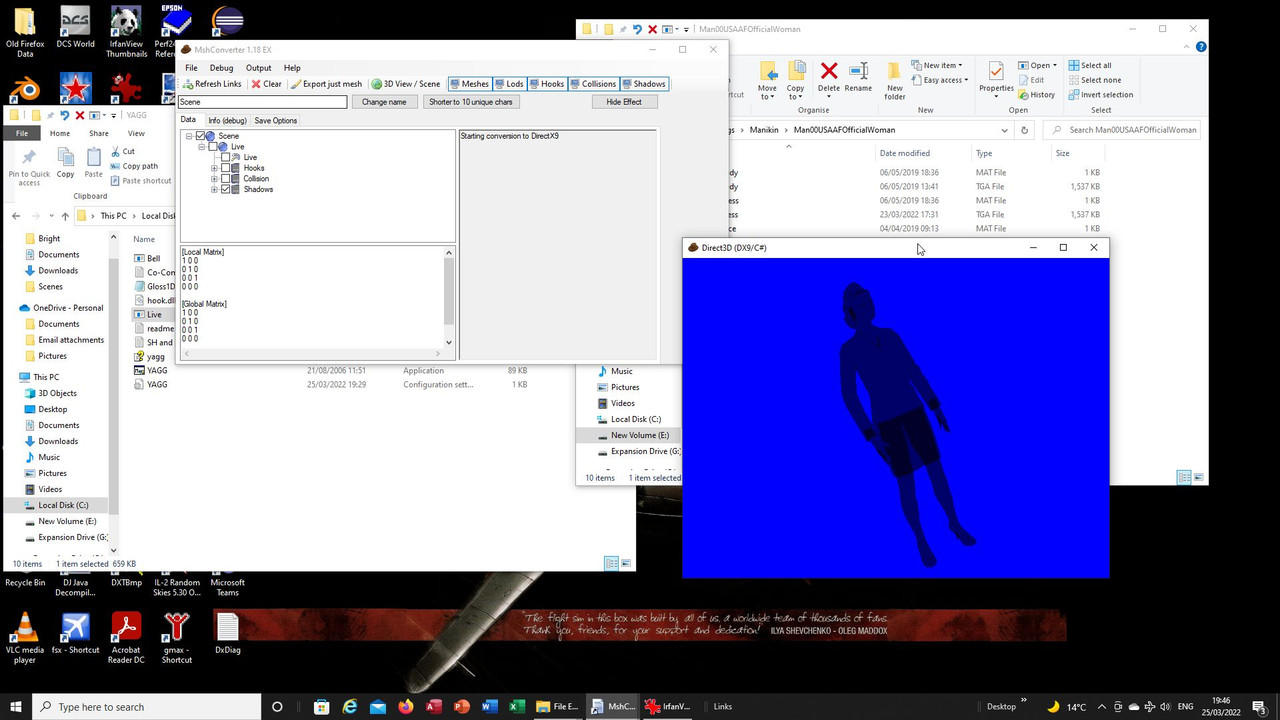
Save the mesh in your game folder and again double click on it and it will open in meshconverter to
show you your finished shadow, here I have turned off the other parts so you can see it:
Here she is in game:
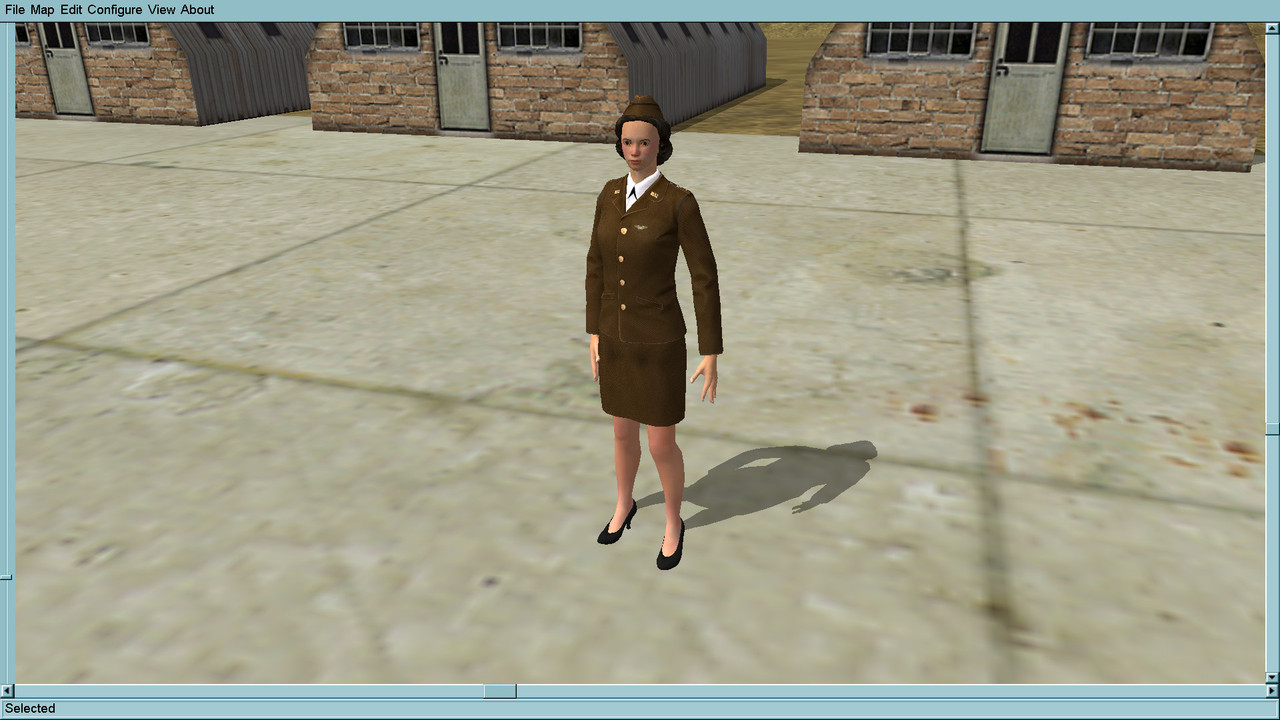
It would be better to actually make a new shadow with a much lower poly count but if you cannot do that
then this is a alternative, however, each figure will then as I already said now have double the count and
from what I read the game takes this into account so it could create problems running the game if there
are a lot of these models in it.

Hope that helps.
Take care and be safe.
Wishing you all the very best, Pete.

 Author
Topic: Adding a shadow to the Dimon figures. (Read 823 times)


