Hello again guys, it has been a while now but I needed to get a few things done and now I am back on with this finally.

Okay then, so there is still a huge amount to do on the chassis but as I said last time, I decided it was time to tackle the body
of the vehicle itself with the usual caveat that I most likely do it completely wrong to how others might do it. Anyway, on we
go, you will either learn a little something or have a good laugh at least watching me fumble around.

The defining visual feature of anything and what gives it much of its character is I think due to its looks.

The bodywork of such a well-known vehicle is probably the most difficult aspect to get right, it has to look right, how
many times, do you look at a drawing or painting of something and think that it does not quite fully capture what you
feel is that distinct look, it does not look right, to you at least even if it does to others. Even the cab of this vehicle
is distinct from many other designs although it is essentially a box, to such a degree that for me it will ultimately make
or break the overall look and feel of the whole project at the end.

So, let's make a start somewhere and see where we get to with it eventually.

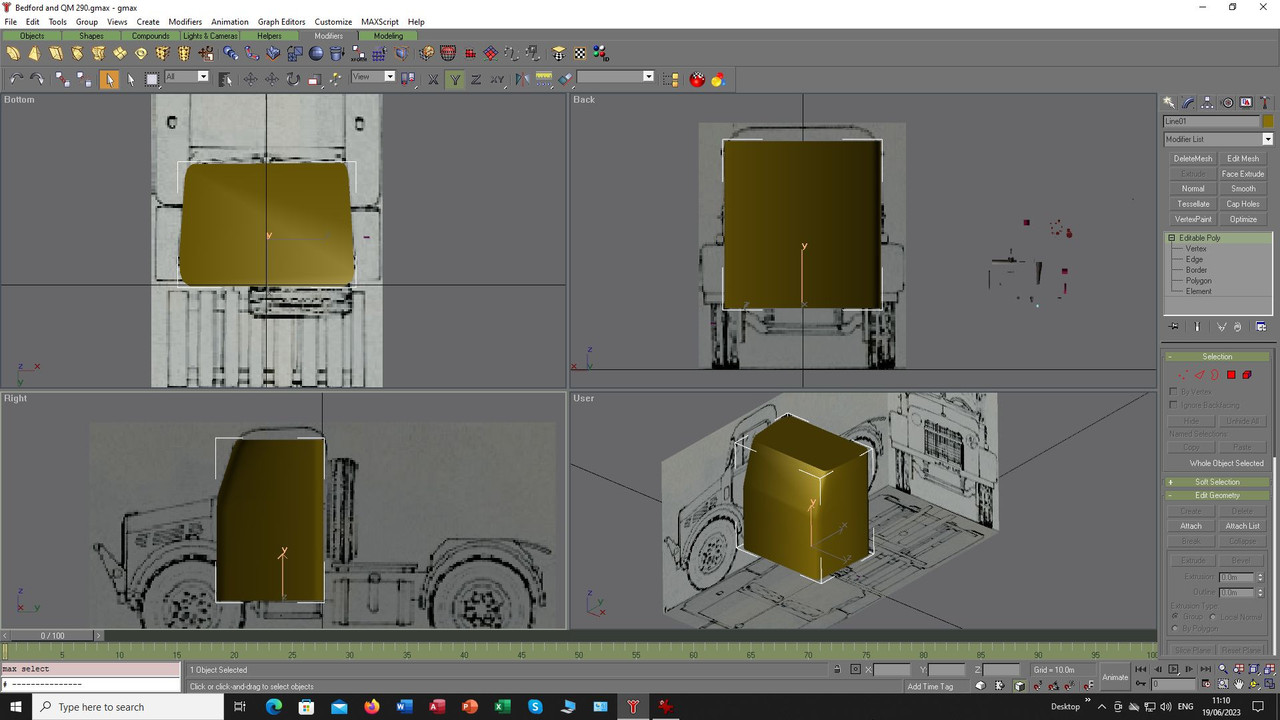
I made a basic shape leaving out the roof to give me a base from which to work:

With the Thorneycroft I started with a solid structure and eventually cloned that to make the opening doors
but here I will cut things out first and so make the shape for a Boolean cut:

Above I used the tool to make it semi-transparent to help in formulating that shape and once satisfied turned
things back to normal:

With the cut made you get a lot of vertices left, why I know not:

I tend to try and clean this up by welding them together to just leave my original shaped vertices:

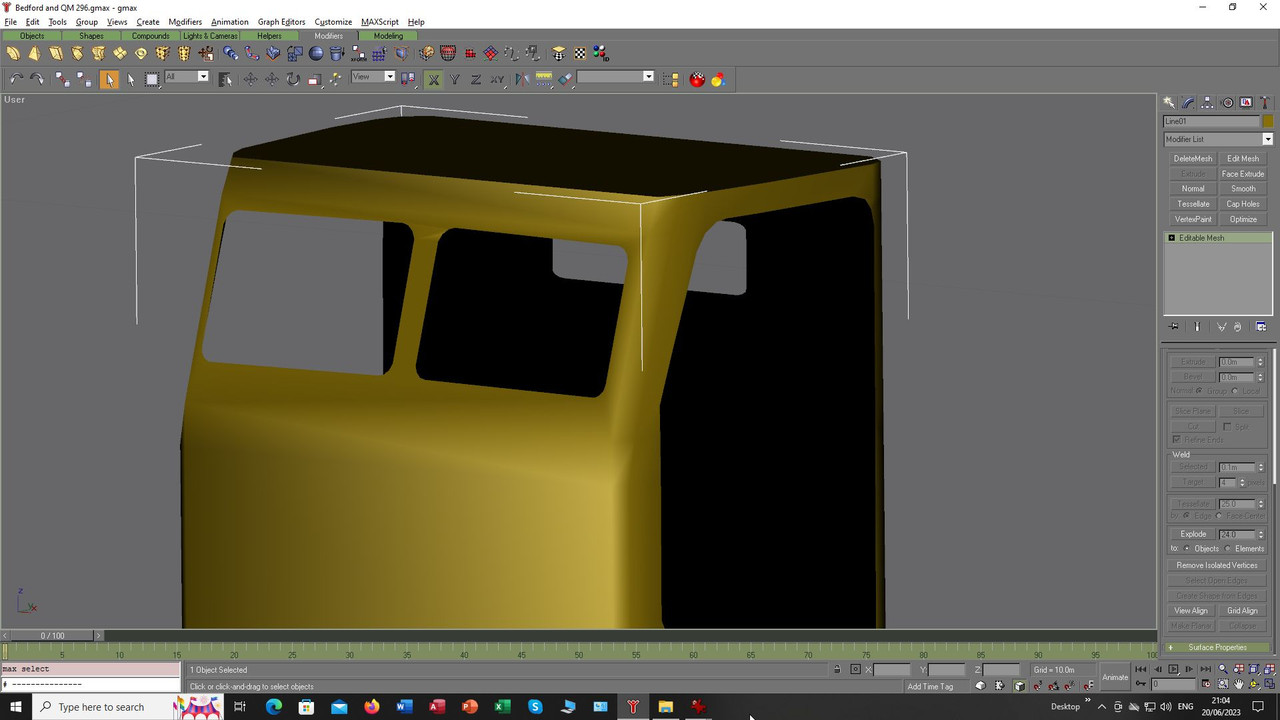
With the door shapes cut out I then do the same thing for the windows:

Front and the smaller rear window:

And there you have the basic shape all cleaned up of surplus vertices:


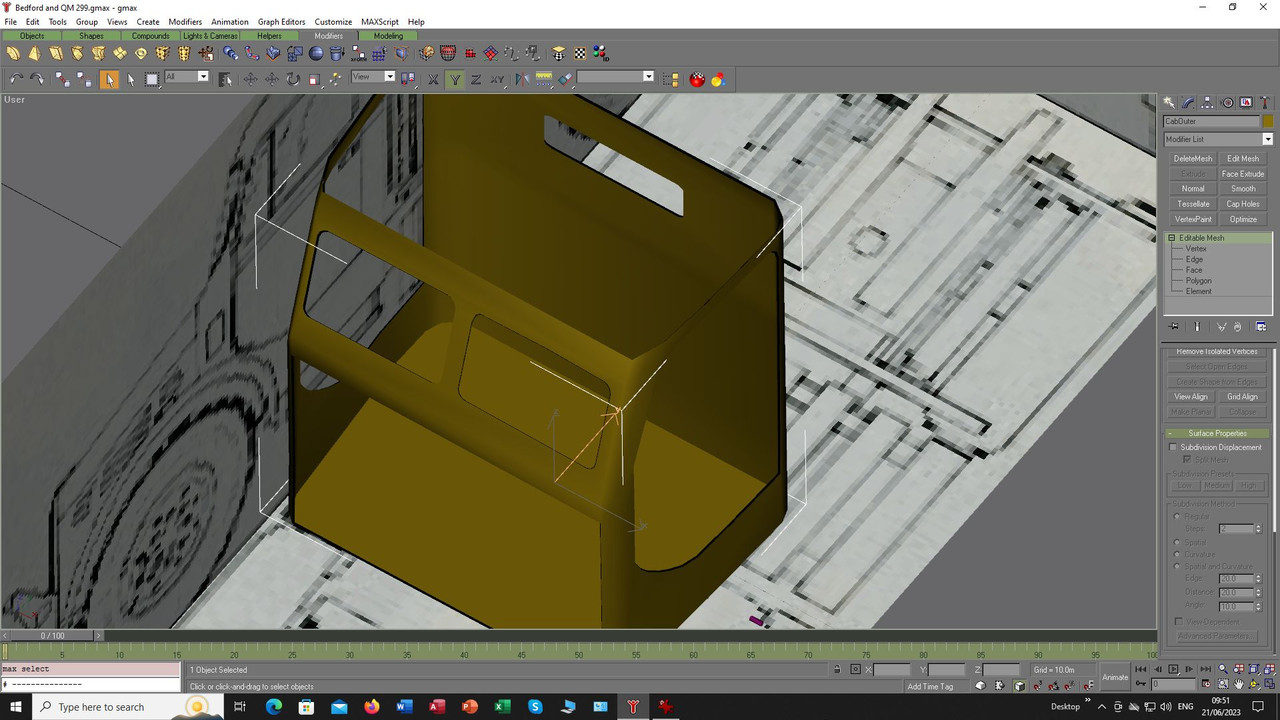
The shape was cloned and flipped to make the inside:

At this stage I joined the two and decided to map what I had so far, the black lines help me align stuff:

Something I did not do on the Thorneycroft was add in the faces between front and rear sections of the door and window frames
and it caused me some issues so this time I went through the tedious process of doing it this time around, whether it helps or not
I will find out eventually:

The mapping of those inner faces caused me some headaches as I made them all at once and when I came
to map them I got myself in a right old mess trying to keep each set of their mapping separate from each other.
Eventually I loaded up again from the last save and started the process all over again but this time mapped each
opening separately as I finished building those the faces for each window and door frame, doing each item one at
a time and making the process so much more pain free. You live and learn, and this whole thread will hopefully help
you guys avoid my mistakes if you do your own projects as you try and figure out what works best for you.
Anyway, I got there in the end and here we see the completed structure all painted up:

And as usual we go for a test in the sim:

Here I found two problems:
1. I had changed the names of my textures to account for the new one for the cab, however, I had not
renamed this in the base mat so had what were see through parts, I had fixed that for the above image.
2. As you will see by having other parts hidden in the view as I constructed the cab so I could concentrate
on the drawing I ended up with the wheels protruding into the cab mesh.
So, back into gmax and take a section out of the lower cab to try and form a section where the wheel arches
will eventually go:

Doing Boolean cuts always is a trial-and-error thing for me as I forget how I last did it and to be honest I don't
think I could really describe the messing I did for this cut suffice to say I got there in the end.
The final mesh back in sim:

As you have probably gathered, I seem to make things harder for myself than they really need to be and a little
forethought might help, I am not a professional 3d artist so can only present my trials and tribulations as I go and
hope they help you avoid similar experiences. I know they won't but I can try.

Next up I will try and actually make the doors this time without cutting them out of a solid but that is for another
day and time and for now that is it until next time.
Take care and be safe.
Wishing you all the very best, Pete.

 Author
Topic: Bedford OXC and Queen Mary trailer. Second part of the recovery set build. (Read 15958 times)


