Making explicit nudity images
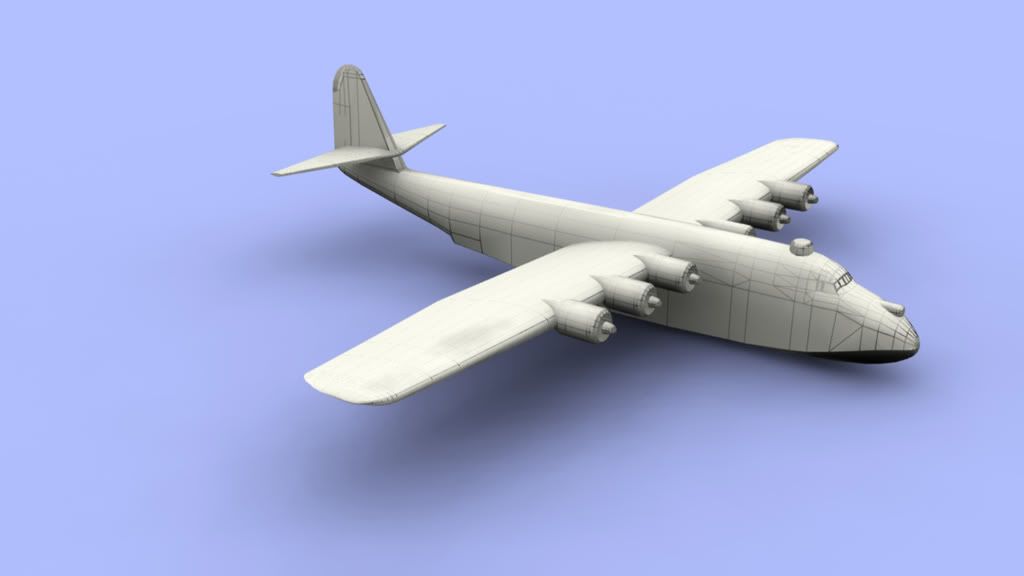
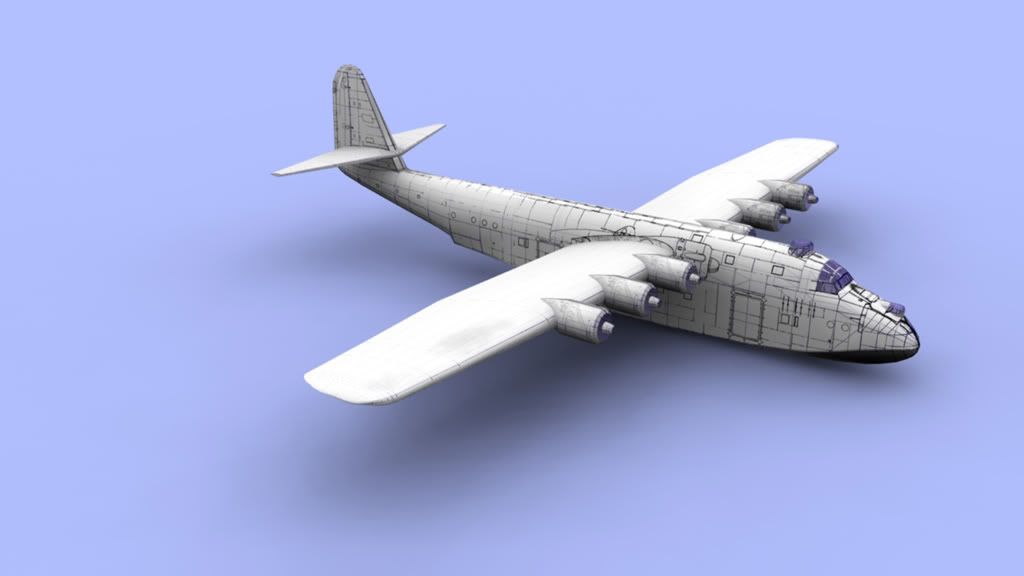
(or how to make clay + wireframe renders to show your model)
I posted this over the AAS forum a month ago or so, but I think I won't do any harm if I repeat myself and copy again the post here, so here it is:
"HI, all!
I just want to post this excellent tutorial by Eddy Brown about making clay + wireframe renders in order to show your models to other people (or just for yourself). This makes use of 3dsMax 3d package + Mental Ray renderer but sure it can be traslated and applied to other combinations of software. I found it very helpful, simple, clear and effective:
http://www.eddybrown.co.uk/blog/claywireframerender/Just a few notes:
-If you have a model wiht any set of materials already applied to it, be sure to backup your materials first. This is in order to be able to recover your previous particular setup after you have done all the rendering you need. (you won't regret if something goes wrong...)
-Be advise that as soon as you apply a material ( or a composite material) with the wire option ticked, your model becomes... a wireframe! So if you go to subobject level you still see your vertices but you lost sight of your faces and polys and only the wireframe shows in the viewports. So if you want to keep working momentarily as usual with this material on, (but seeing your faces again), just untick the "wire" option that you previously ticked.
-Being this intended to show your raw work, the simpler the better, so you're done with this. but... if you are a restless soul or just curious and want to complicate things a little bit you could:
-change the color of the wireframe,
just go to your wireframe material click on the color rectangle and choose another one.
-change the opacity of the wireframe,
to make it stand-out less in a more subttle effect, just grab the slider beside the opacity map square and adjust the value to something that suits you better
-change the background color to a different one than pure white.
Here some things need to be noted or explained:
In the tutorial, apart from the diffuse light and soft shadows, you got the ground plane casting the shadows blending smoothly with the background without apparent seams in a well known effect of much use by photographers.
To achieve the same effect you'll need that the colour of the background (F8 key) and the colour of the ground plane (in your Material Editor, M key) be just the same.
To do that, you can just right click over the colour rectangle in the Material editor (shorcut M) and choose Copy, go to Environment and Effects (Shorcut

rightclick over the colour rectangle and choose Paste, you're done!
BUT,
if you change the colours to other than pure white, when you render, you'll notice that the plane that you put there to cast the shadows of the skylight becomes tinted with a different colour that the background EVEN IF they are the one and the same colour, and the effect of continuous smooth background is lost.
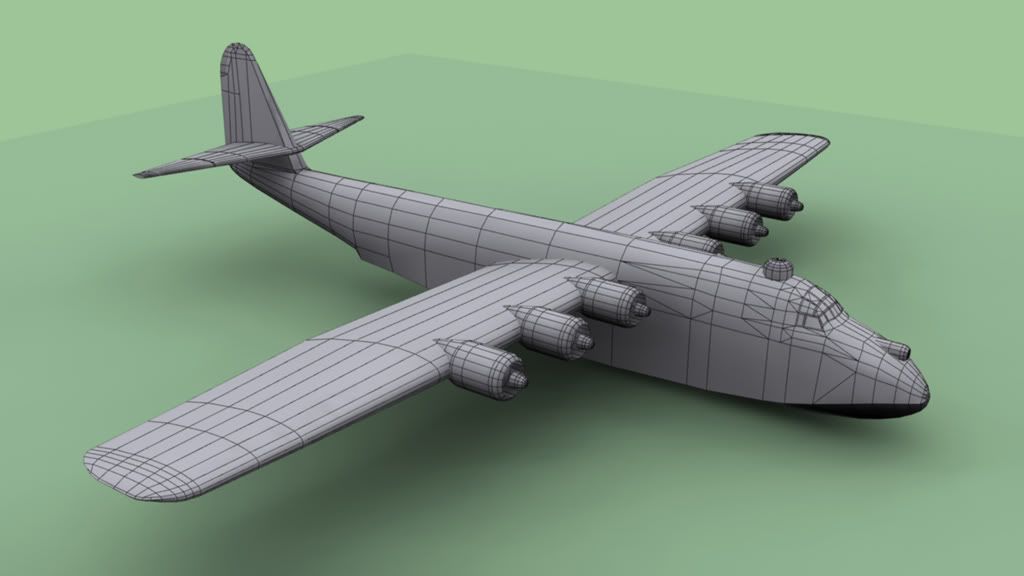
¿Why is this?
The reason is on the skylight that you added to your scene...
As his name states, the skylight is intended to fake the light coming out from the sky, (wich is blue, or it should). So by default, his colour is not pure white, (255, 255, 255 =light coming from the sun) but a blueish white (242, 242, 255 =light coming from sky)
You can check this selecting the skylight and seeing his properties. ¿the quickest way to do that? hit Alt + T and then L, this opens the Light Lister, wich is just that, a list of all the lights on your scene, doesn't matters if they are hidden or not, here they show and you can check and change their parameters.
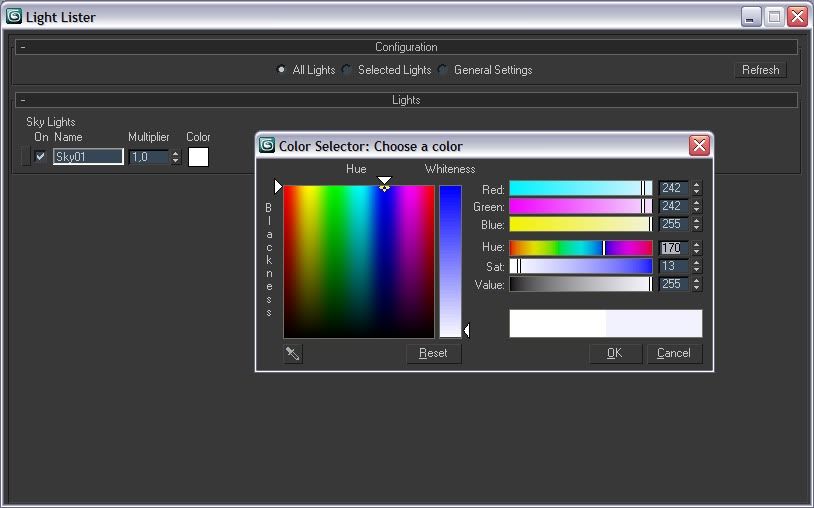
To solve the issue just click the colour rectangle of your skylight, and in the colour selector rollout move the slider to the bottom end (255, 255, 255), If you have follow me till here... congratulations you did it!!!
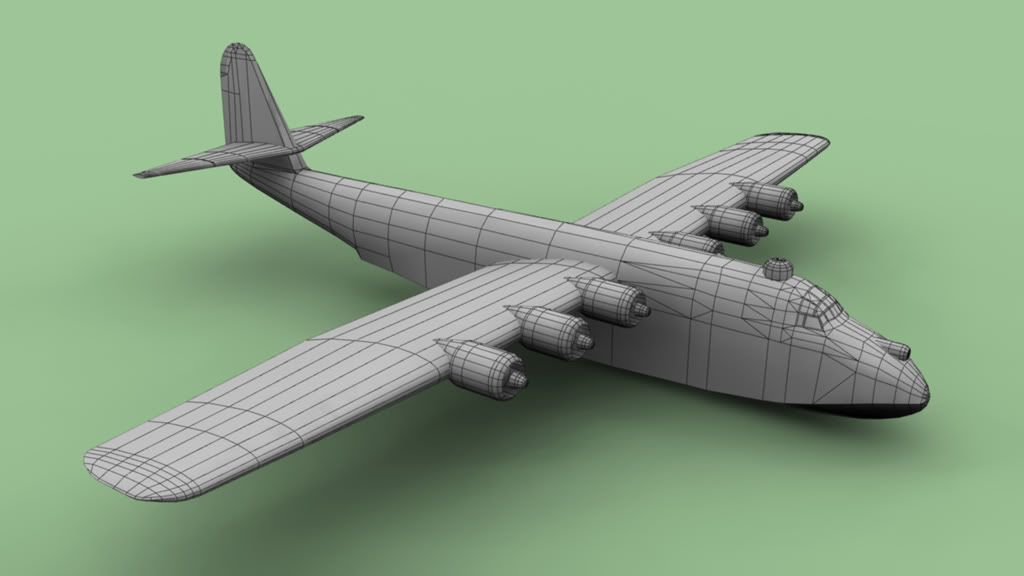
My apologies for the long explanation... all you need to do is: match the colours in the Material Editor and in the Environment and effects rollout, and check that the colour of your skylight is pure white (255, 255, 255) That's all, the explanation is intended to help anyone to understand why...
One more thing, the ground plane doesn't needs to be veeeeery large, but better the more than the less, so just be sure that the shadows have enough space to blend... or being the contrary, you'll end up with a rectangle of different colour and no smooth background even if the colours macht and the skylight is pure white...
Remember: the simpler the better, but if you want to elaborate more it's interesting notting that the material that you assign in this render setup as a BASE MATERIAL doesn't needs to be necessarily a Standard material with just a colour on it. It also can be a Standard material with a texture (a bitmap) applied to it. So you'll get the shadows + your texture + wireframe. Man! ¿you wanna to complicate even more? Change the Standard Material for a Multi/subobject material instead! you'll have the shadows + multiple textures (even a full textured model with UVWs) + the wireframe, all in place!
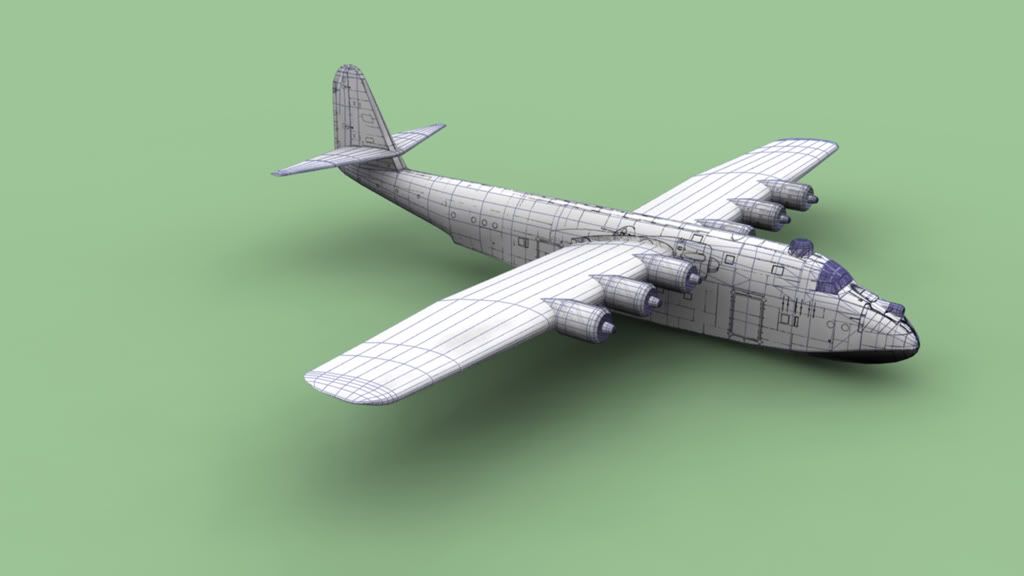
And the very last one...
As alternative to use photoshop to blend your rendered images, you also can go to your wireframe material click the opacity map rectangle, choose FallOff Map and tincker with the options FallOf Type and Fallof Direction to achieve a similar effect. I think in photoshop you get more control but i'm not sure...
My apologies for the long explanations and the bad english, maybe I have some things wrong so feel free to correct whatever seems necessary.
Hope it helps, cheers!
champi "
 Author
Topic: Making explicit nudity images (Clay + Wireframe renders) (Read 5463 times)


